Club Meeting: 9 March 2016
Report by: Graeme Mackay
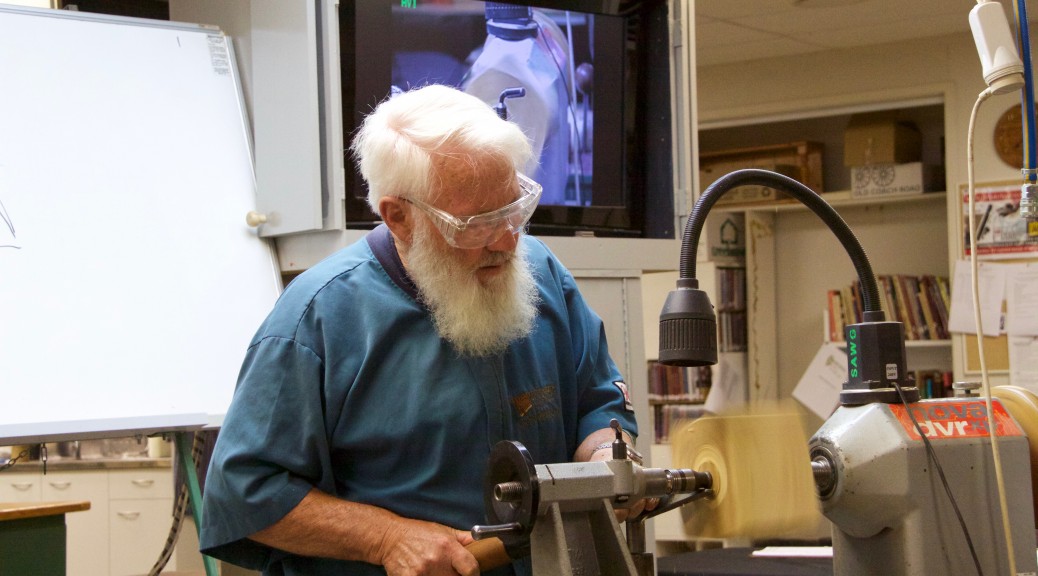
The task for this term was to use several types of wood in a turning project. Dick Veitch focused his demonstration on making wig stands with a comment that it is an item that is pleasurable to give away, fun to make and has a number of interesting challenges. Wig Stands are part of the “look good feel better” cancer recovery program which the SAWG club supports.
The making of wig stands; headpiece, stem and base, involves a number of techniques that include spindle turning, turning between centres and bowl work – and of course planning and measurement. A useful project to develop woodturning skills. The basic wig stand design plans and measurements are on the SAWG club website. The design has been developed to accommodate a stand that holds a full wig. The headpiece has to be wide enough to allow a wig to be easily placed over it and keep the fall of hair in place. Also, as experience has shown, there is a need for reasonable depth to allow the wig to flow off the head piece and fall freely.
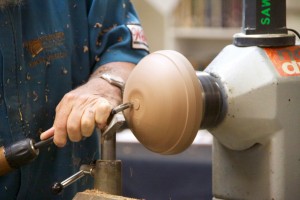
The Headpiece: Dick placed the Matai block between centres and a chuck bite was made on the side that is to be top of the head. There is a need to give enough wood for the spigot and to allow for a second. Dick suggest to keep the speed quiet and making the initial spigot. The block is then reversed onto the spigot ready for rounding and shaping. A new spigot with a centering dimple is made. The dimple provides a guide for drilling the 25 mill hole to take the stem tenon. Dick suggested a 25 mm hole to allow the use of idle option of using an expansion jaws.

Increasing the depth of the headpiece: If the blank/block for the headpiece does not have depth the next work is required. There are often bits of wood around the workshop that are “not quite” for the purpose designed. Then with some glue and lamination they can be joined to form a larger block with more depth. This is a good exercise to practice lamination skills – and your design skills. There are many options of both similar and contrasting wood.
Base: Dick used a Pohutukawa blank for base. The heavy wood providing some stability to the wig stand. A base spigot is formed. The block then reversed onto the jaws for shaping and drilling the hole to take the stem Tenon. Dick referred a simple clean base with the design showing in the stem itself. A 25 mm hole is drilled to take stem and act as a hole to take expansion jaws.
Stem: Dick used a Tawa block for the stem. The measurements for the length of the stem are in the SAWG project guide. This is a good place to practice spindle work and application of design. After rounding the blank, the 25 mm tenons are marked off and made on each end to join the base and head.

Stem Design: Dick discussed keeping the stem elements visually balanced, usually the thicker element on the bottom section. The simple demonstration design had pairs of beads with a key element bound by each bead. Dick then set up the marking for the initial cuts that frame the beads. The middle section was divided into thirds and the Ogee curve mapped out. Dick expressed the need for patience and starting out on the beads. In this demonstration he used the Skew chisel to form the beads and finish with a standard spindle gouge. Care needs to be taken with the main cove. Planning the cutting process for the individual elements on the stem is productive and helps in avoiding uneven elements.
In summary Dick made the following comments:
The Wig Stand offers a useful woodturning exercise.
Planning and marking pays off.
Thinking through the process again pays off.
And a bit of patience helps the end product.