Report of Club Meeting: 1 April 2015
Written by Murray Wilton
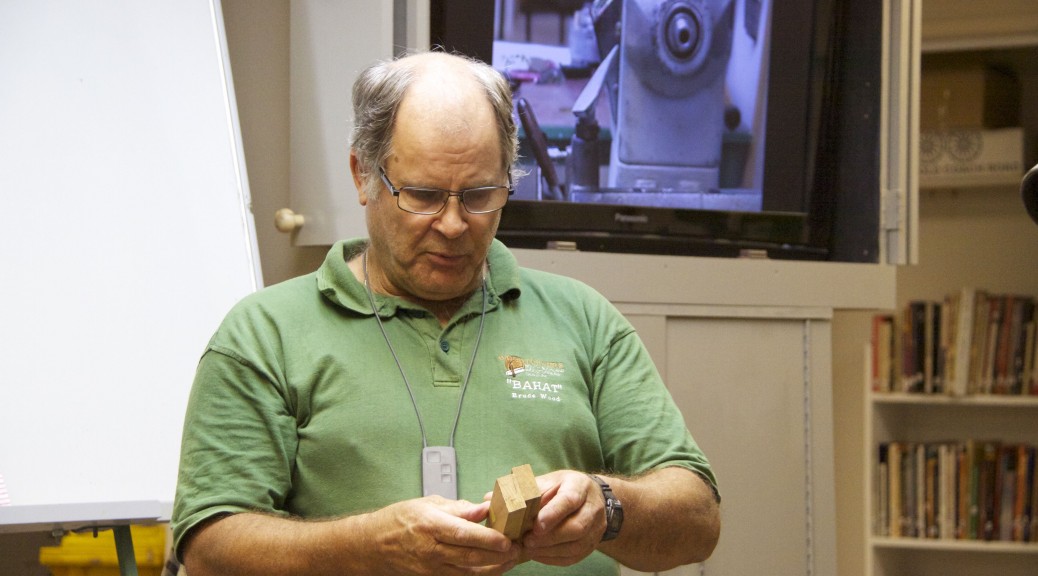
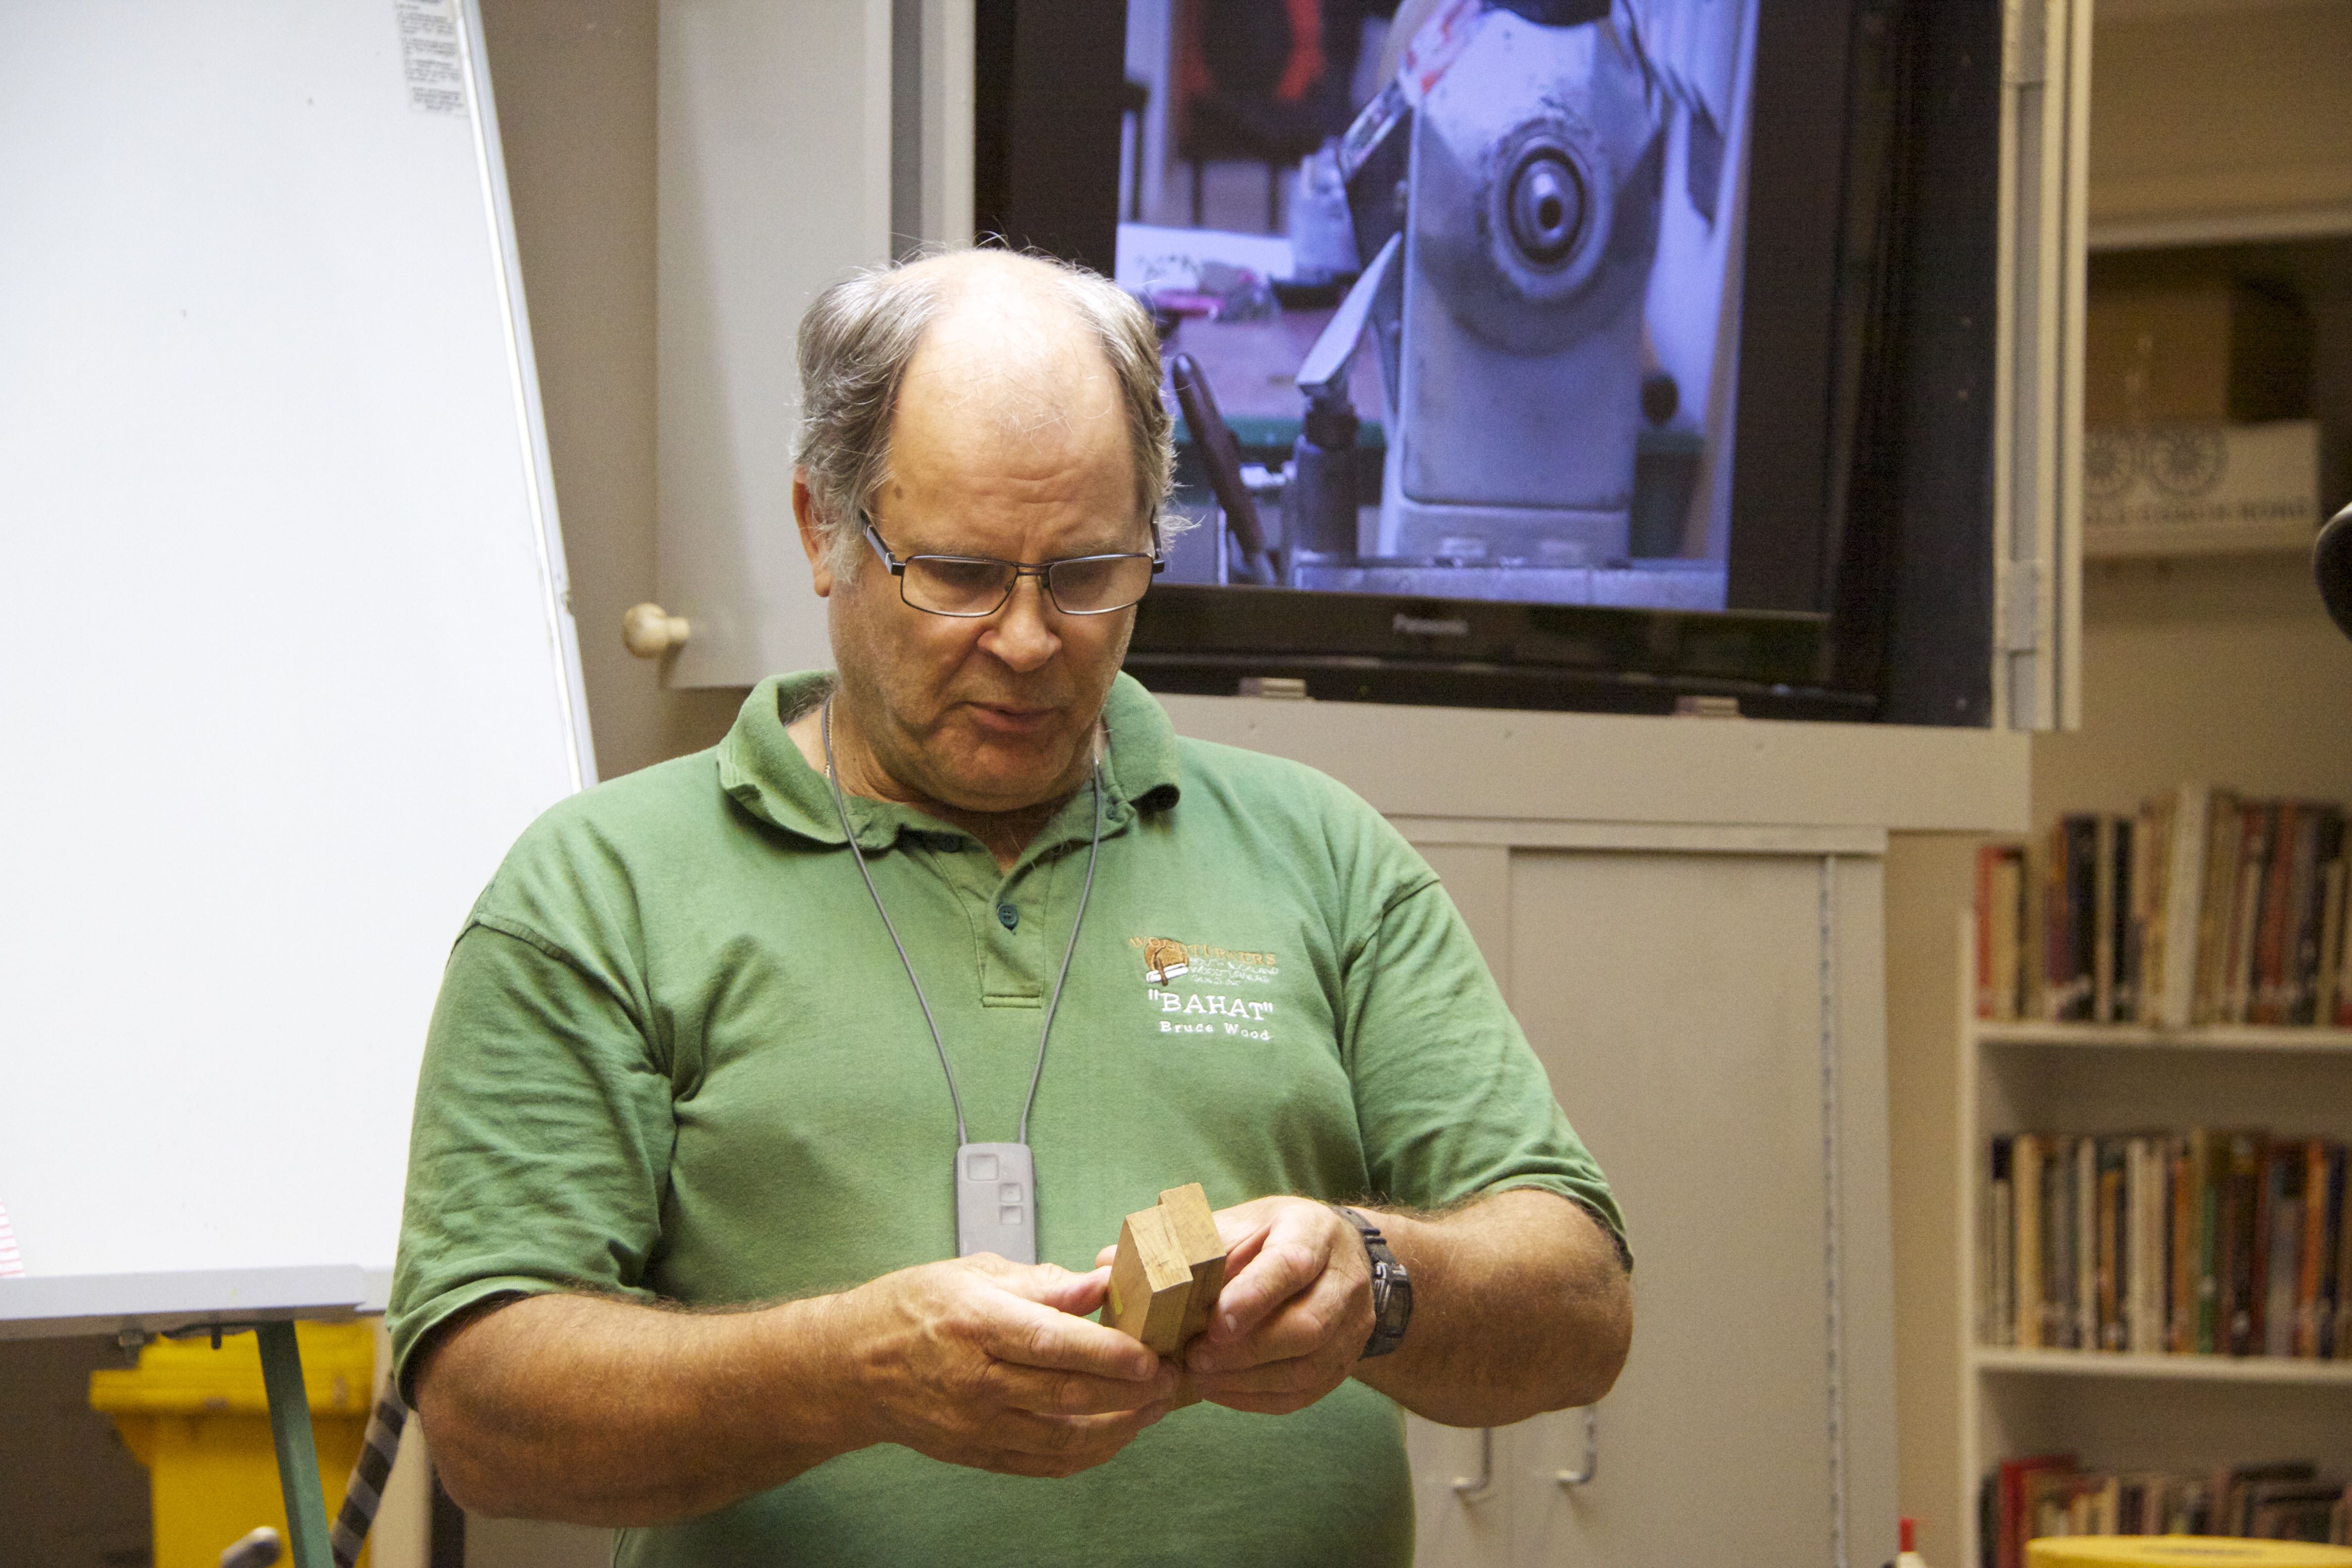
Bruce certainly does more than his fair share in keeping our club up and running smoothly. It may have been April Fool’s Day, and only 25 members present (while most opted for the Easter Show), but that didn’t prevent Bruce from demonstrating his unique turning skills. When the topic is a baby’s rattle, most of us would be thinking in terms of making it for grandchildren and even great grandchildren. Others might see it as an eminently saleable item. But if you thought it was an easy project you would be very much in error. Bruce waved the finished article to show us where he would be heading. A simple piece, shaped like a dumbell with bulbs at each end, contains little bells that rattle when shaken. The mystery, to be revealed, is how do those bells get inside the bulbs when there is barely a mark showing any join or secret entry point.
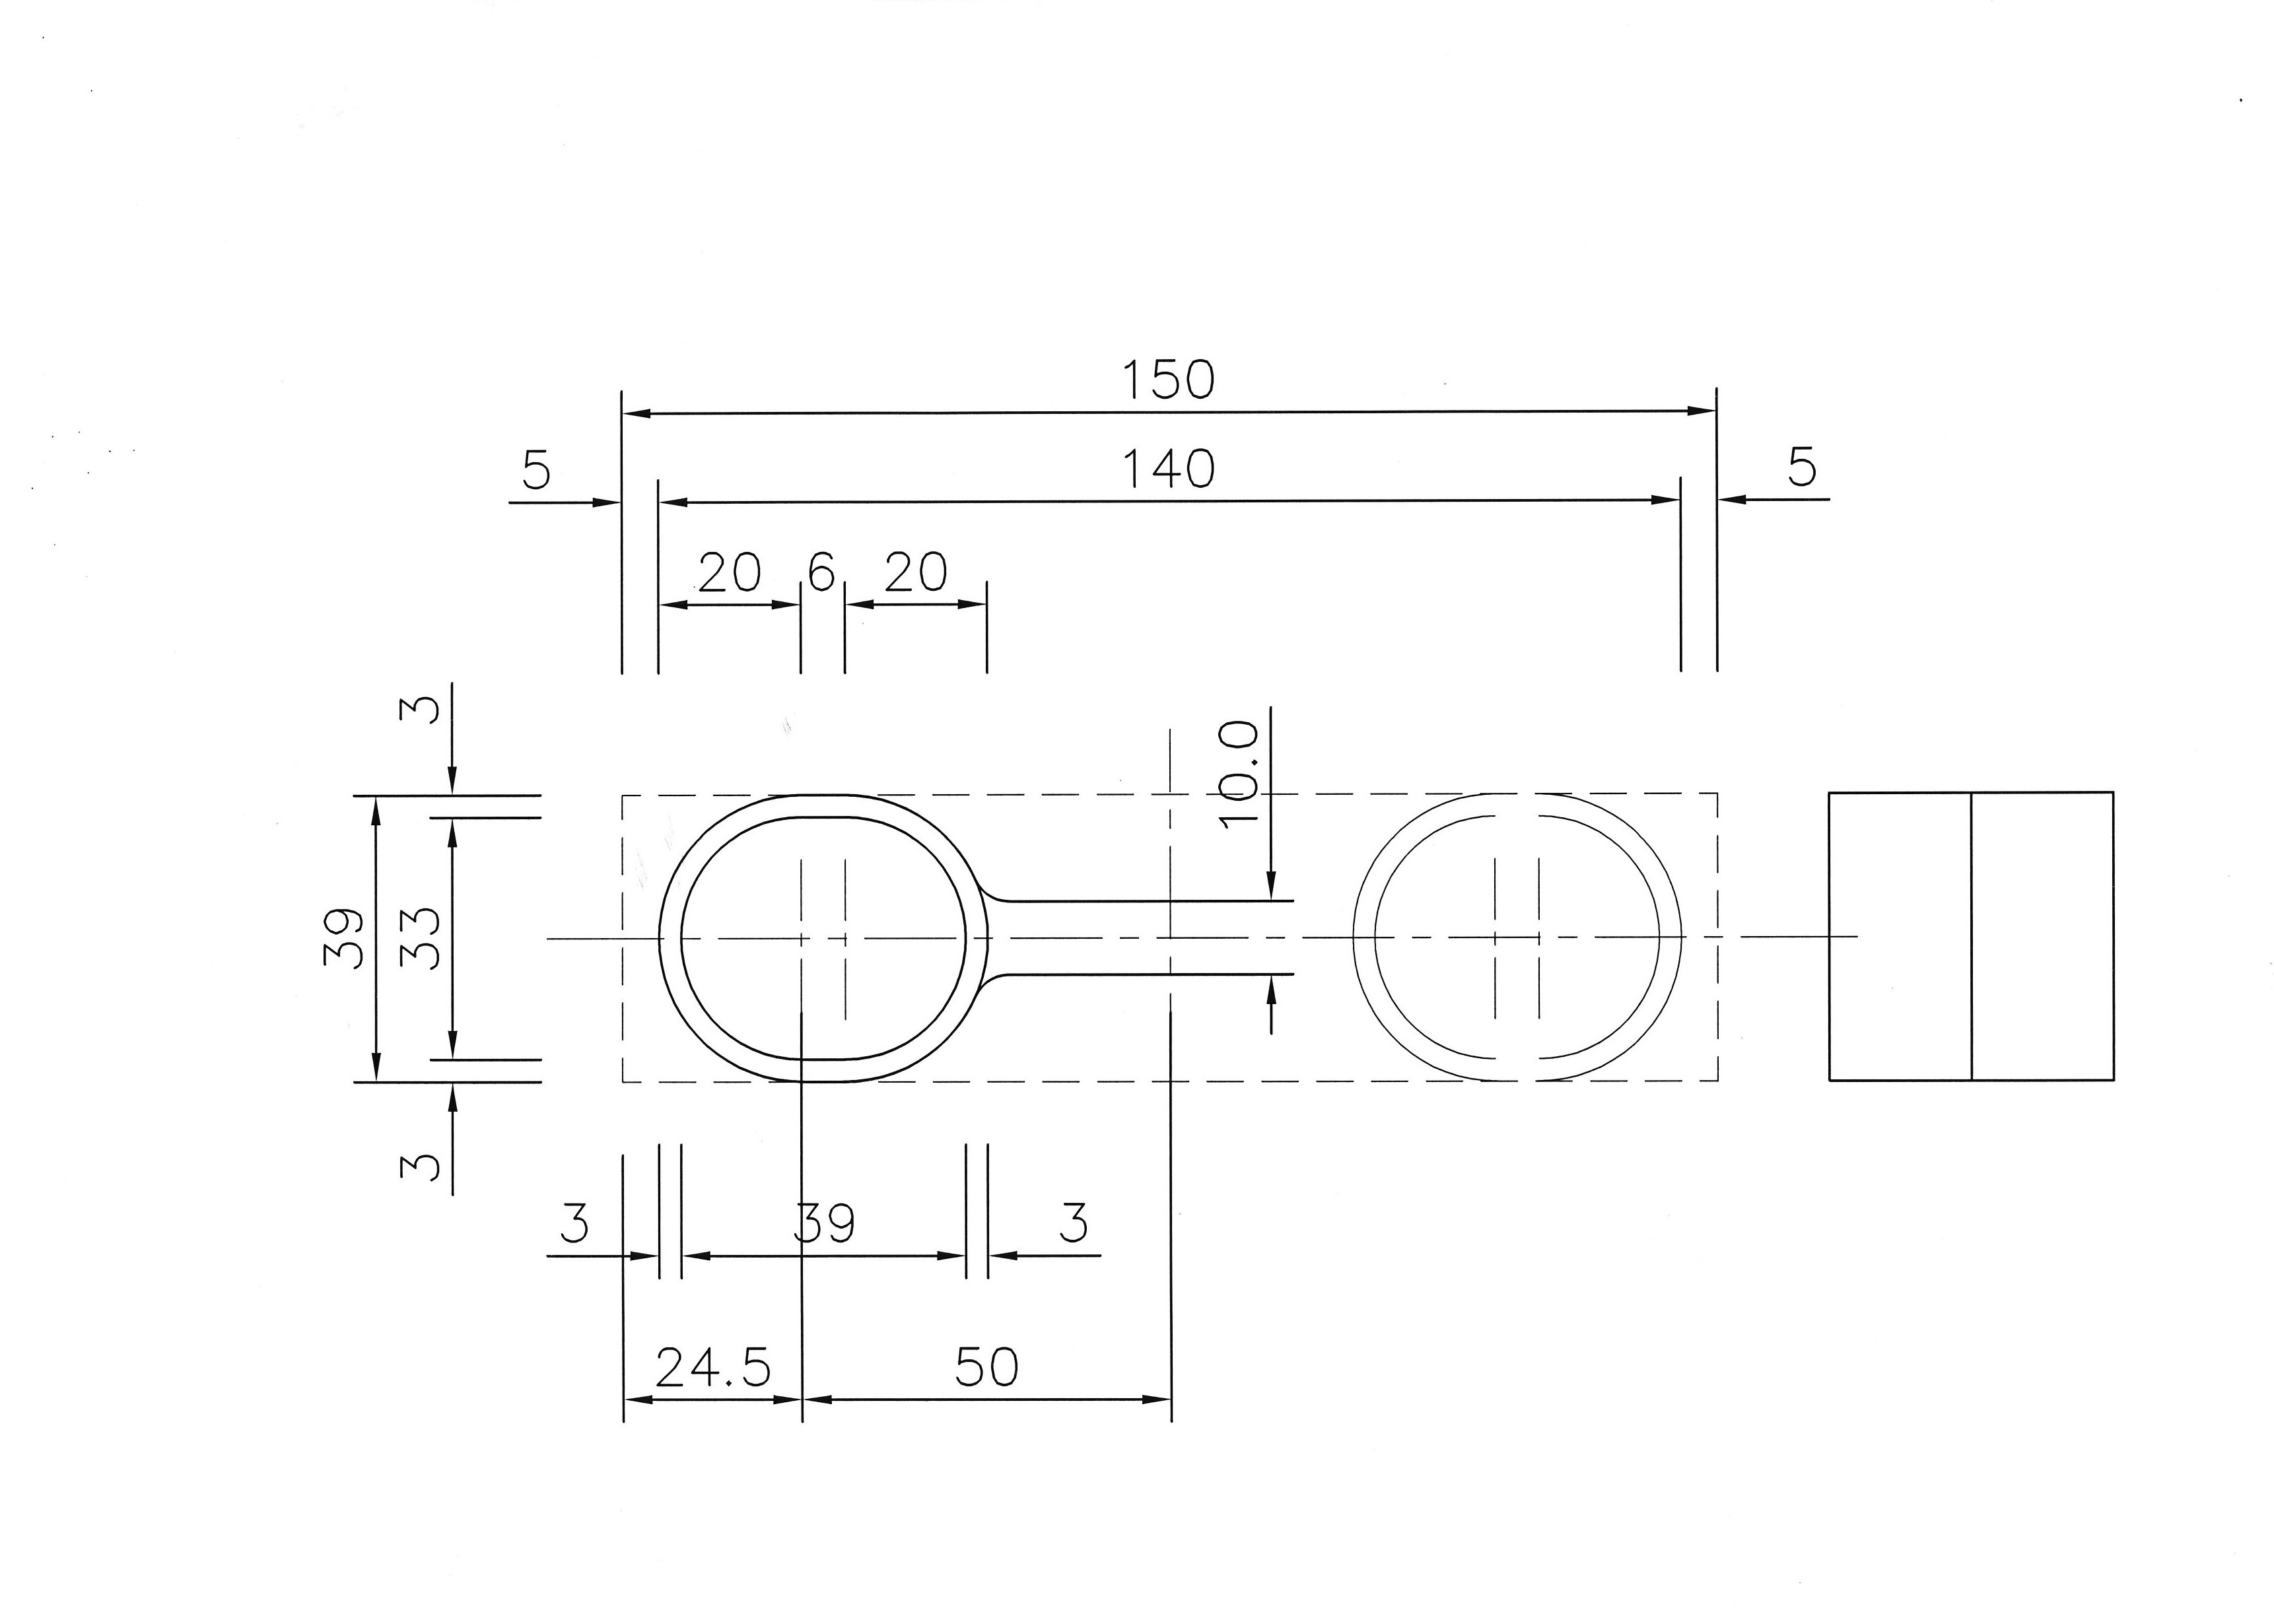
Bruce emphasized that in order to achieve a fine result the setting up and accurate marking out are crucial. Pen makers and those who work with small items will readily understand this. Refer to the attached plan for dimensional details. Start with a block of wood 40 mm square by 150 mm long. These dimensions allow for 3 mm wall thickness of the bulbs when hollowed out, and 5 mm waste each end. Rimu is a good medium. The block is split lengthwise down the middle, using a fine blade band saw or other fine saw. Pass the two halves through a thicknesser set to a fine cut, or plane carefully to make a perfect join. Mark the two halves carefully so that when they are re-joined the timber grains will line up accurately and produce a near invisible join.
Next remove two opposite jaws from your standard chuck and insert two slats of timber, each about 75 X 20 X 5 mm, which are used to hold each half of the rattle (one at a time) to avoid marking the surface. Mount the first rattle half in the chuck so that one end is lined up with the outside of the chuck. This will enable one bulb end to be hollowed out. You will be repeating this procedure four times.
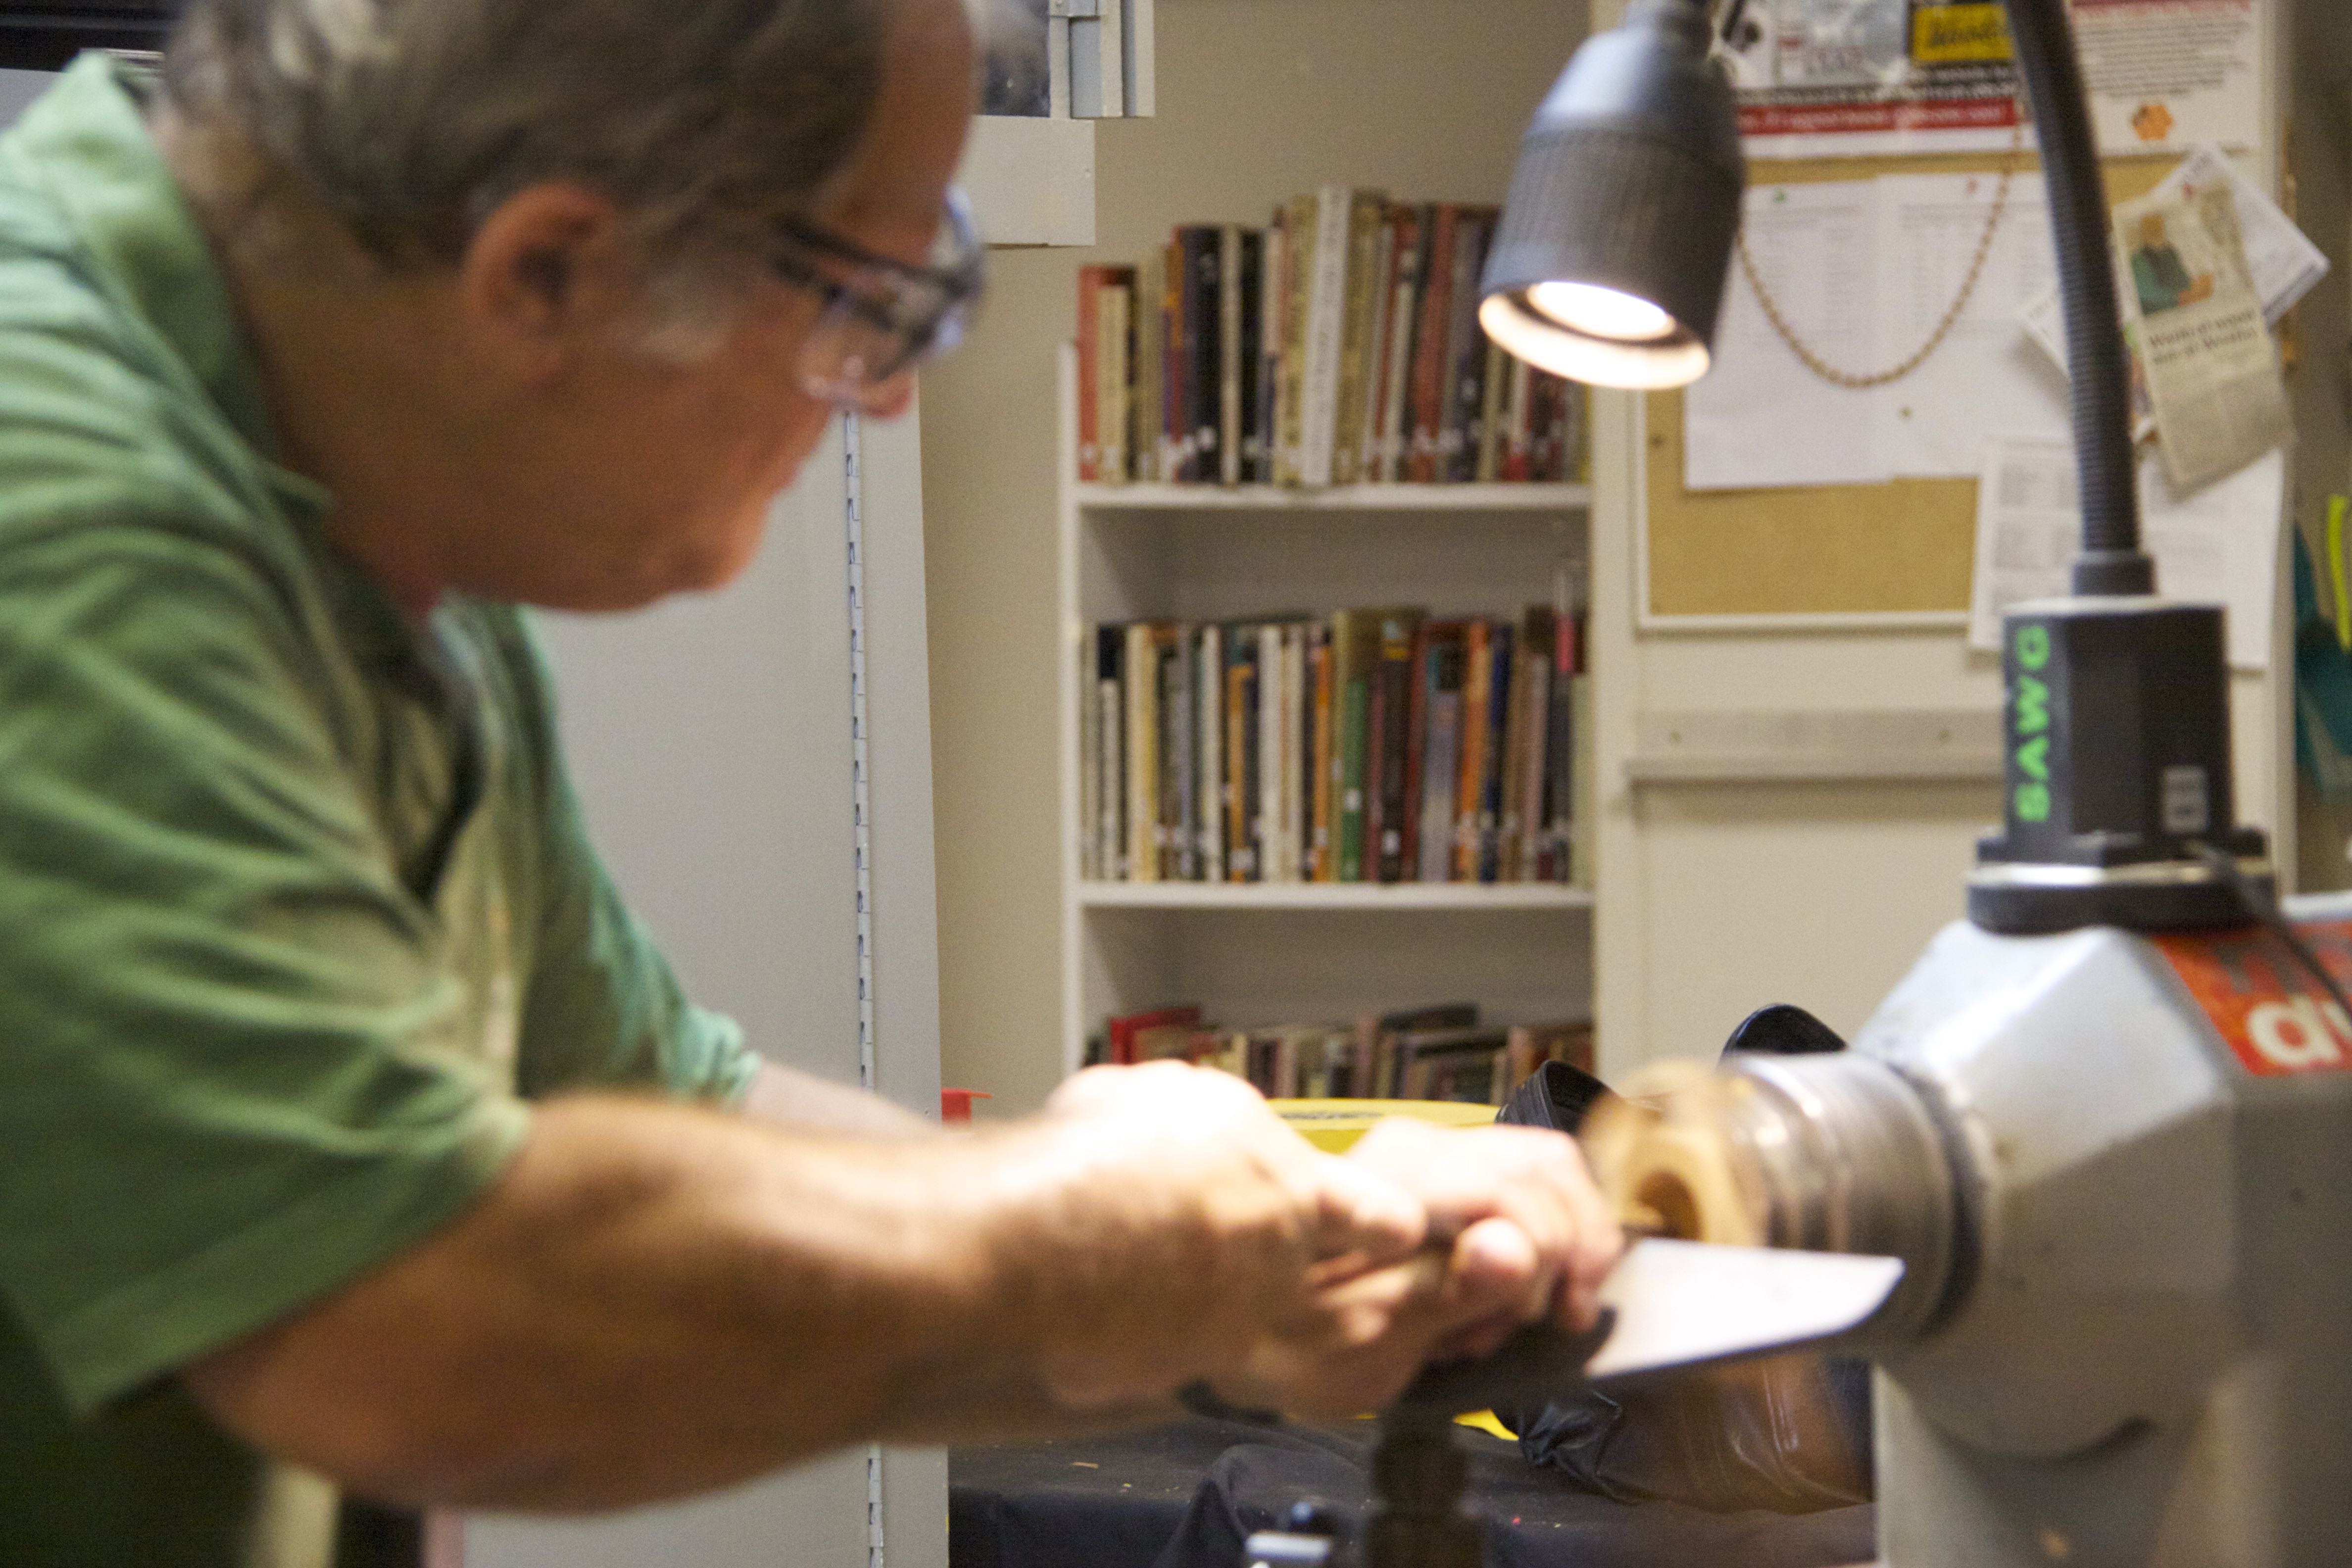
Mark the position of the bulb at one end (about 40 mm lengthwise …. see attached plan) approximately 3 mm from the end of the piece and line up the tailstock steb centre with the central point of the bulb to be hollowed, making adjustments by moving the piece in the chuck. When you are satisfied that you have the bulb end centred in the chuck, move the tailstock away and carefully start hollowing the bulb using a 35 mm bowl gouge. Finish with a scraper. Take care to remain within the rattle boundaries and ensure the wall thickness is 3 mm. (Less thickness will be difficult to achieve and more will not allow the bells to rattle freely.) Bruce uses a cardboard template to check shape and dimensions of the hollow.
Repeat this process by moving the rattle to the other end of the chuck, then remove and do the same for the other half piece. You will now be left with two halves hollowed to a bulb shape internally at each end. Now check that the two halves fit together nicely, according to your initial markings. Miniature bells for the rattle can be purchased at most $2 shops and at Spotlight. Insert two little bells in each end bulb and smear a thin layer of glue on each half, taking care to ensure no glue runs inside and glues the bells together! Join and clamp lightly to dry.
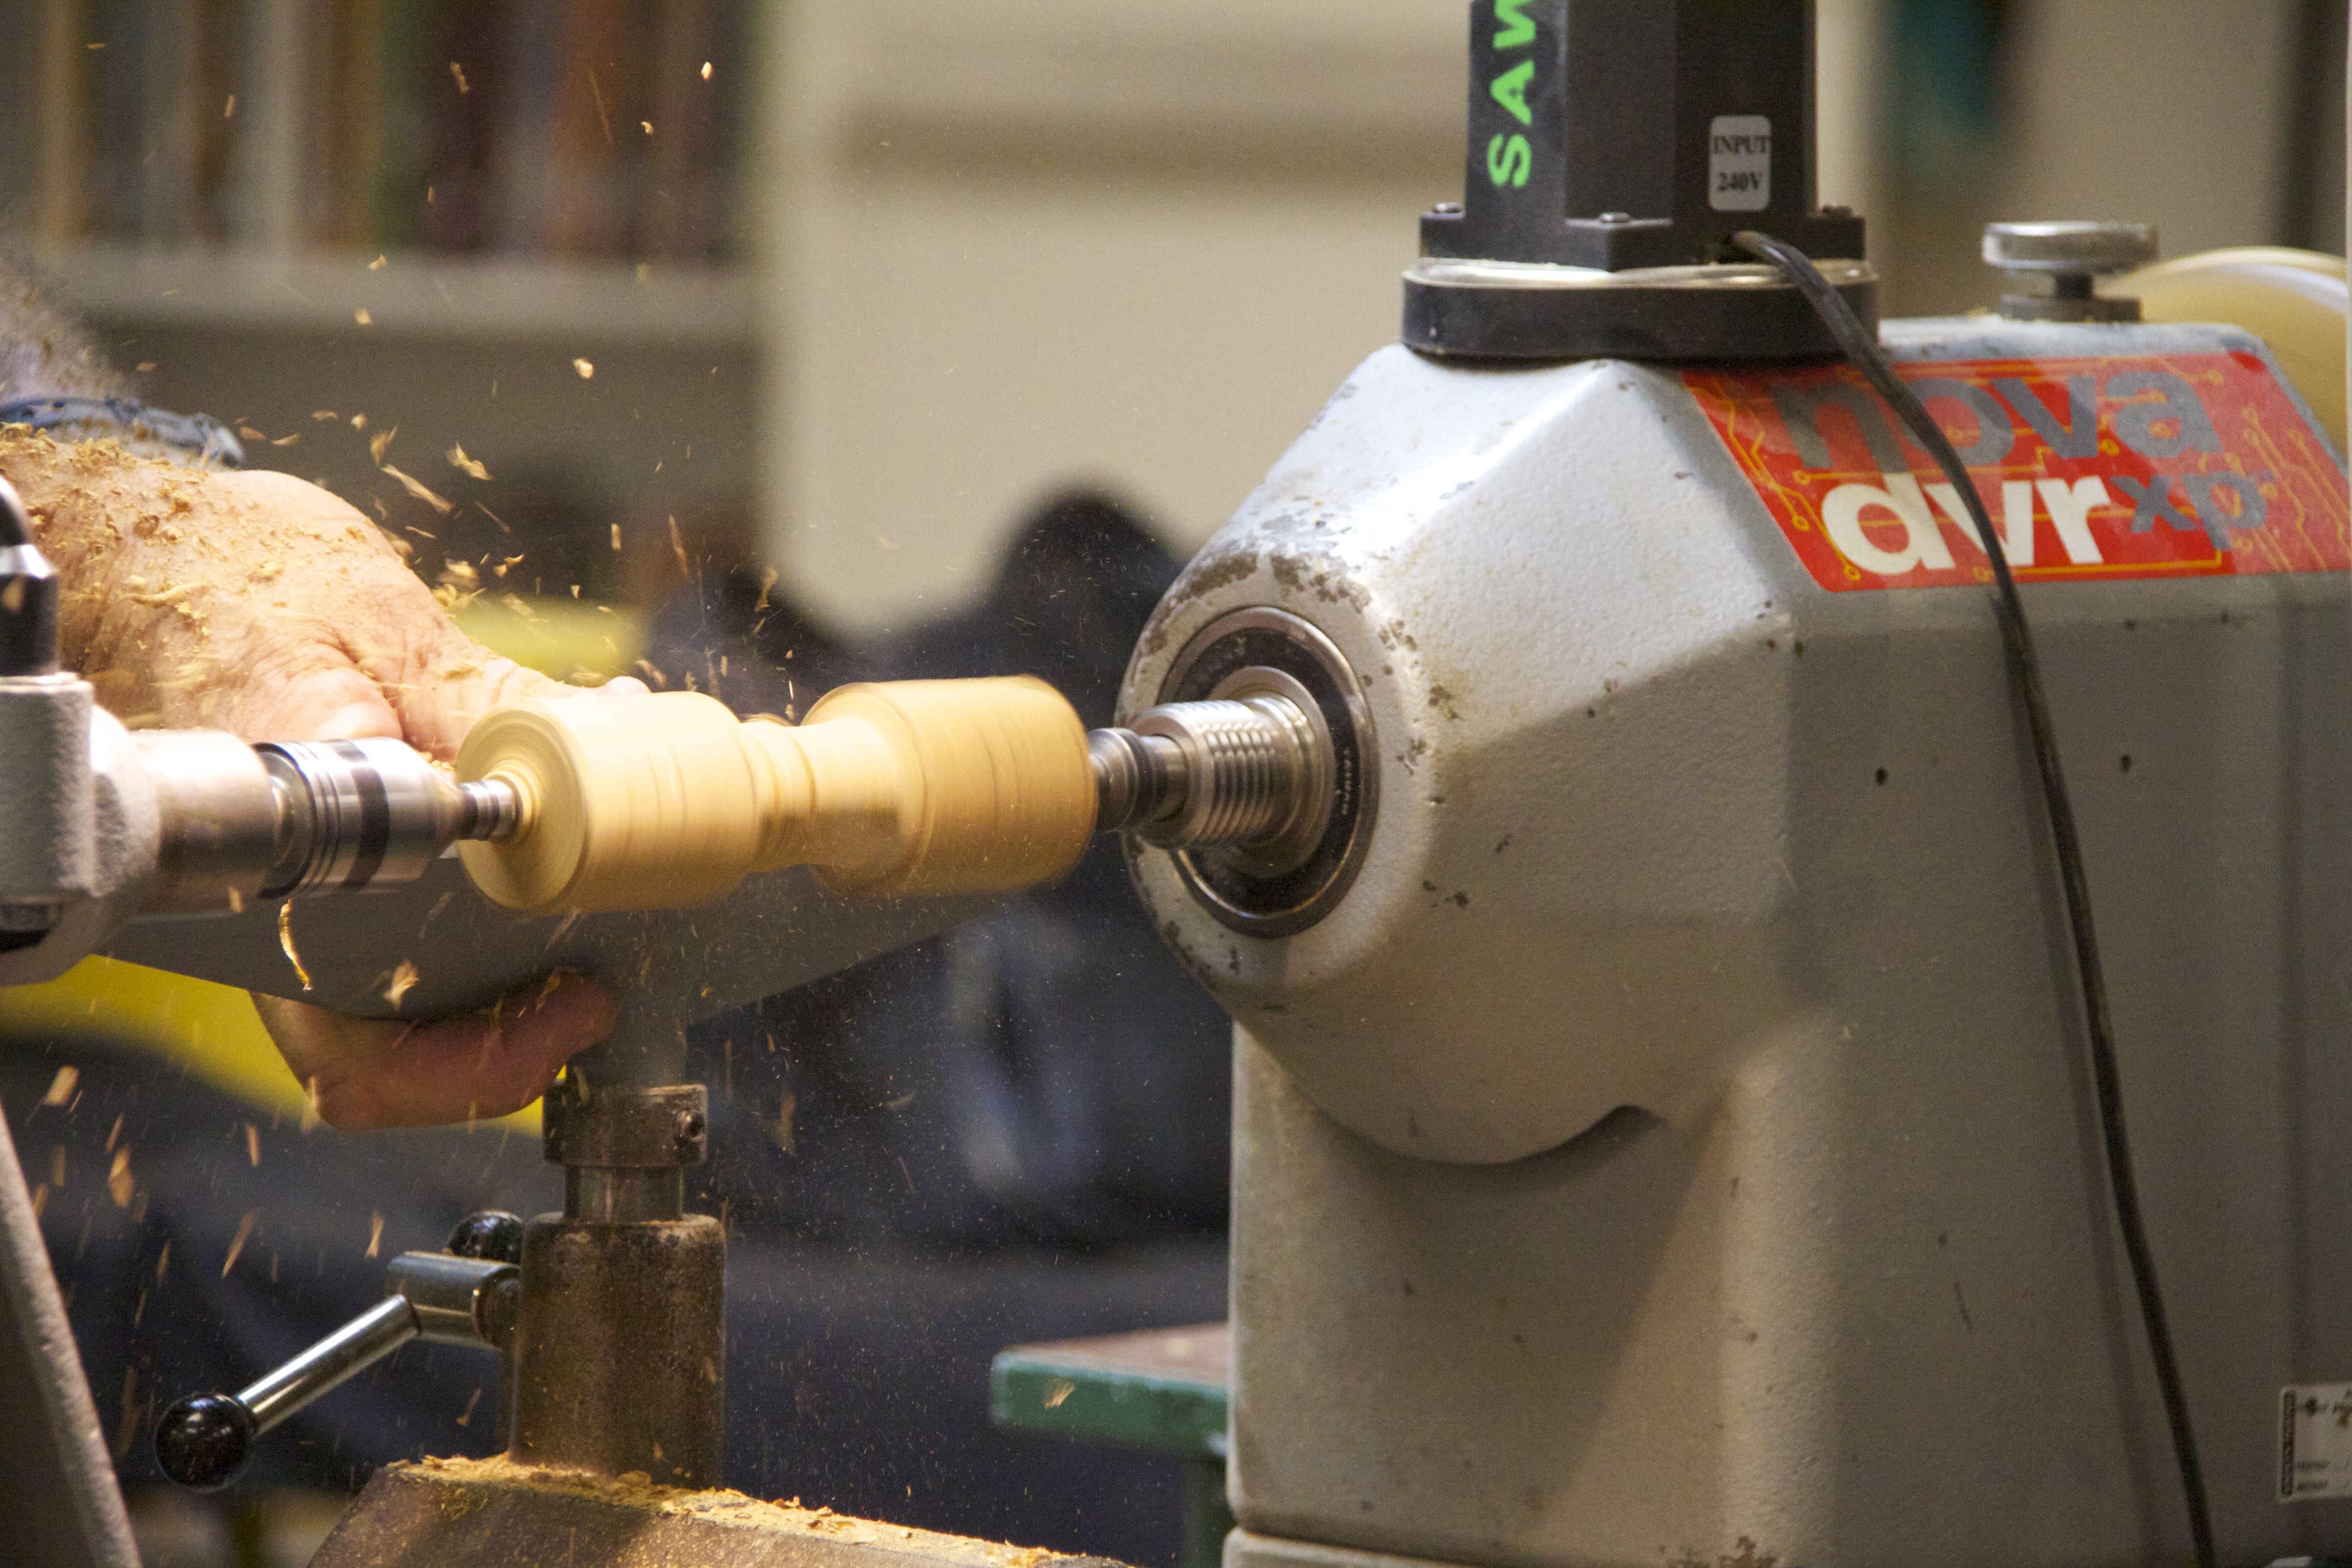
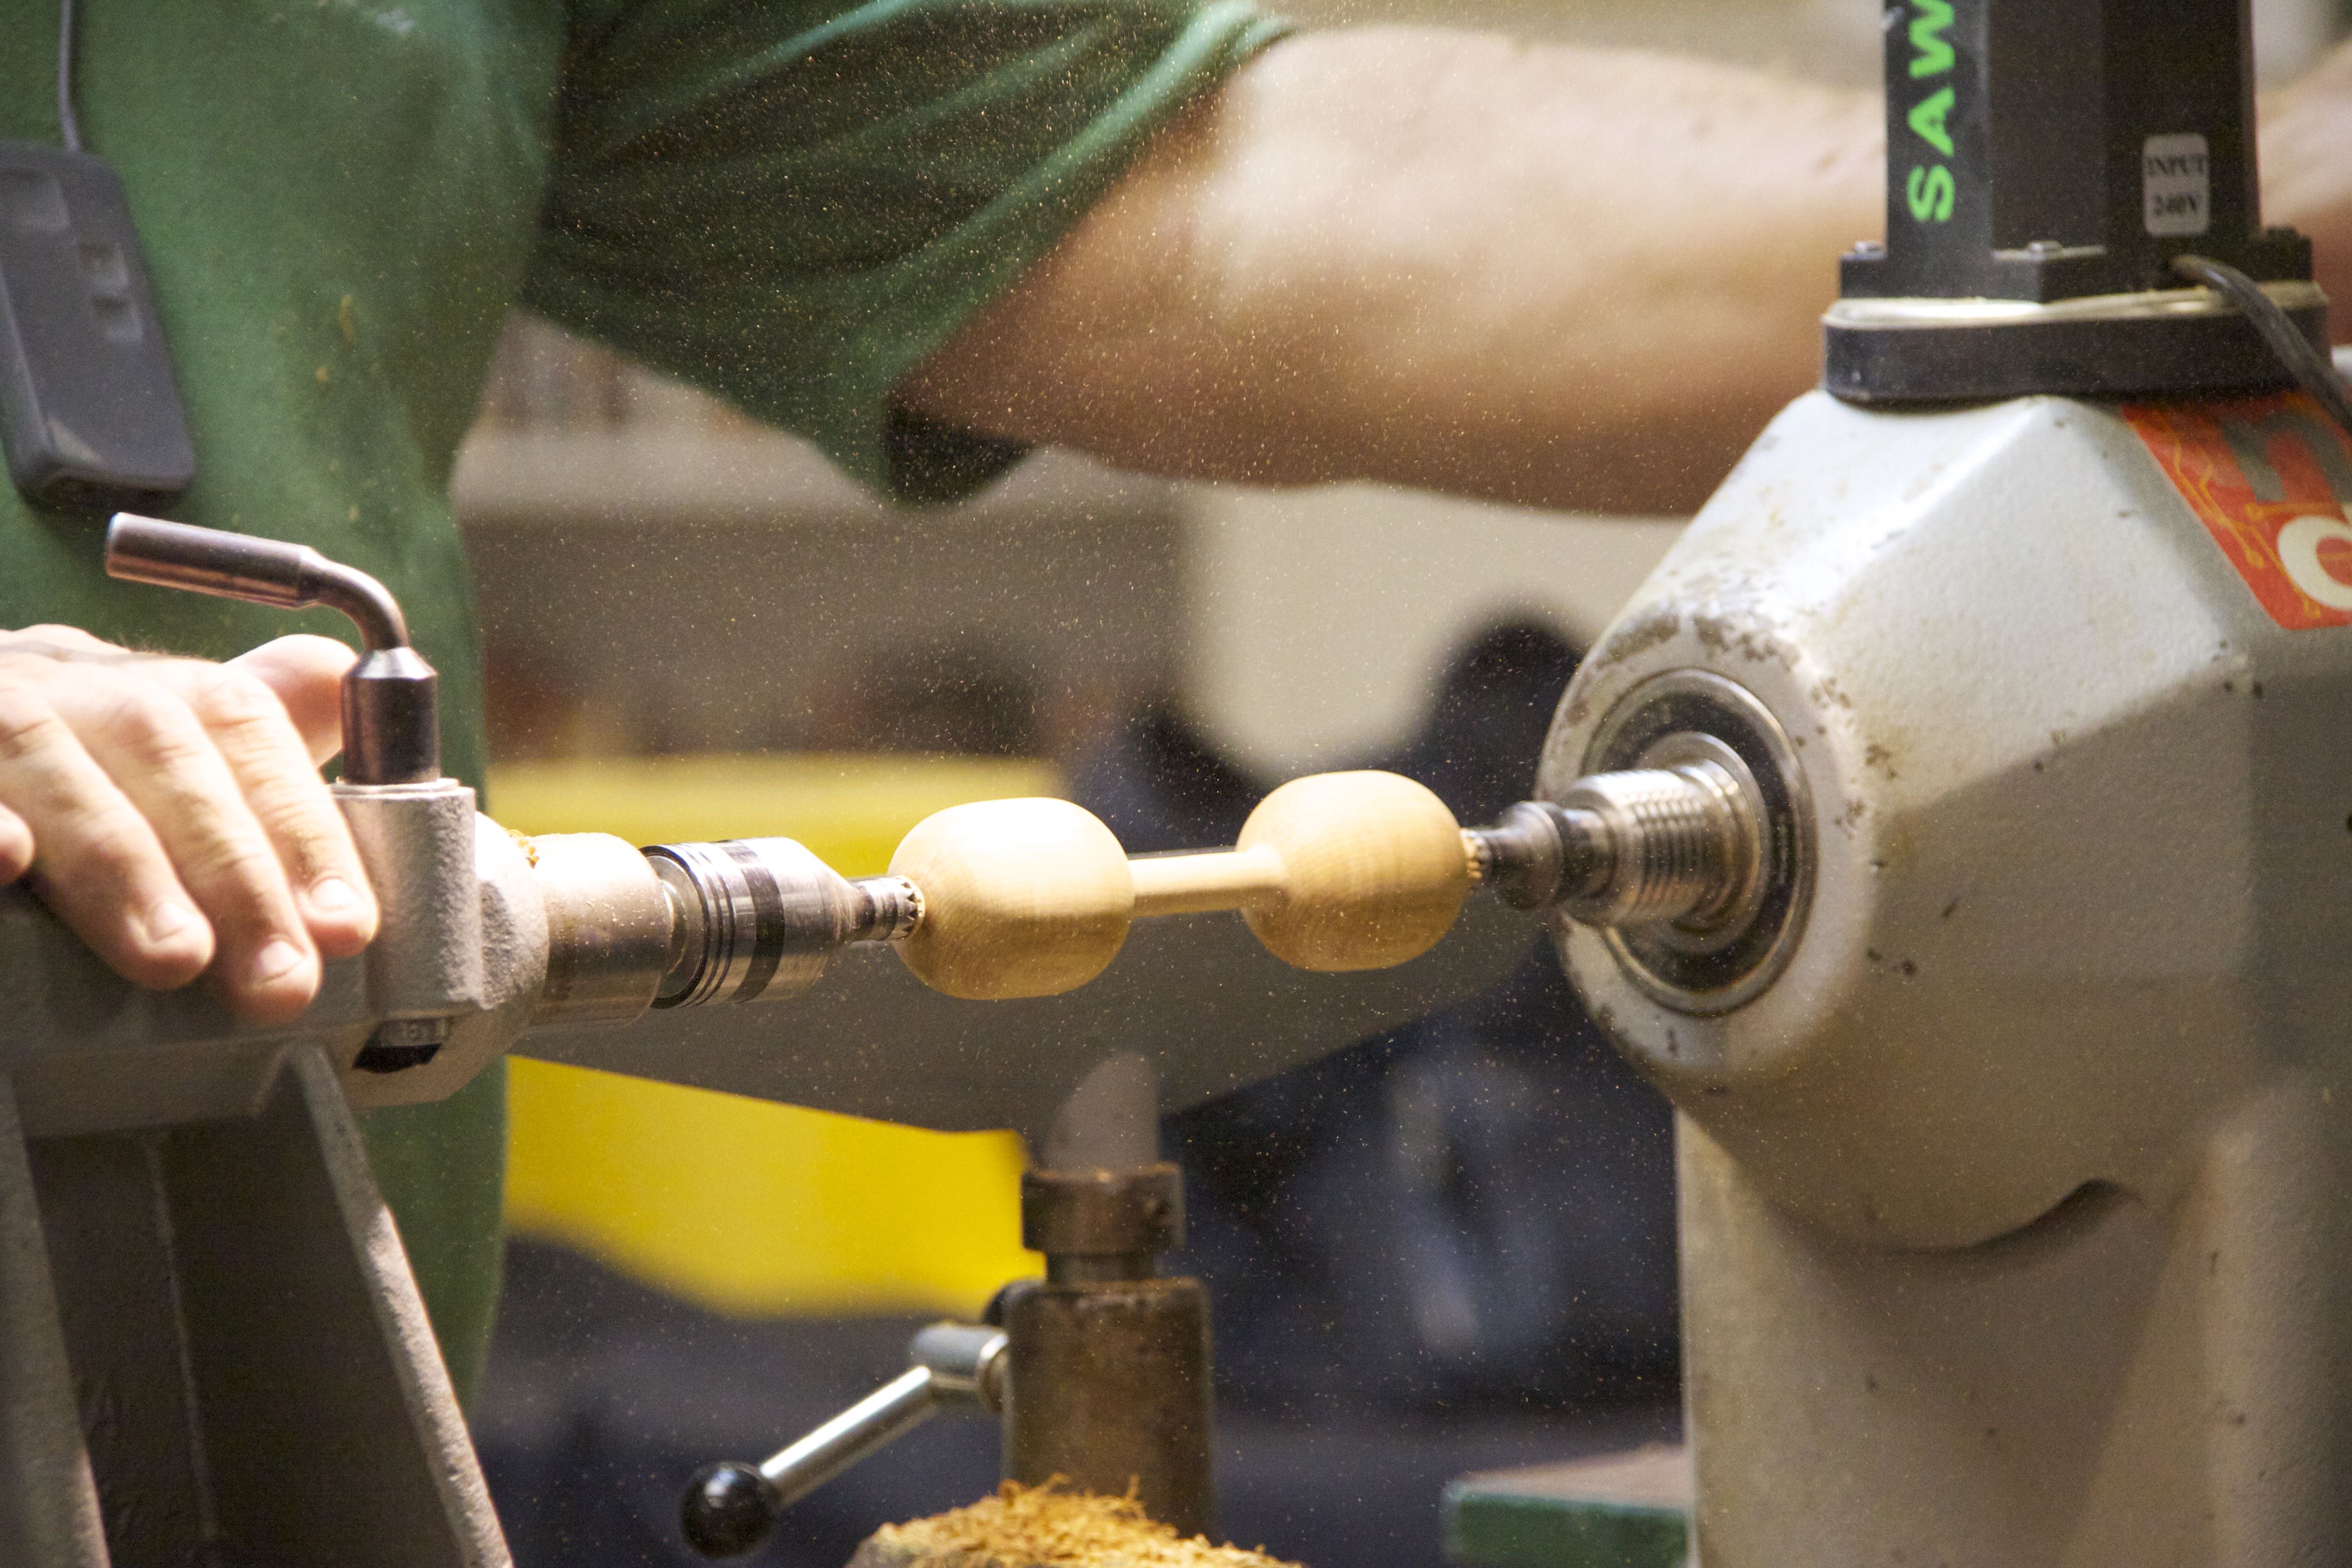
When the re-connected block is dry, mark the centre point at each end and mount between centres, using a steb live centre at tailstock end and tooth grip at headstock end. Using the plan detail, mark the position where the bulb piece will be at each end and start turning. Turn to round first, then shape to slightly elliptical as in the plan. The use of an exterior template matching the interior one used in hollowing is advised. Remember that you are turning the outside of a hollow bulb which will finish at only 3 mm thick, so don’t get carried away and finish up punching through the bulb, or you may end up with a fistful of little bells and a seriously munted rattle! Turn the central part of the rattle (the handle) to a diameter of 10 mm so that a small baby can grip it comfortably.
Carry out the final sanding and finishing before removing the rattle from the lathe. Use a parting tool to finish the rattle off at 140 mm, cutting through as far as the outer circumference of the steb centres at each end. Then finish off with a knife and sand off by hand. Remembering that the rattle will inevitably end up in baby’s mouth, final finishing should be done with an innocuous preparation such as canola or rice oil.
Another fine demonstration from the master turner. Many thanks, Bruce, for giving us another idea for gifts and sale items.