Club Demo: 15 June 2016
Written by Graeme Mackay
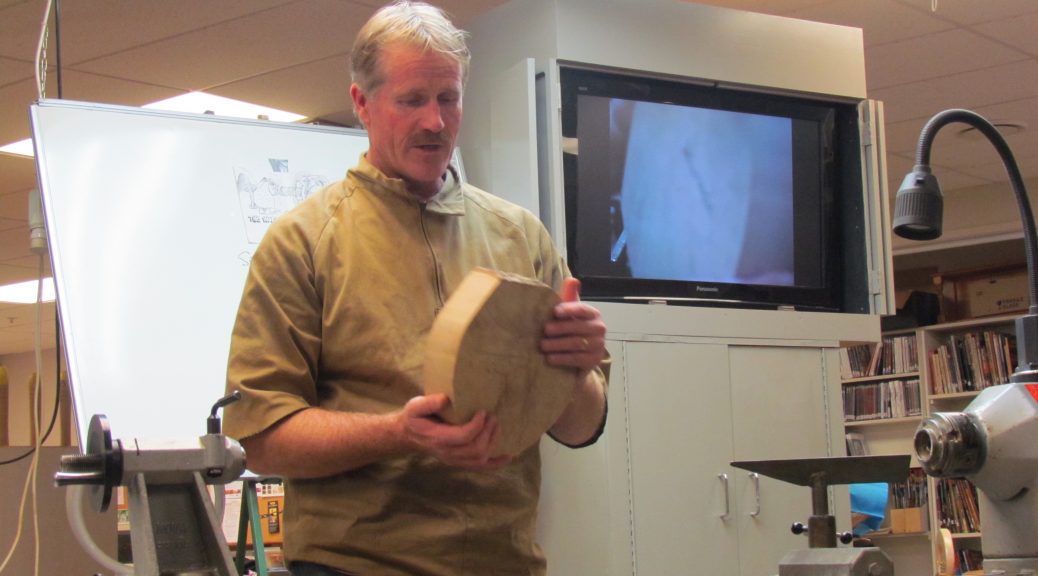
Richard started with a cheerful introduction and gentle lead in by opening with his key point; the need for sharp tools, always, sharp tools. Also, he reinforced the need to keep doing the sharpening. Not only that, he remembered the colour of the honing bars red blue yellow or was it yellow blue red. Whatever the colour or the system, the basics are sharp tools.
Naming your blanks: when question image and he puts his both date and name on the blanks when they are shaped. This protects a piece against all comers and has several sons. A good basic idea that gives an indication of when this piece was shaped up and put out for storage.
In all standard starts, Mark the centre before putting on the faceplate and again before that, with great humour, discuss the options (as Richard noted even with yourself) and ensure the screws and holes the right size. Sometimes a simple operation that is missed.
The steps are straightforward and available on our club website. Go through the steps and verbalise each part of the process. Richard commented that saying is allowed often helped keep things ordered and avoid missing steps.
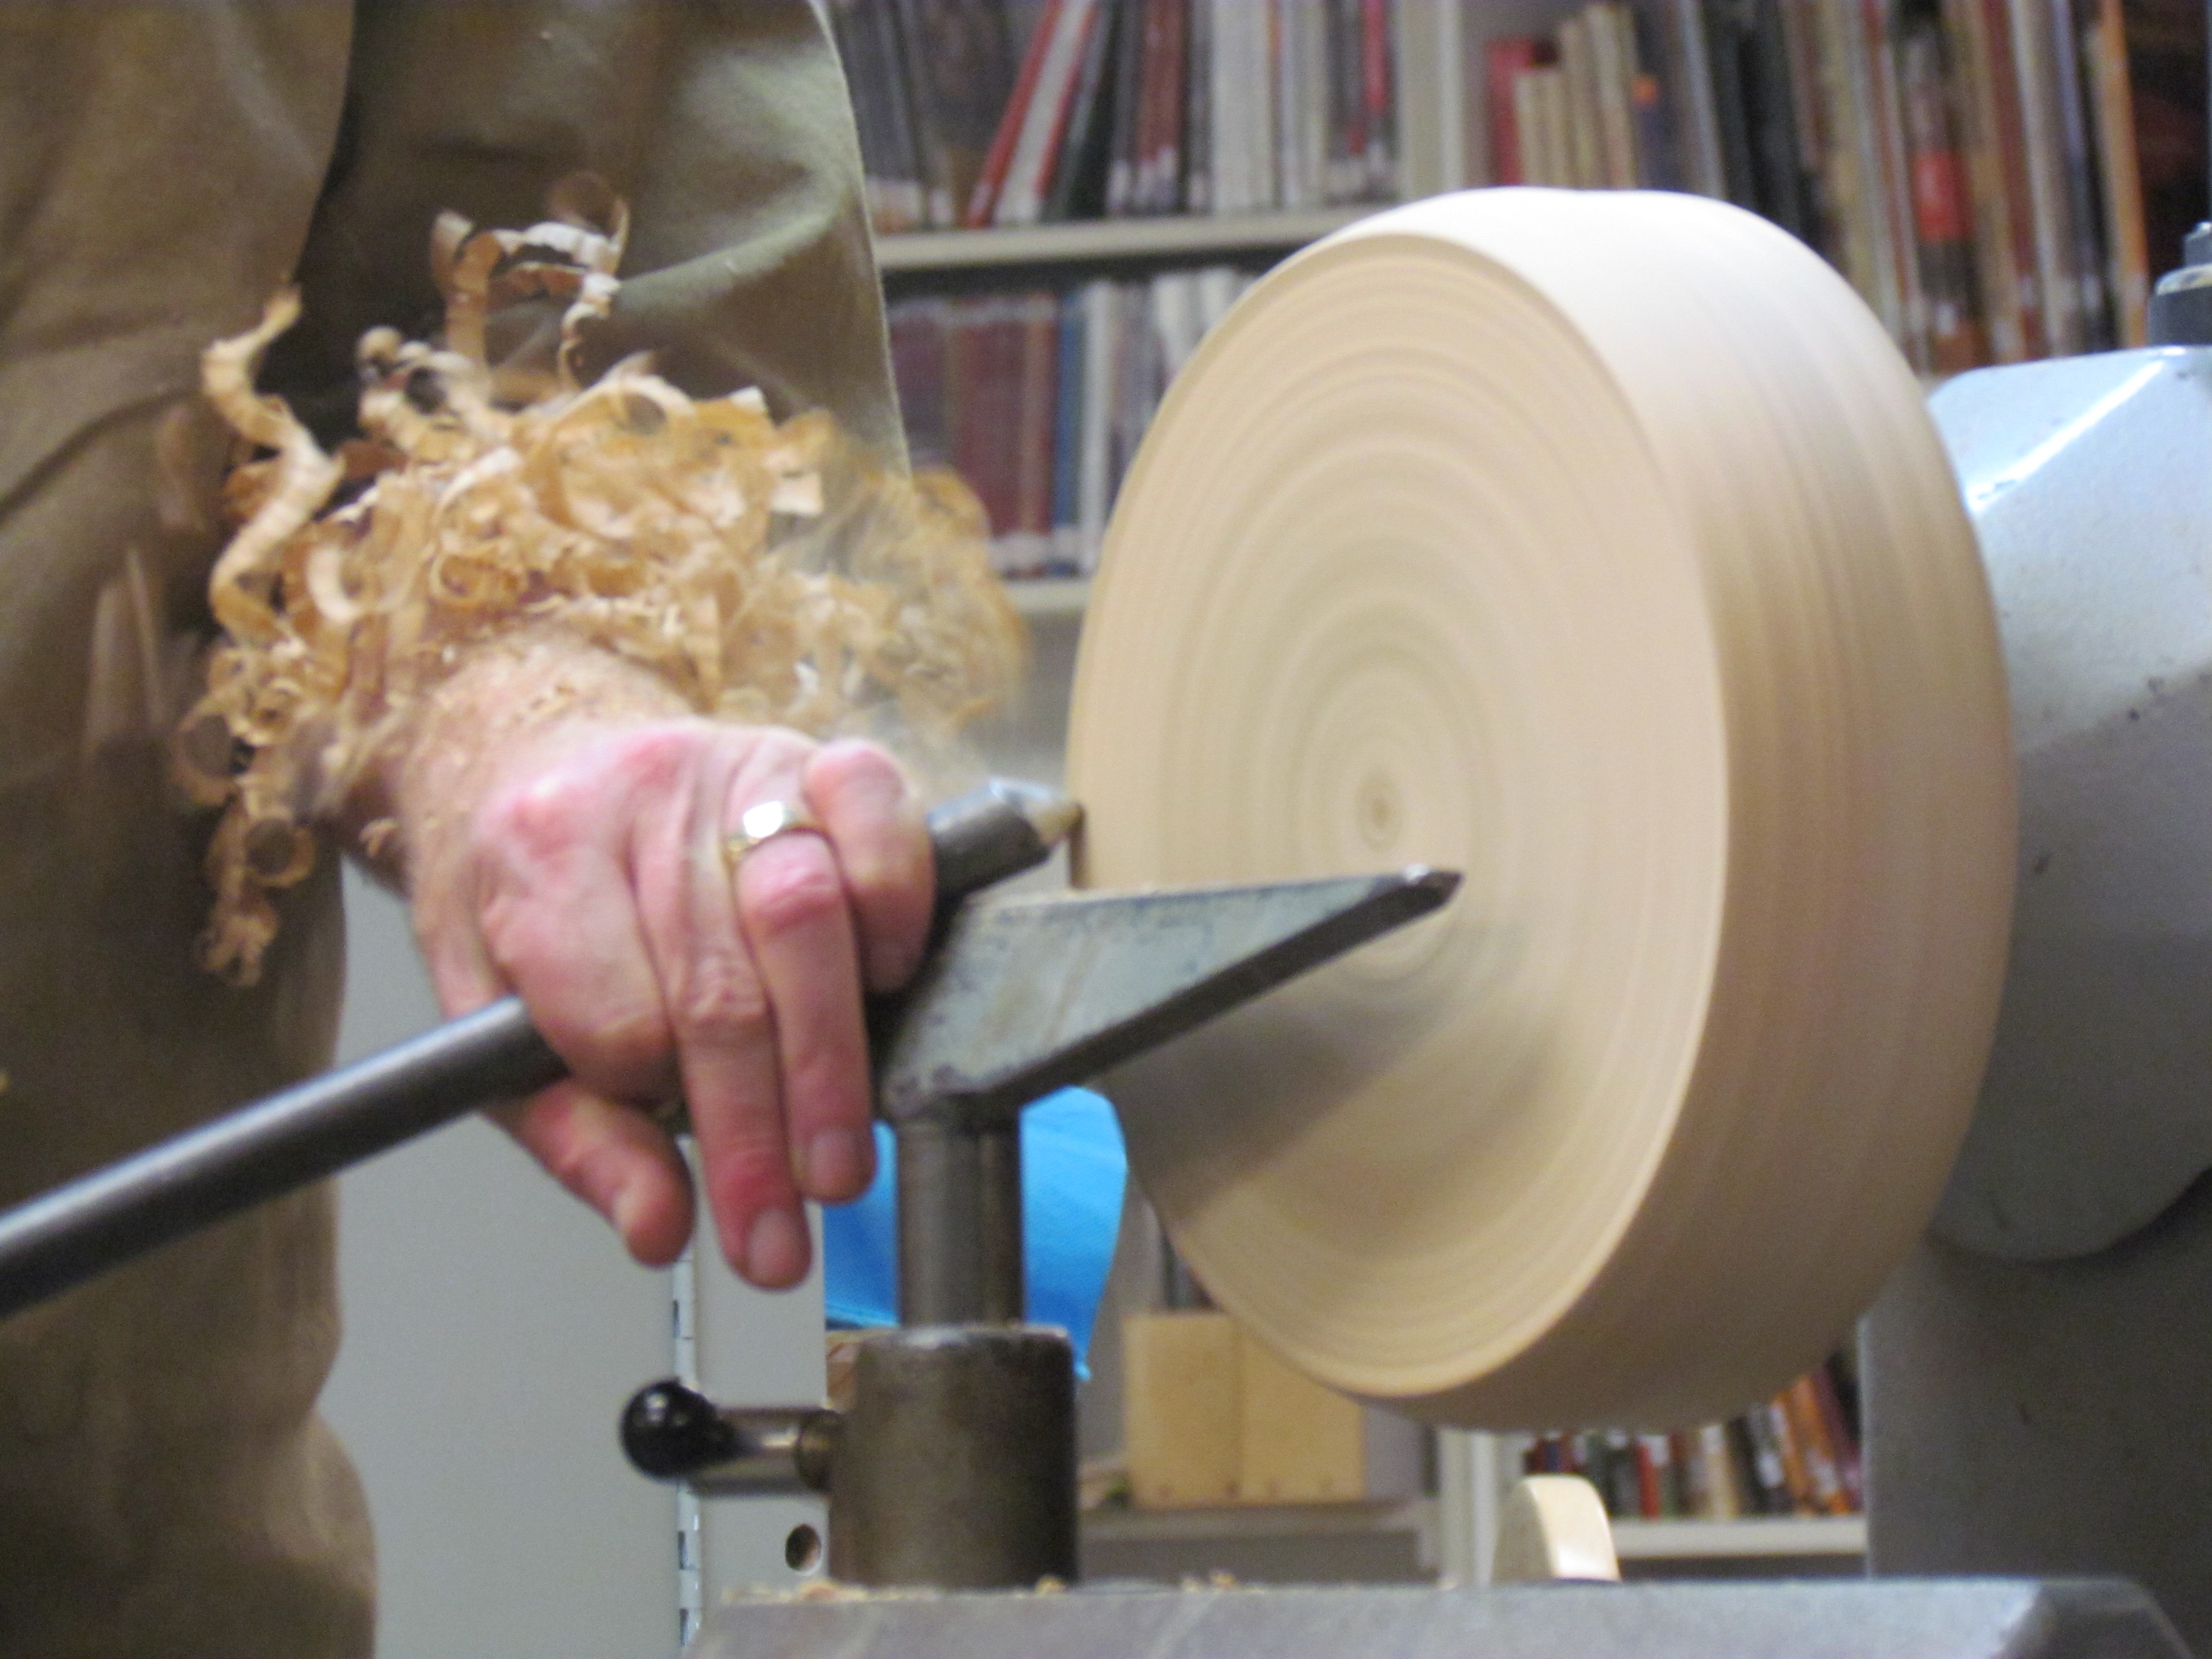
Restrain the aggression: when cleaning up the faceplate and getting things ready avoid being aggressive. Get the blank and balance and then start working on your plan. That is if you have a plan or a drawing. A point taken up not too much later in the demonstration.
Check your measurements: Do you have the correct chuck bite? Do you actually know the correct size? Do you have something to measure things with? All this to avoid later readjustment and correction of any miscalculations. A good direction for getting back to basics.
The correct gouge: Do you have the correct gouge are making the rebate? And as Richard corrected the taper of the rebate he commented; did you checked instructions? Sometimes it’s the little things that really miss you up when you have to go back. Marking a bottle spot will resist resend train if needed corrections. Think through the process for the shape you want. Have you thought about the foot? Richard cheerfully mentioned the need for planning and drawing. A basic feature which helps that particularly nearly days of the first 200 bowls.
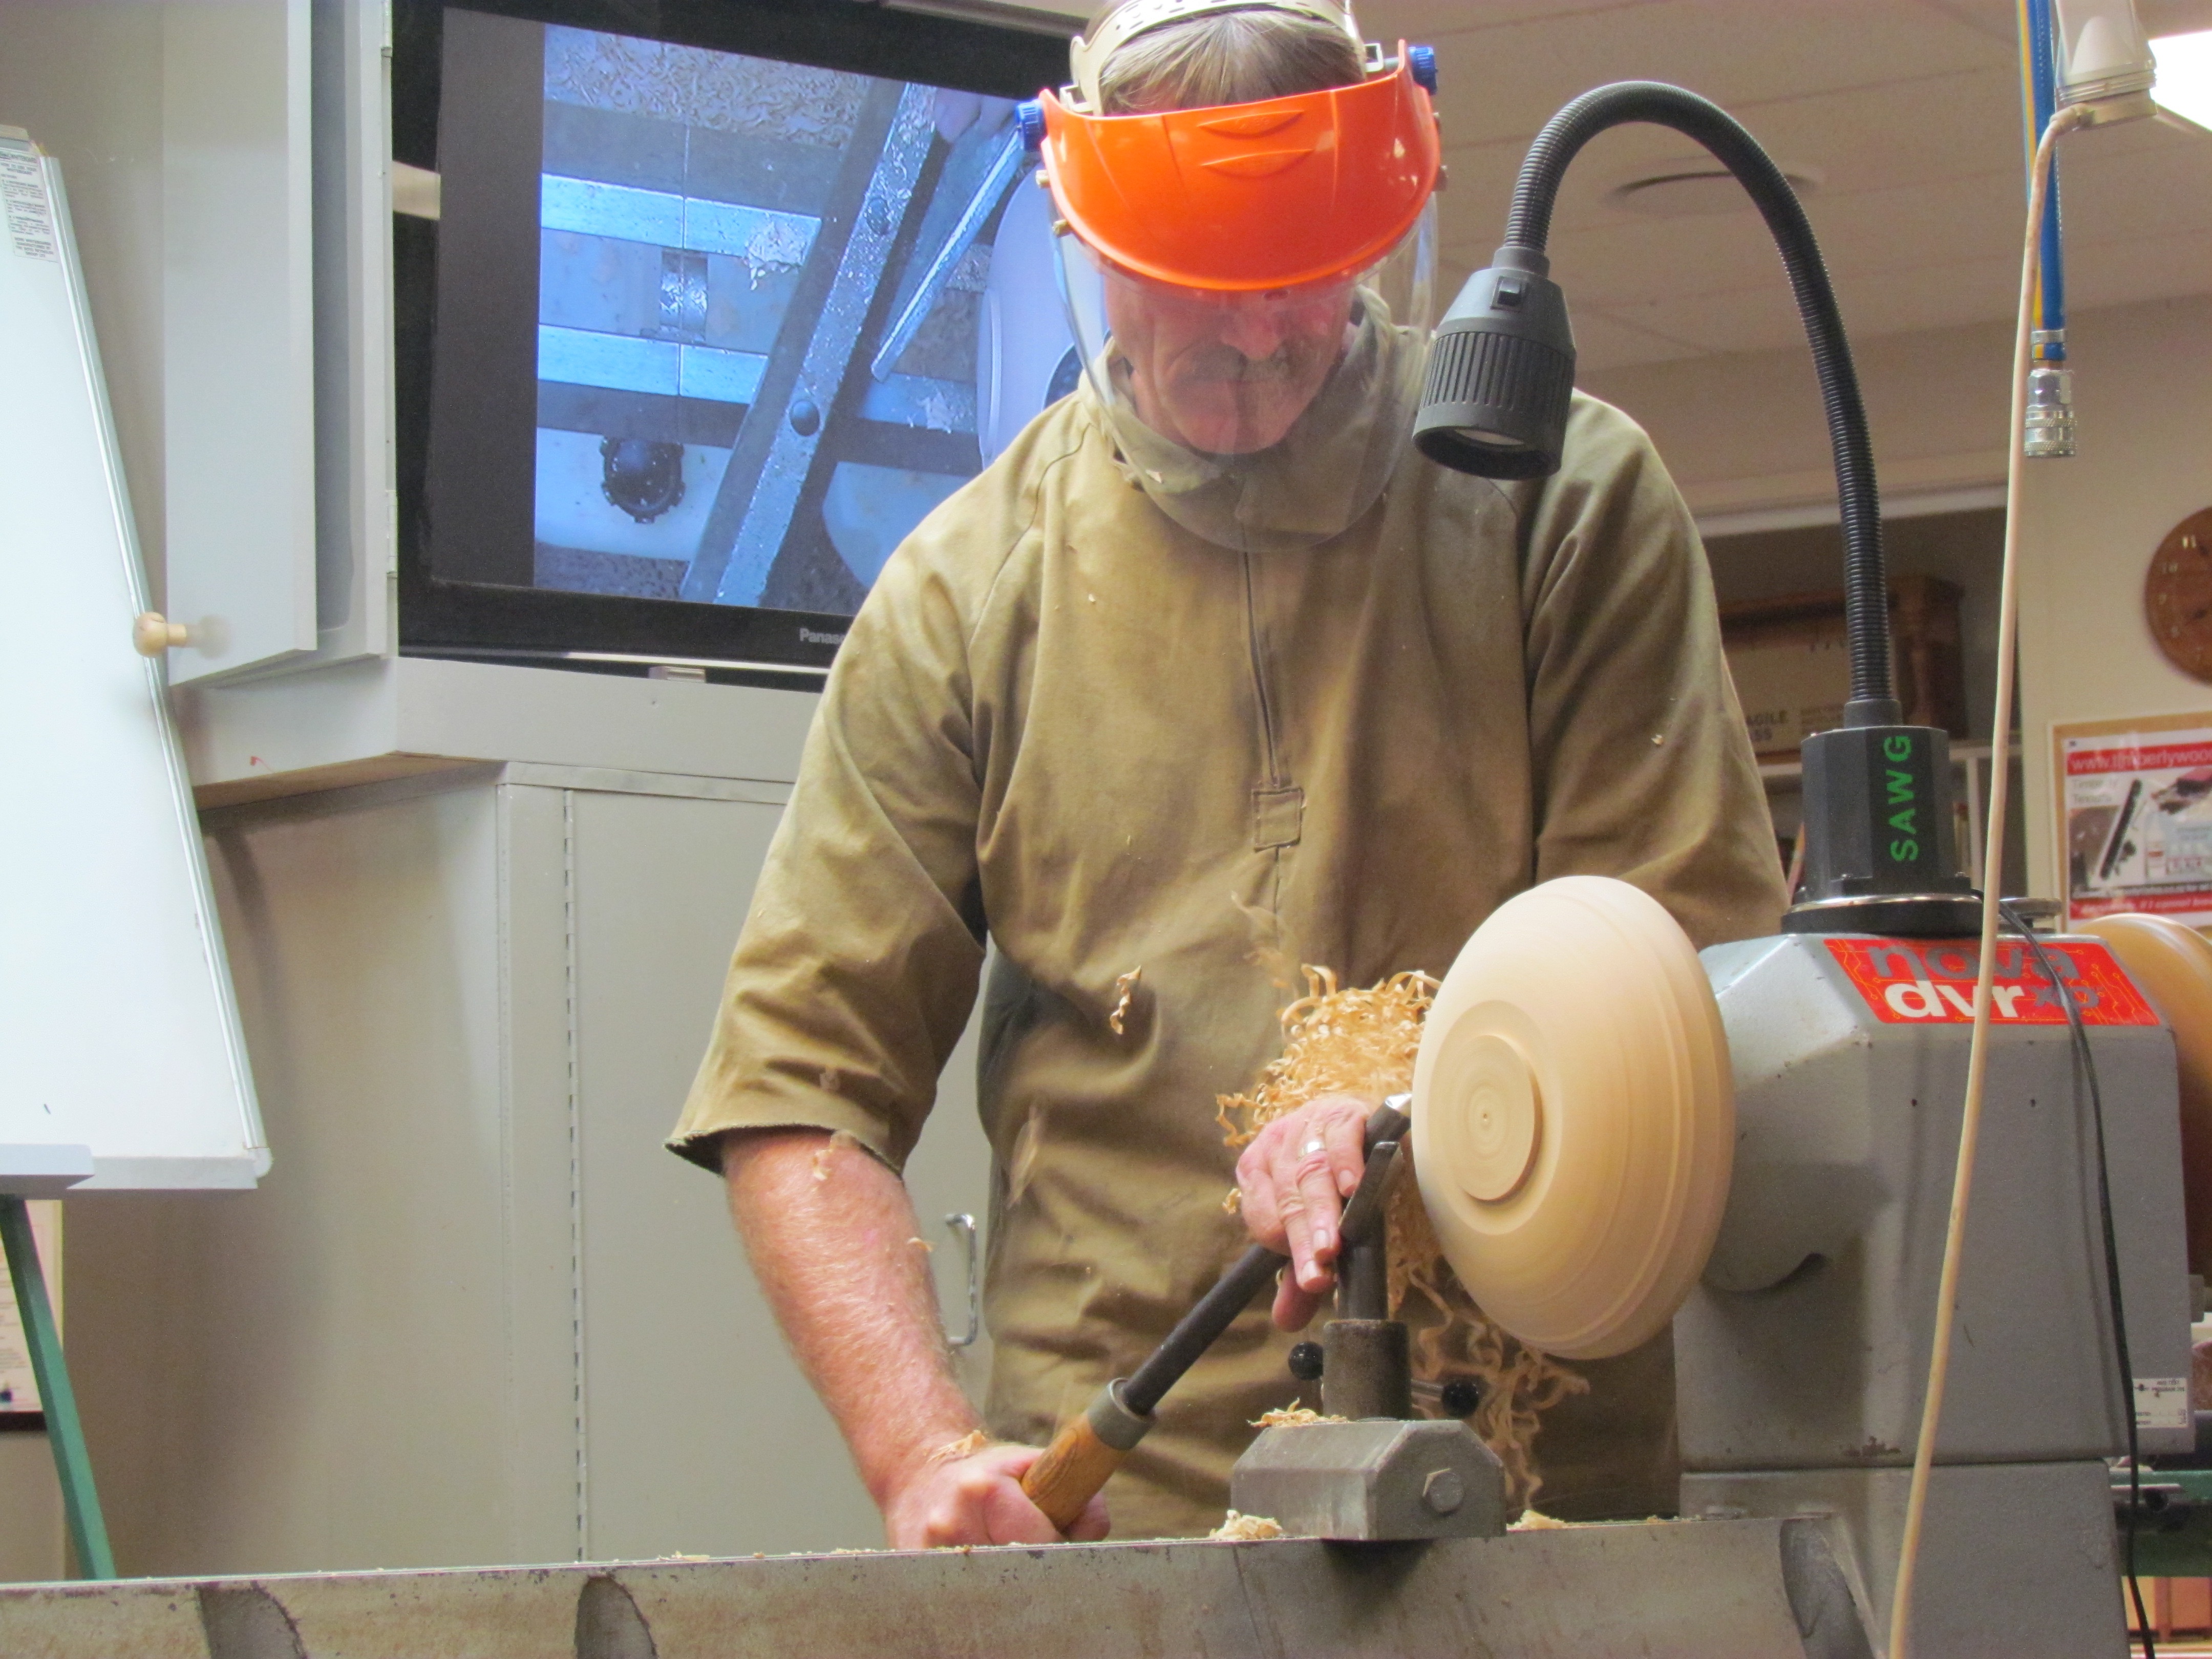
The foot: have you made a decision. There is a need to plan early and ensure that the correct amount of wood is left for the type foot that you’ve decided upon. Sometimes simple questions such as “is it easy to sand” will assist in back to basics approach. Again the cheerfulness Richard said look at the shape you have chosen and make sure that you have the appropriate tools close by and sharpened. All these items are on the checklist. If you can print them off.
Working through the items on the checklist avoids the need to go to Plan B or plan C or plan D….
Along with this approach is a need to have your body position worked out. Ensure you have the correct placement of your feet. Can you move freely and complete the cutting exercise without interruptions making those lovely bumps and humps. Richard returned the conversation to early planning and the oft missed drawing a diagram. Planning can mean room for options; is there room on the rim to have an undercut. Will you be able to use some of the attractive grain in the wood?
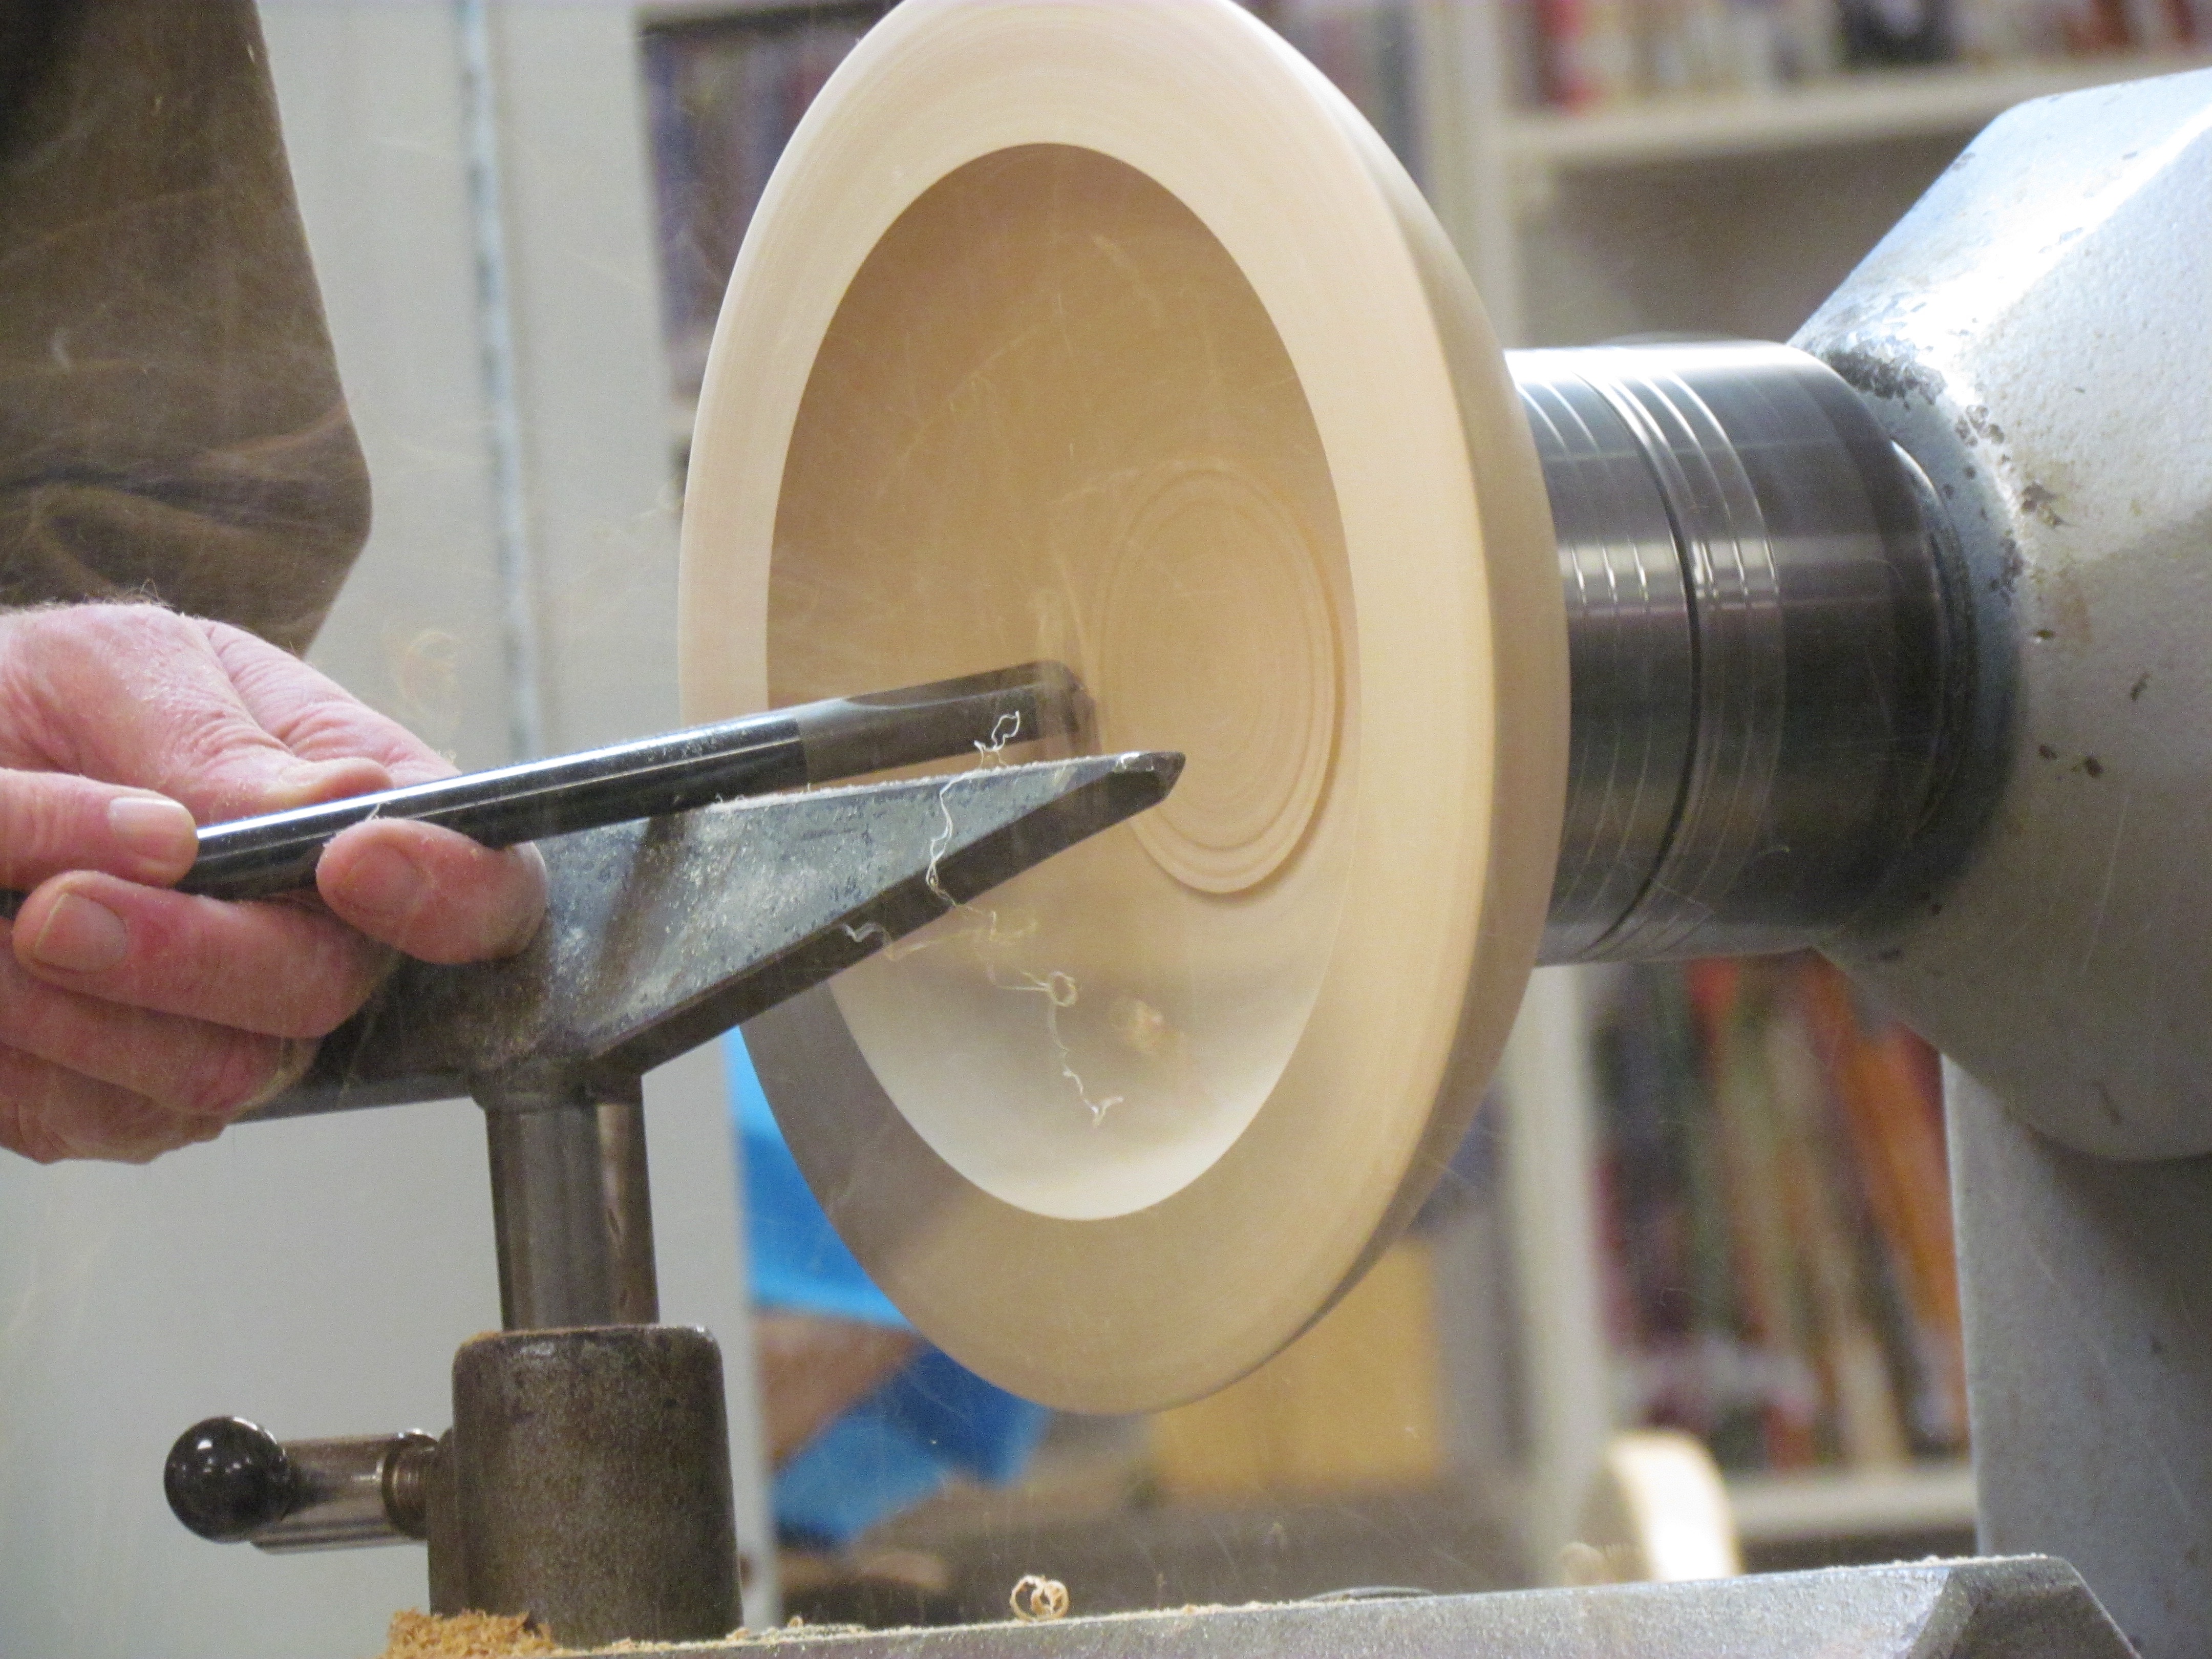
A good joke about callipers; if there are no batteries for the digital callipers, do you have the batteries to run fingerometer to judge the thicknesses. In a back to basics approach, it is good to think about how you’ll take the spigot off. Some prior thought, and even some prior planning will make this a little easier and probably provide a better visual finish.
Richard commented that in this back to basics approach; just slow things down. Don’t rush. Have a thought about things, sharp and tools and enjoy yourself.