Club Meeting: 22 June 2016
Report by : Bob Yandell
Warwick again showed the value of preparation and research in making an entertaining and informative demonstration.
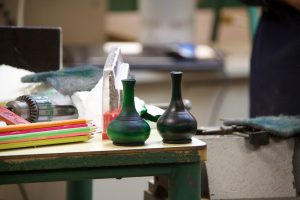
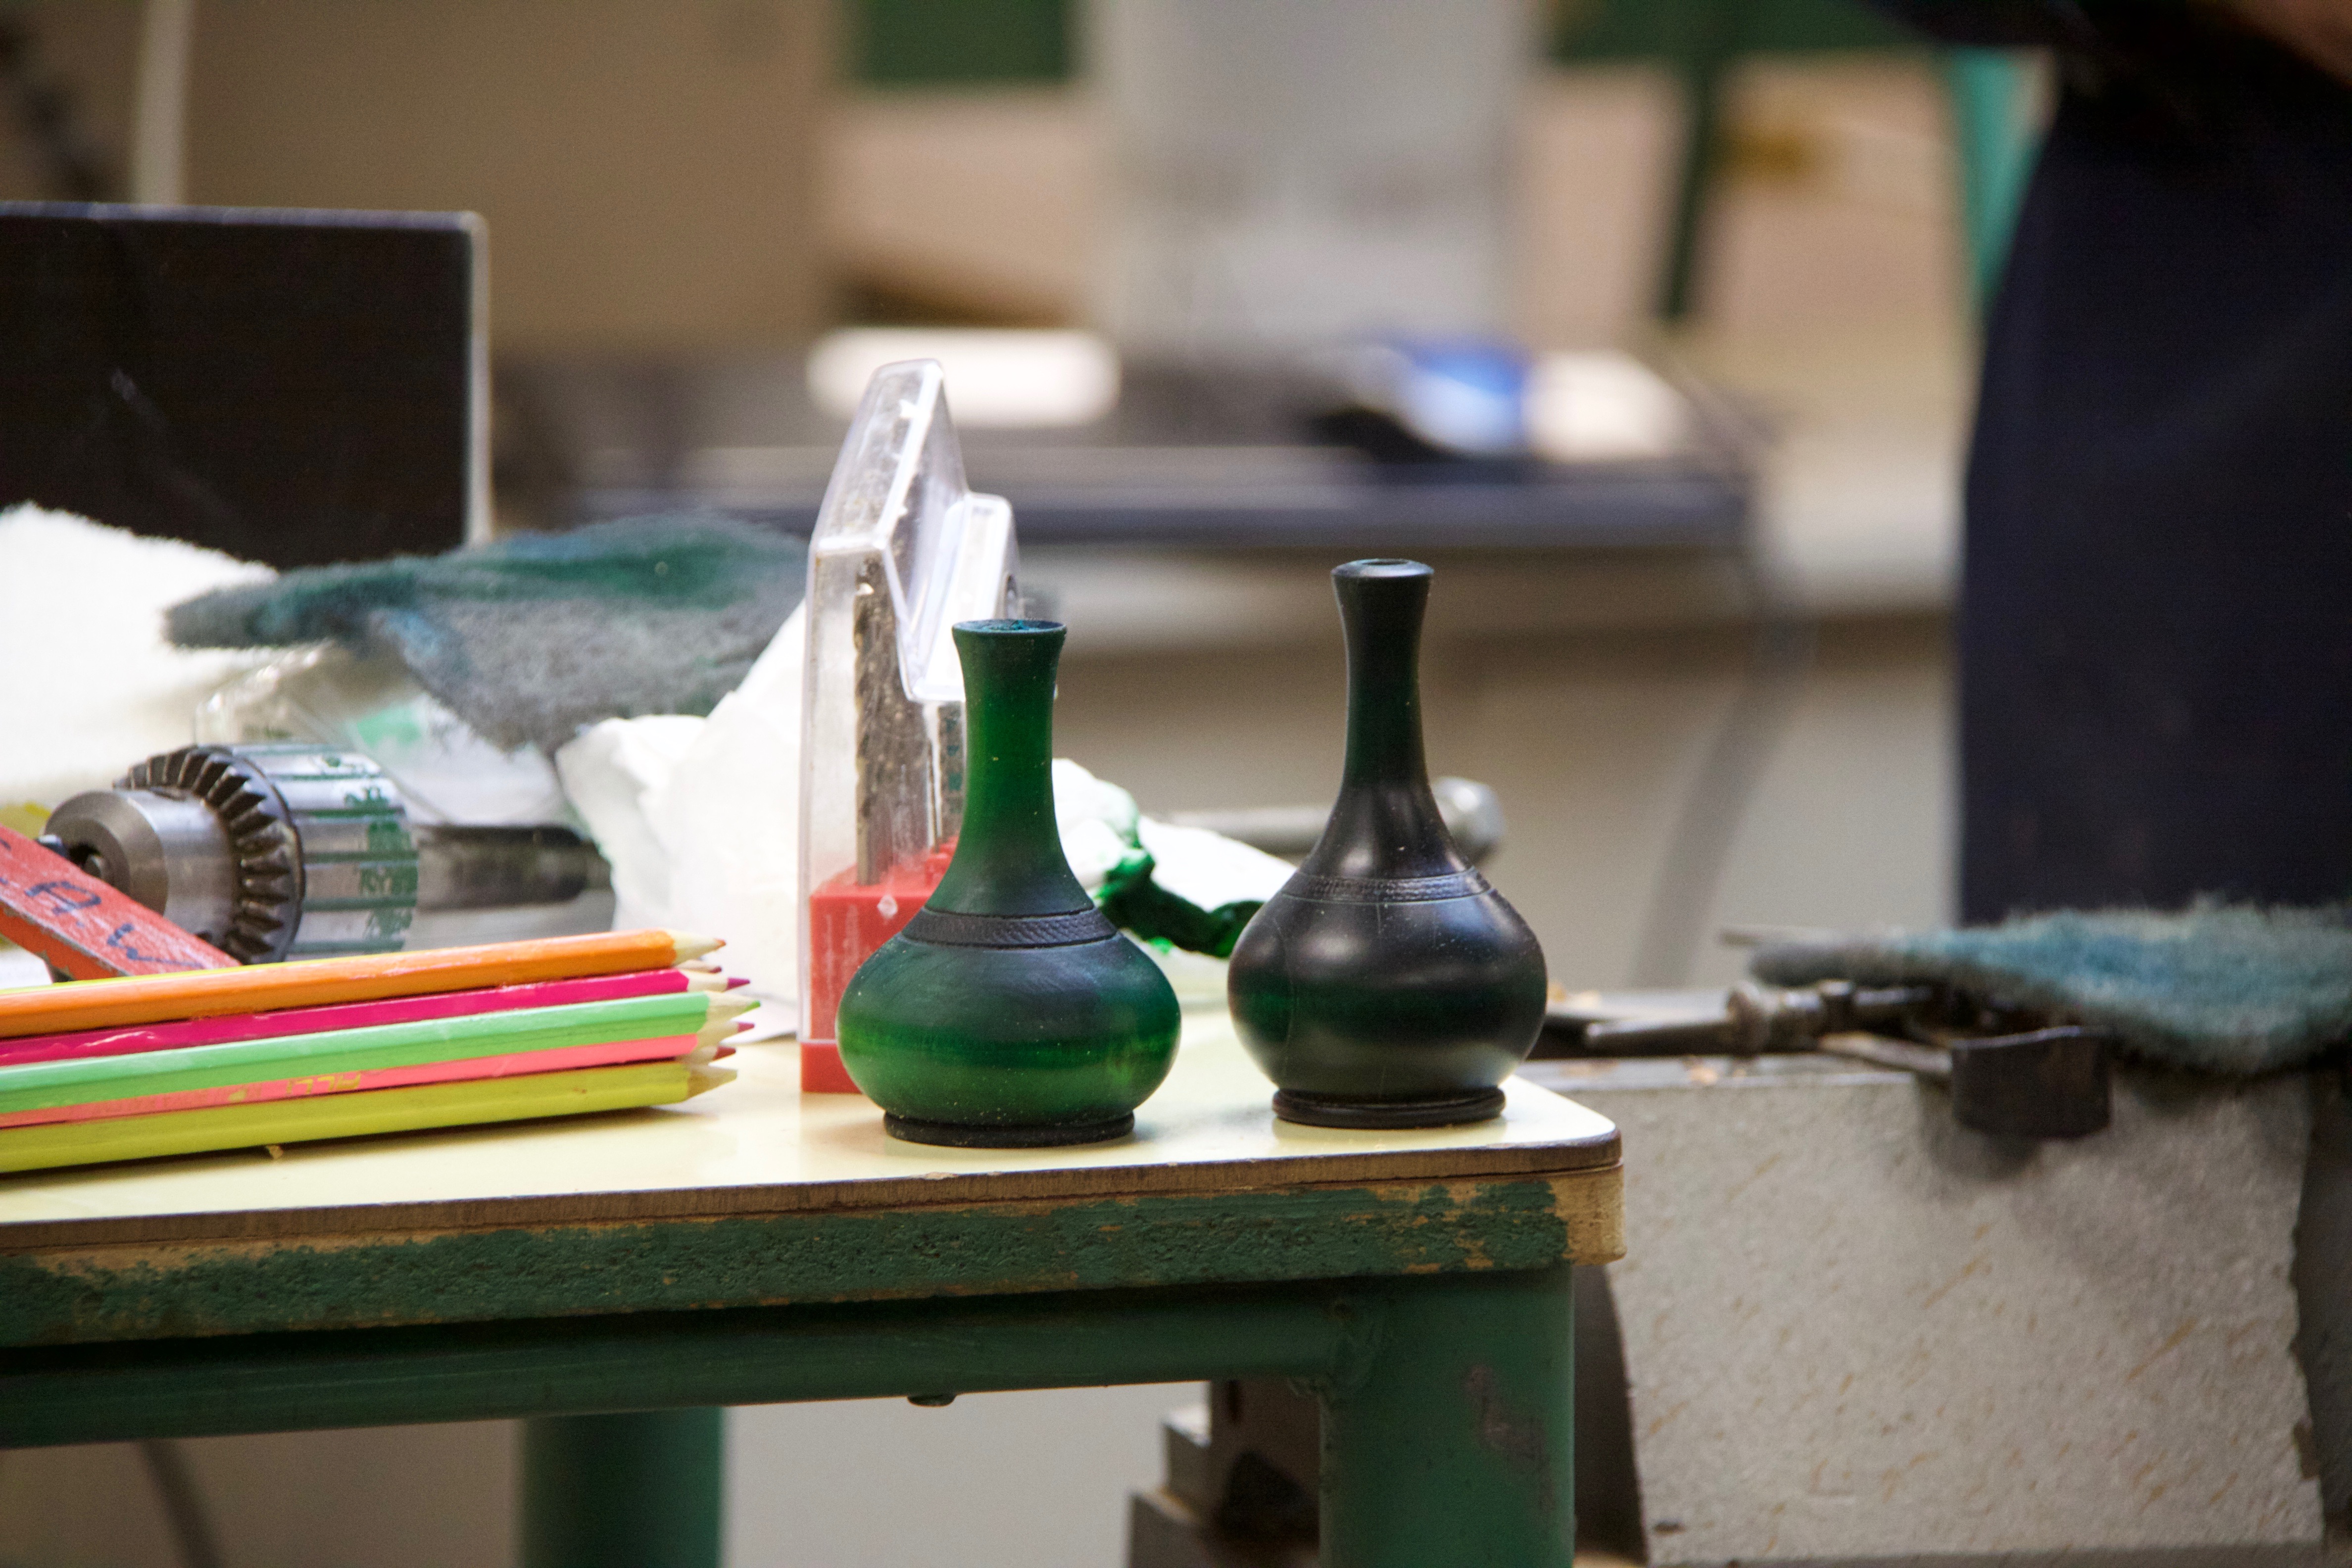
A range of images of Bud Vases observed in the homes of friends, with each having their own personal story, was complimented with images from around the world made in a variety of mediums – porcelain, copper tube, clay and wood. The examples presented showed us there are many shapes and colours in the humble bud vase.
Warwick had reproduced examples of these various shapes in wood and enhanced them with colour. He also used coloured pencils glued together resulting in an interesting product. Warwick selected one design and proceeded to demonstrate how to produce the design.
The presentation was punctuated with key points to remember in using specific turning tools and finishing techniques.
The following steps and points are the basics:
- Square the piece of wood – Macrocapa was used as it is a stable timber
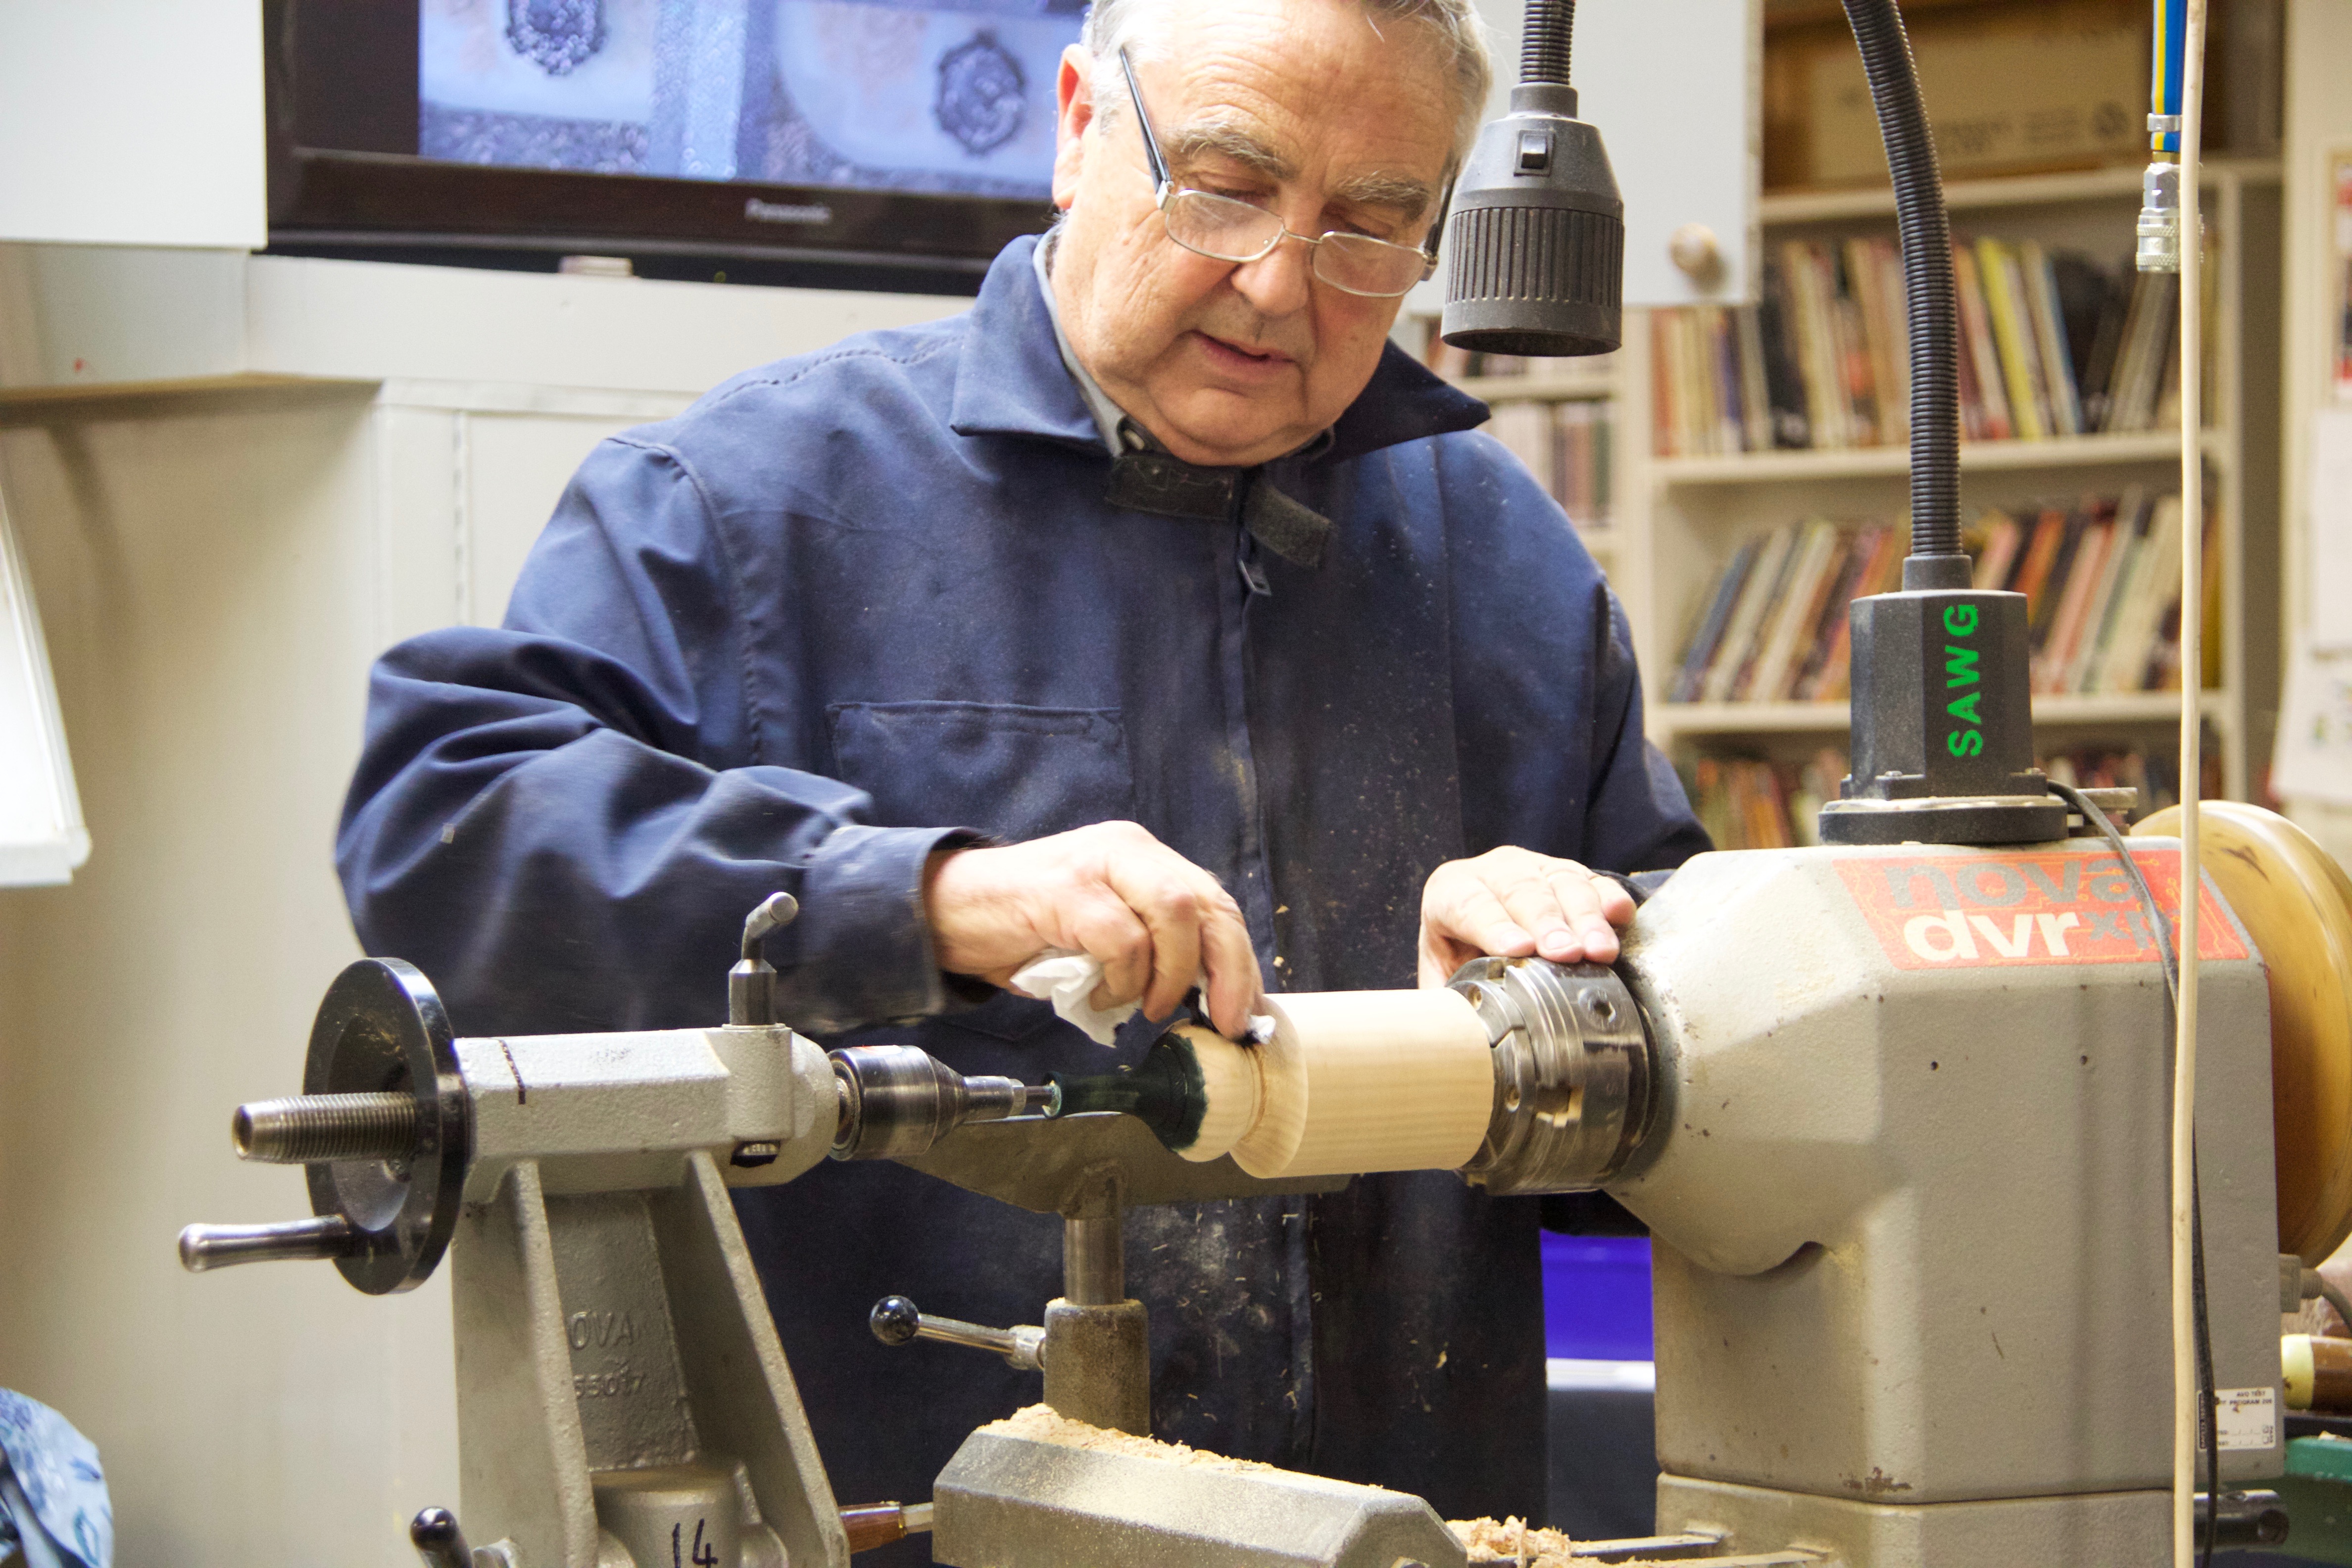
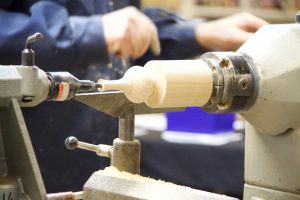
- Hold between centres and roughly shape using roughing gouge
- Cut a chuck bite on the drive end using a Parting or Bedan Parting Tool
- Mount in chuck – using skew chisel achieve a clean surface using a planing cut
- Drill the hole in the centre using the appropriate size drill. Slow and smooth, clearing frequently 600rpm – your choice of drill is yours but the key differences and idiocrasies are as follows
- Auger – lead thread will follow the grain so either be very careful or drill a 6mm pilot hole to eliminate the threaded lead.
- Engineers – the diamond shaped point
- Brad – point like a brad
- Forstner – Straight edge for end grain; saw tooth for cross grain
- Use live centre with an extension the same size as the hole to support the wood during shaping
- If copying an existing design, you can use measurements or a profile gauge to determine high and low points. You can position in the same plain behind the wood being turned to view as you turn.
- Mark the highs and lows in pencil to give a reference point
Turn final shape and tidy mouth with the spindle gouge – Sharp tool and slow steady - Sand – go through the grits. Store sand paper in a “file box” made to size (1/4 sheet) and have dividers to keep grits separate. Use a marker/stick to indicate where you are in the process
- Colour -Water based. Layer and dry with hair dryer or go and have a cuppa. Burnish with a sanding pad or steel wool between colours. Warwick used Blue, Green Light Green and highlighted parts with Red
- Finish with what you use. Stick to the same “Family/Brand” group e.g. Triple E and ShellaWax from U-Beaut Enterprises .