Date : 25 May 2016
Author : John Whitmore
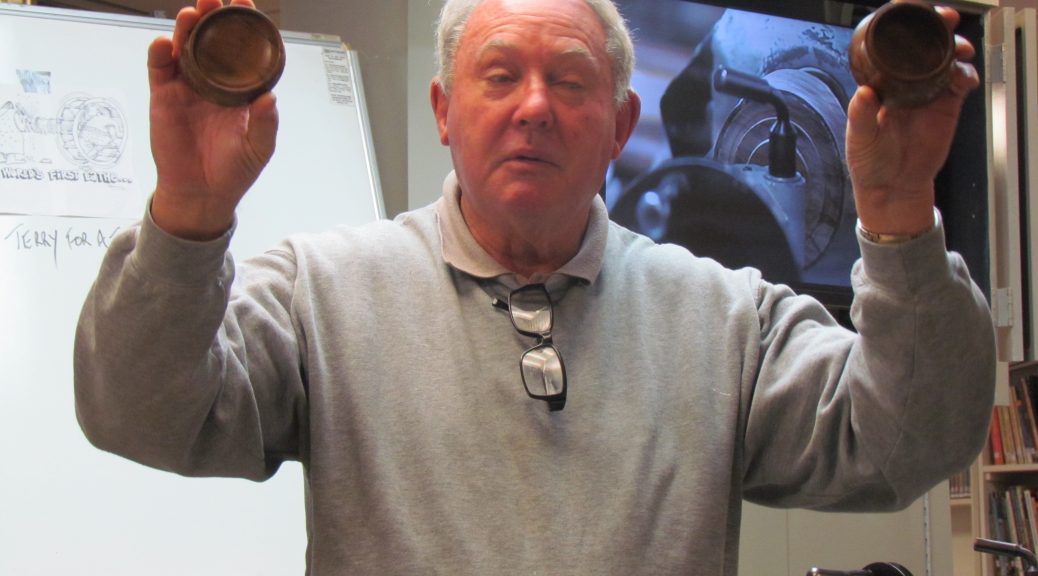
The intention was to take the audience through the basic procedure of making a lidded box (instructions can be found on the SAWG website). This morphed into a version that Cam makes based on the style of a Guilio Marcolongo jewellery box and characterised by a flared base; and with a top that is both flared and off-set. The point of difference was in using a Vermec Multi-Centre Chuck, theatrically described as a ‘wobbly chuck’. For simplicity of description, sanding and finishing stages are omitted.
The starting point was a side grain cylindrical blank of (unidentified) timber of 95mm diameter and at least 95mm long. This length allows enough waste for a sacrificial foot and from the separation of lid from base – but all dimensions are, of course, variable according to individual taste. 50mm spigots had already been turned on both ends, plus a drilled hole in the waste at the base end that would later be attached to the ‘wobbly chuck’. If matching of grain is desired, the likelihood is that straight-grained timber used in end grain format, will be necessary.
The blank was held between centres by 50mm jaws with a Steb live centre as tailstock support. 22mm was parted off at the tailstock end to form the lid section, reversed and mounted into 50mm chuck jaws using the existing spigot, for later use.
The remaining, larger, base section was drilled close to final interior depth using a 60mm Forstner bit and finished with skew and square ended scrapers. The interior wall line was flared to approximately match the intended later flare of the outside. At the same time the rebated step for fitting the top, was formed, and must be parallel to the box axis.
It was now time to remount the lid piece in the 50mm chuck jaws ie with the eventual top surface facing the headstock. At this stage the lid was hollowed out and the corresponding rebate cut to match the base rebate, with a close interference (ie jam) fit.
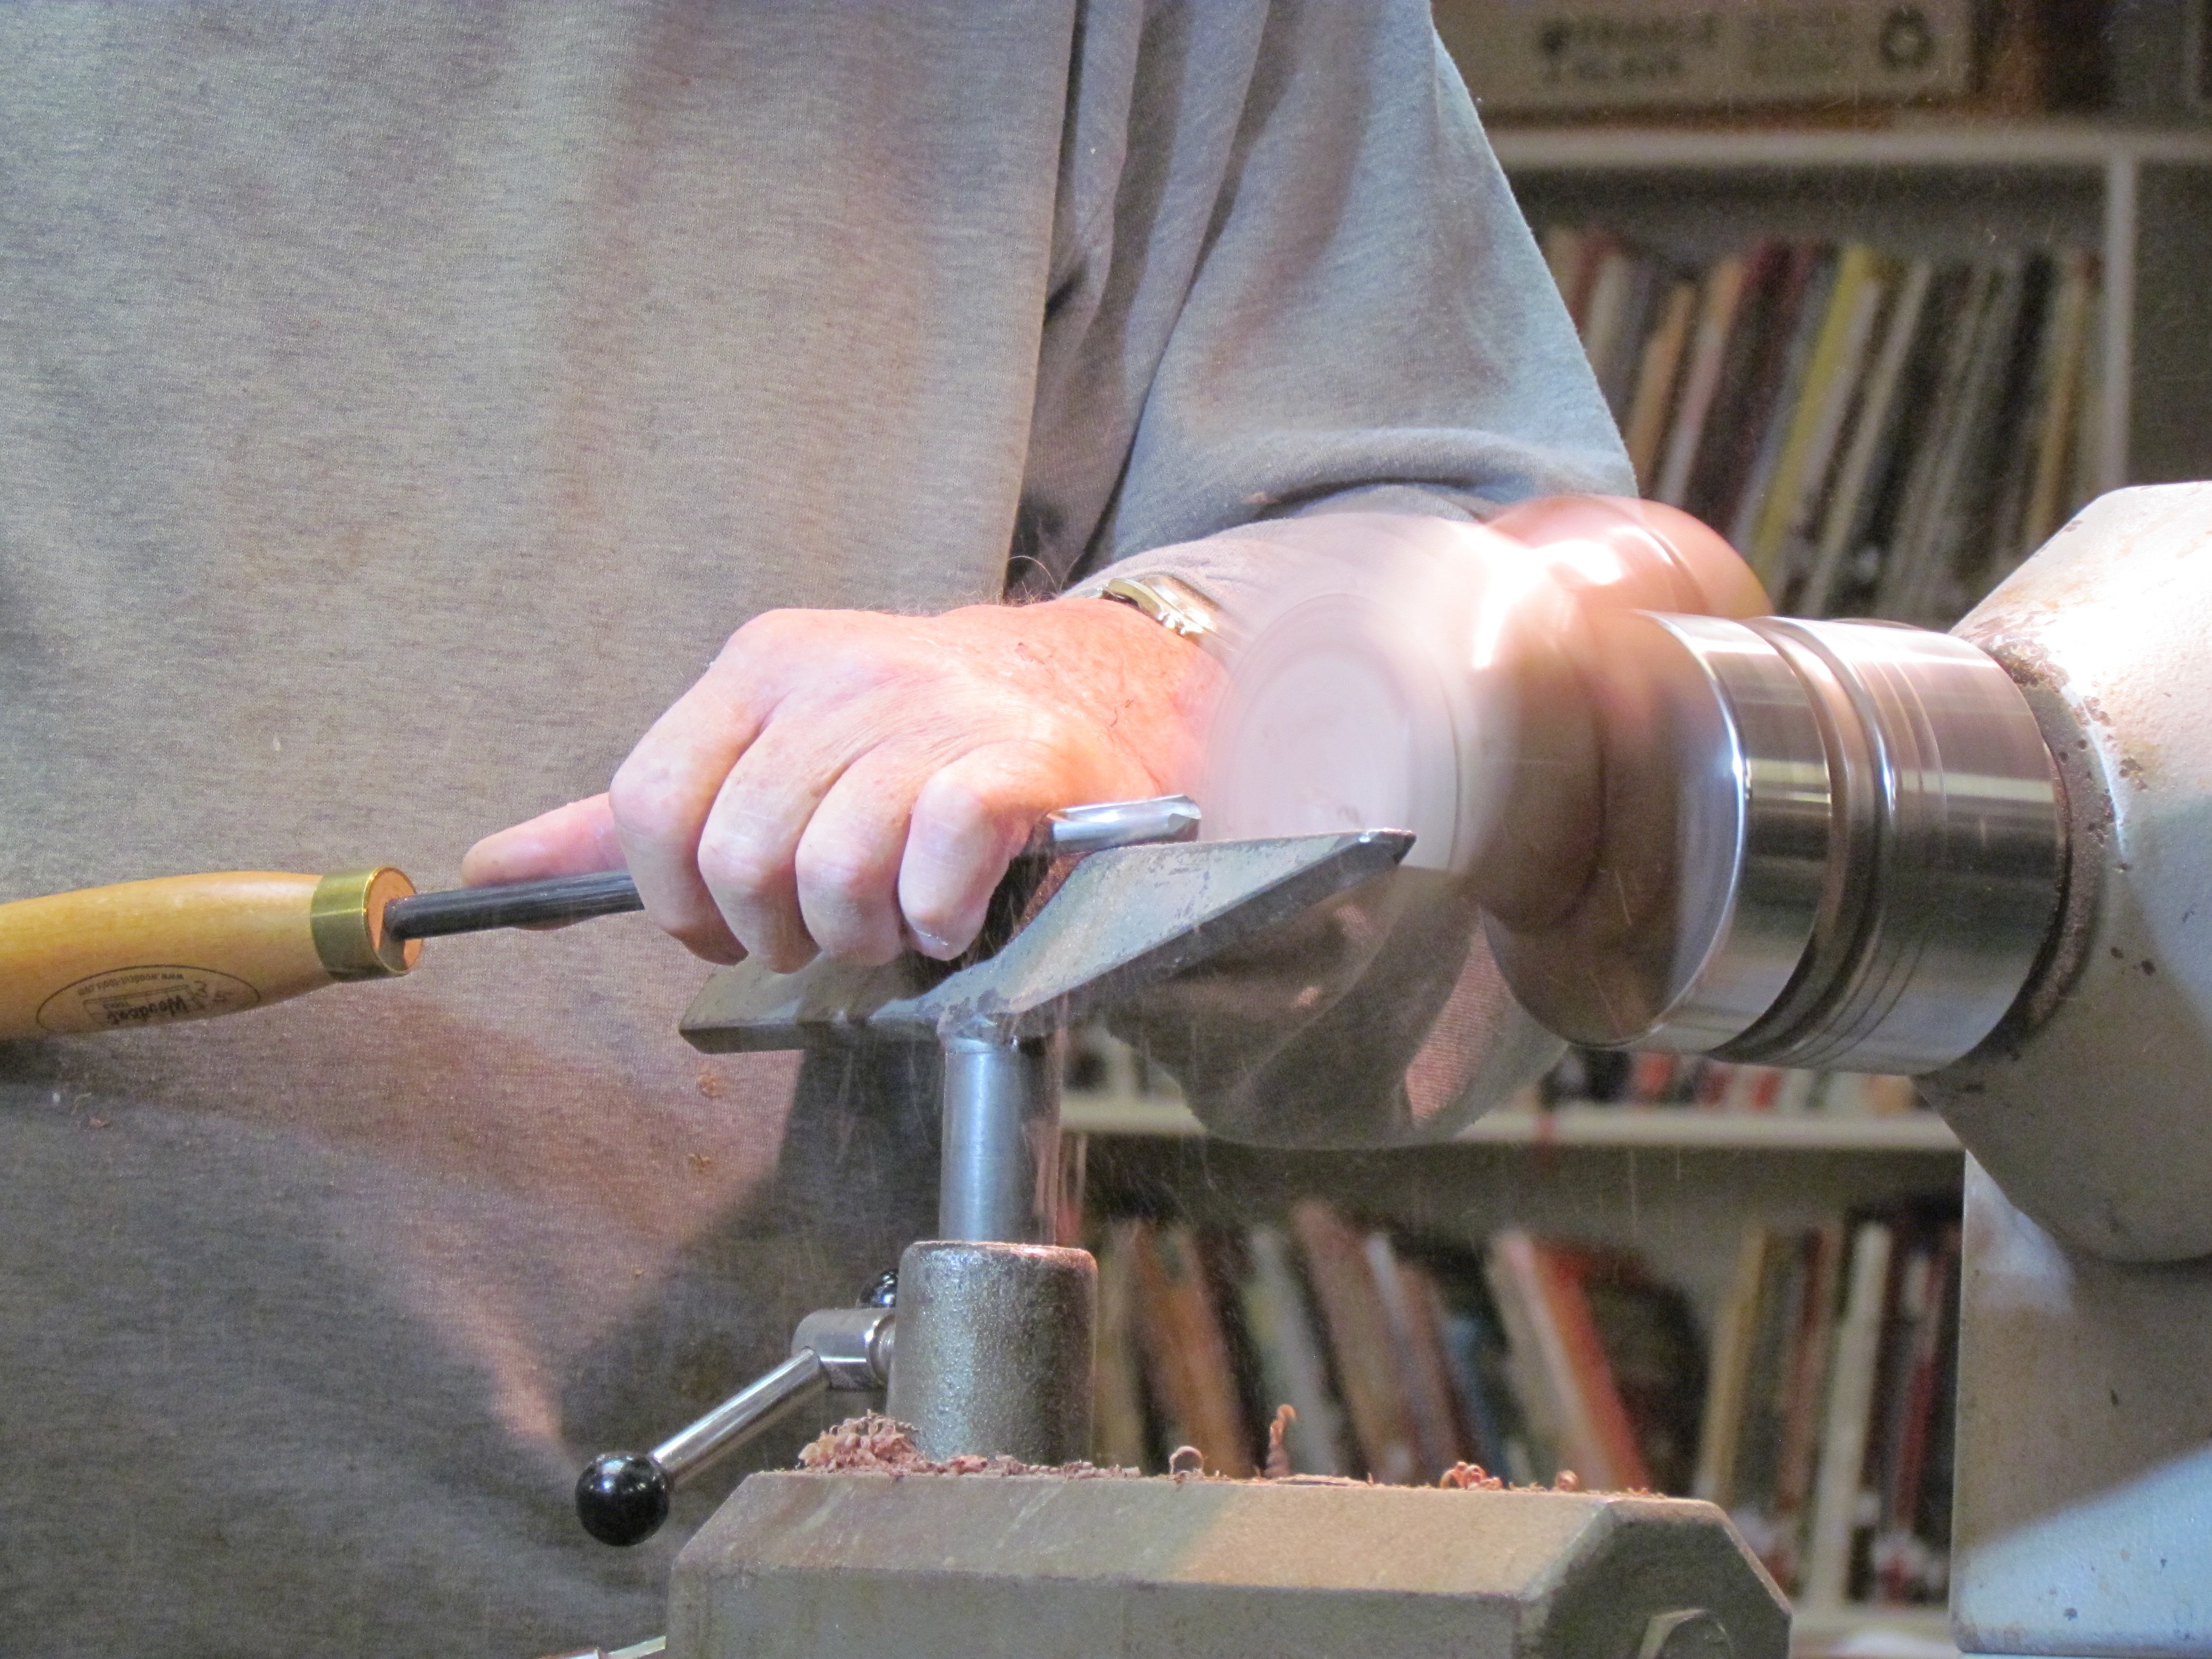
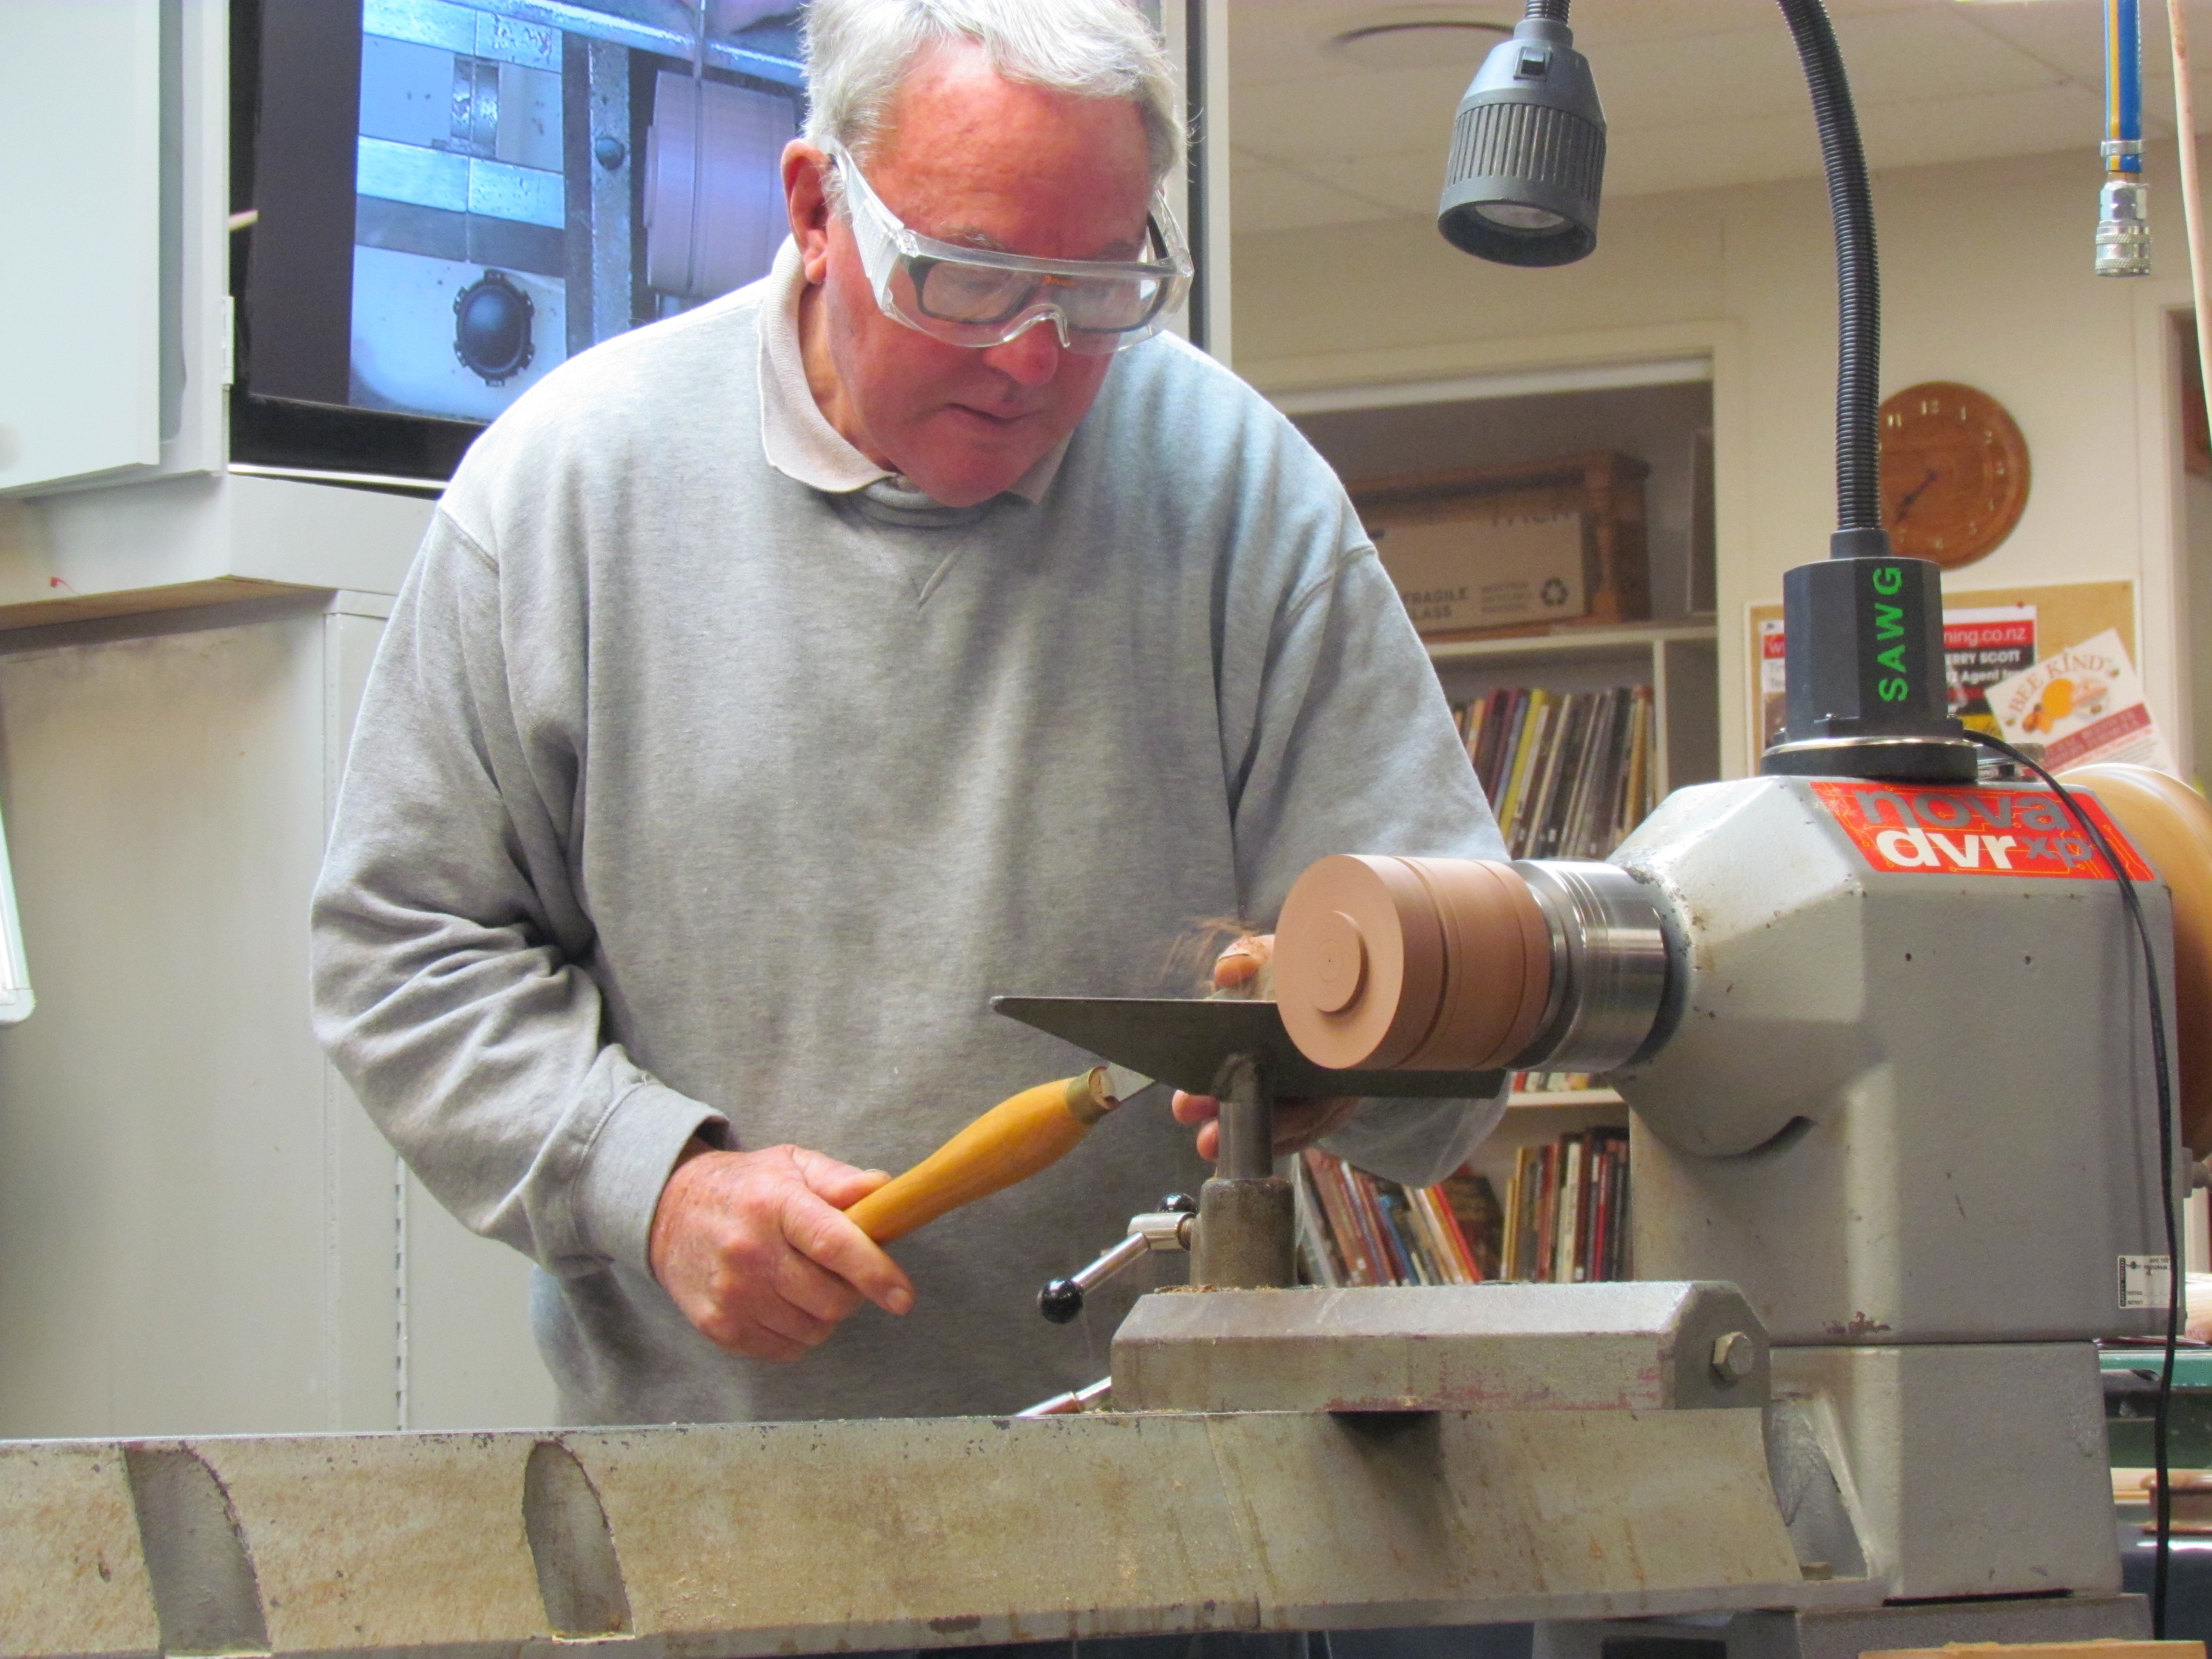
The base plus fitted lid was then mounted as one unit on the ‘wobbly chuck’ (set to zero and held in conventional jaws) – with the Steb live centre brought up for support while the outsides of both parts is ‘coved’ together to create the outside flare shapes. After this, tape is used to firmly secure the top to the base section and the tailstock support is removed. The spigot was turned off while the work was still on-centre; then the ‘wobbly chuck’ was adjusted to give whatever degree of offset is desired (in this case #24). Careful, offset doming of the lid was conducted by cutting with a bowl gauge against the grain (ie from the outside) to minimise edge chipping.
Discounting sanding and finishing, the final task was to separate the parts and reverse the base onto chuck jaws to turn off the waste wood into which the ‘wobbly chuck’ was screwed.
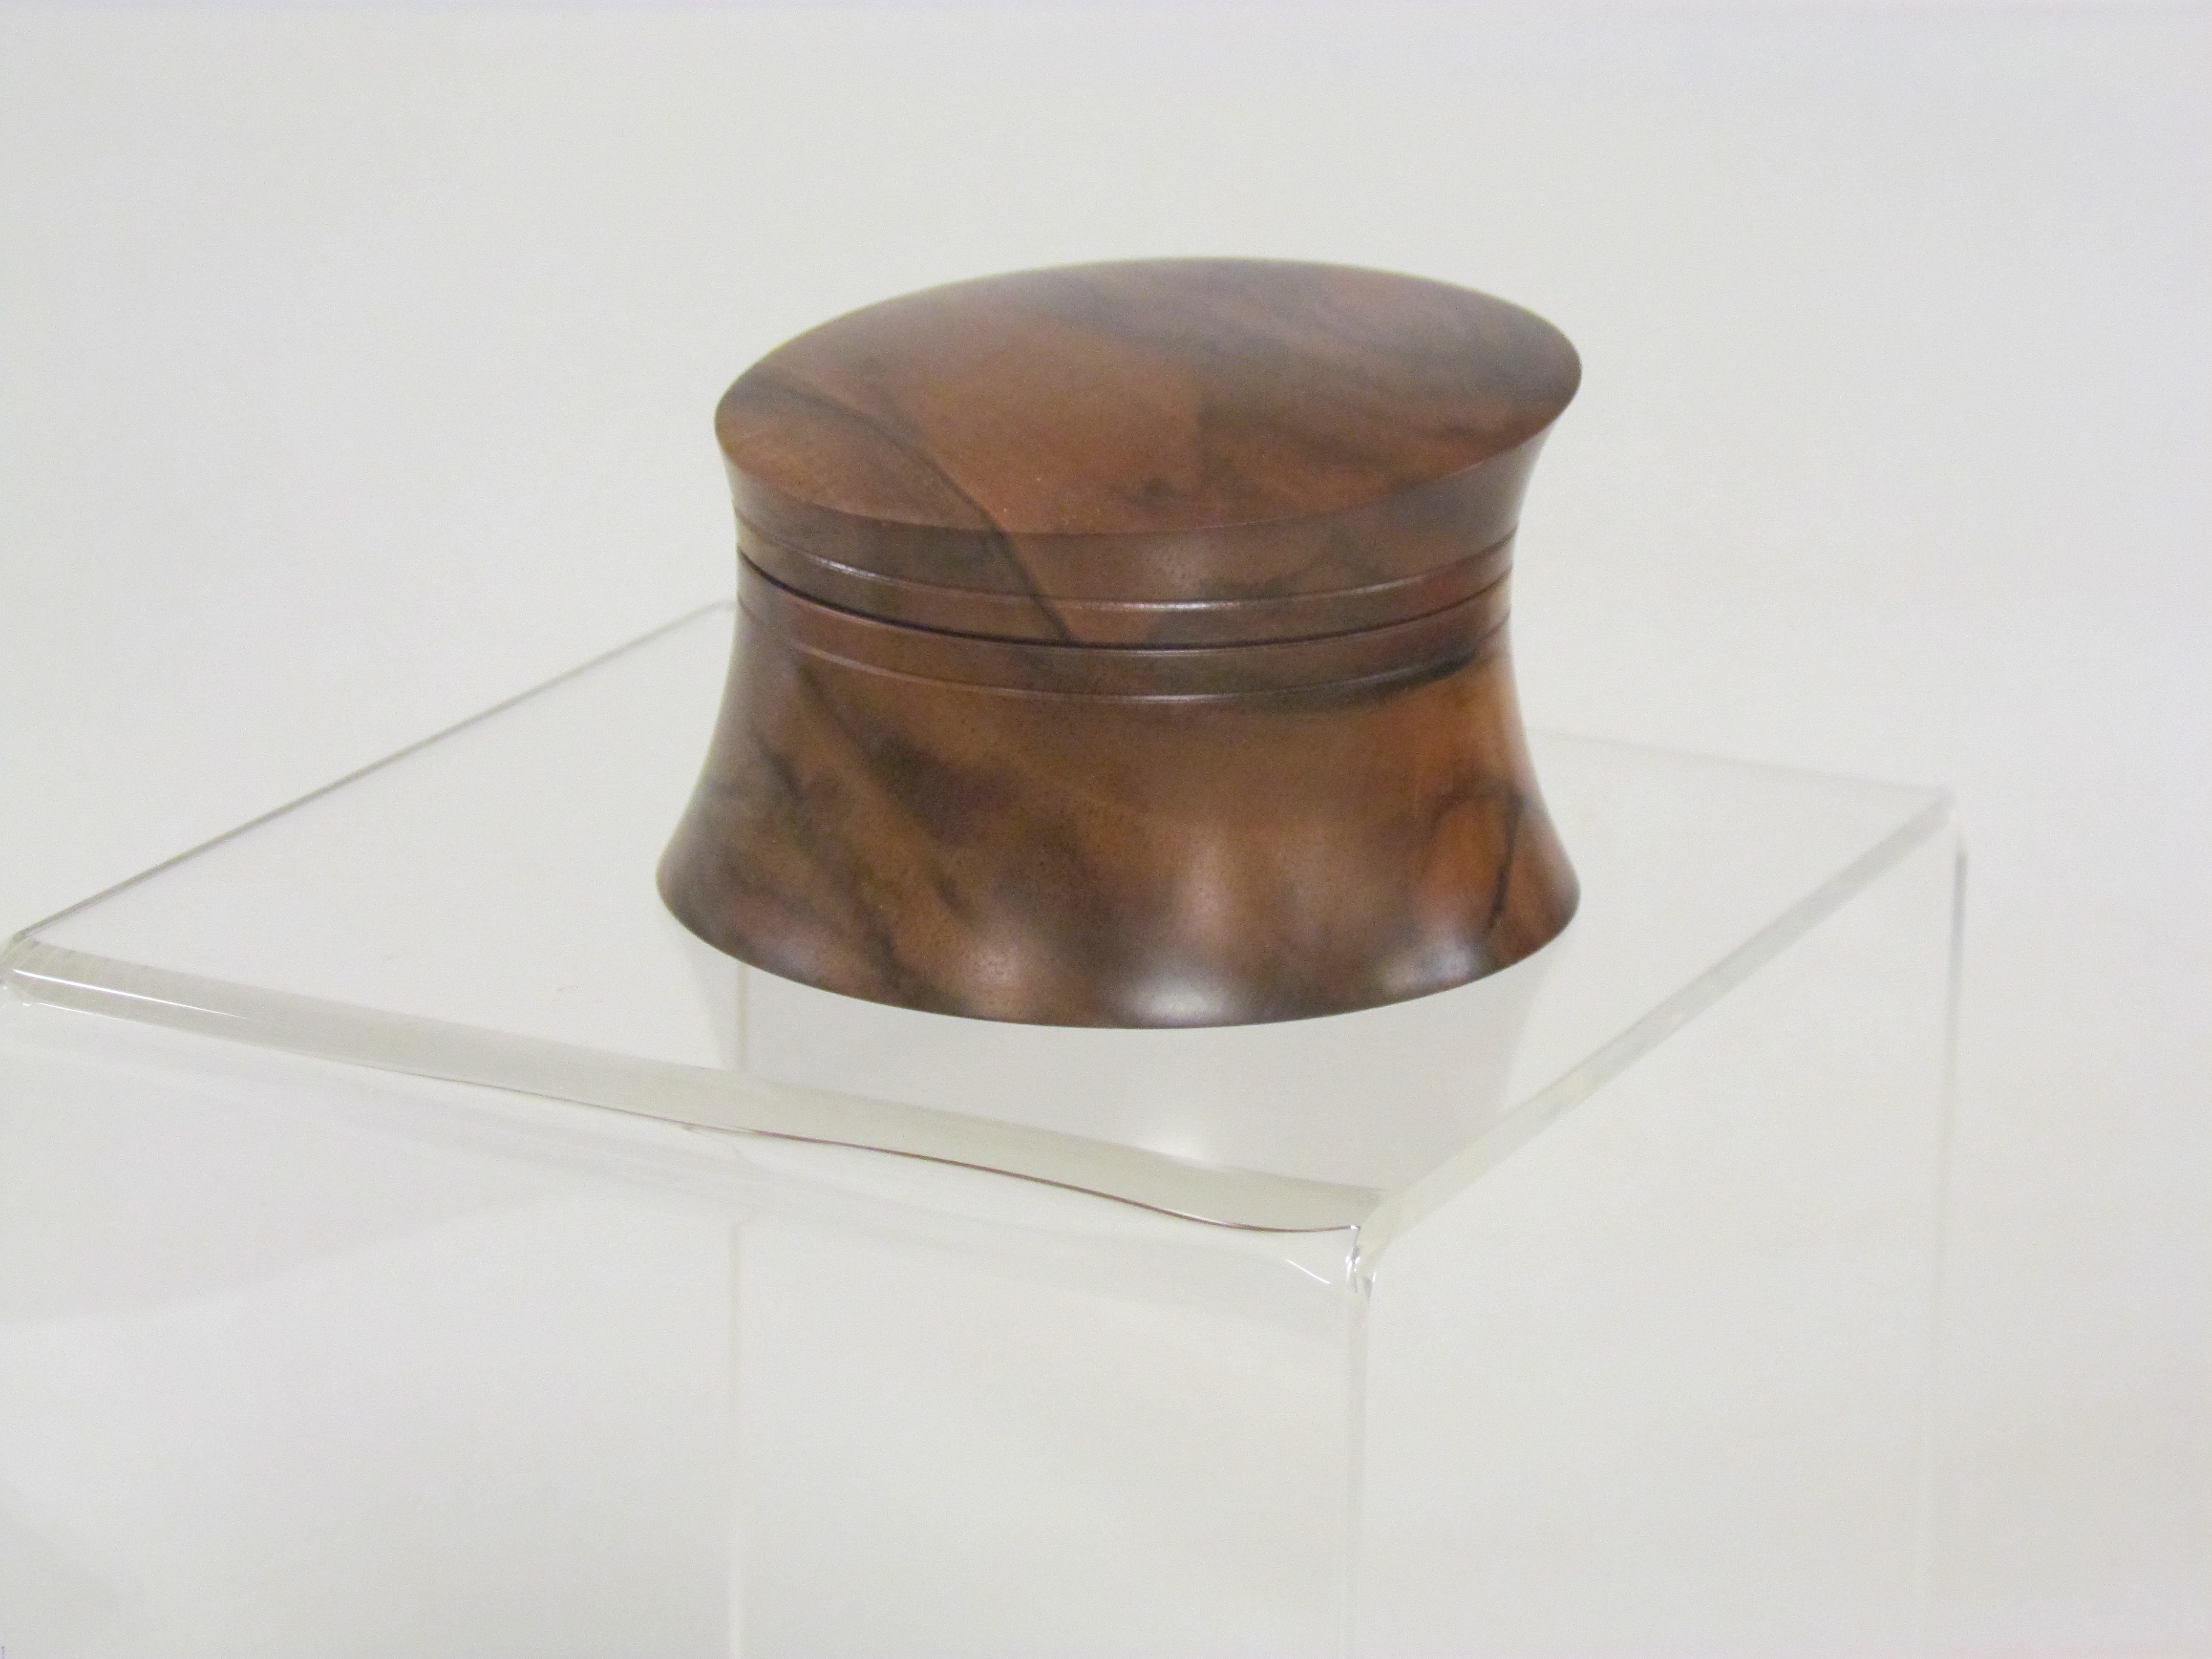
Lidded box enthusiasts will be able to devise their own dimensions, styles and preferences based on this soundly demonstrated format.