Club Meeting: 7 September 2016
Report by Judith Langley
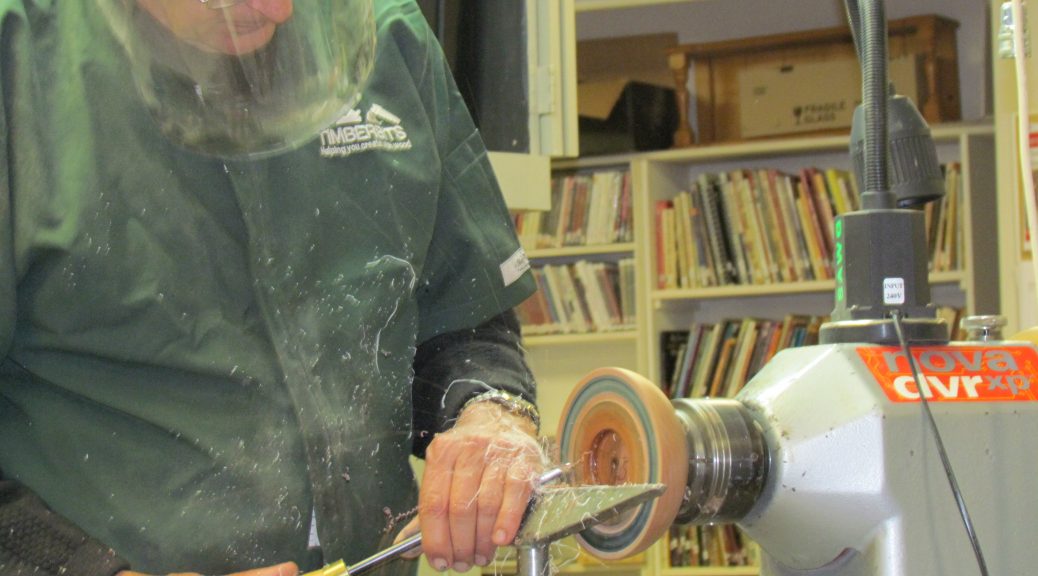
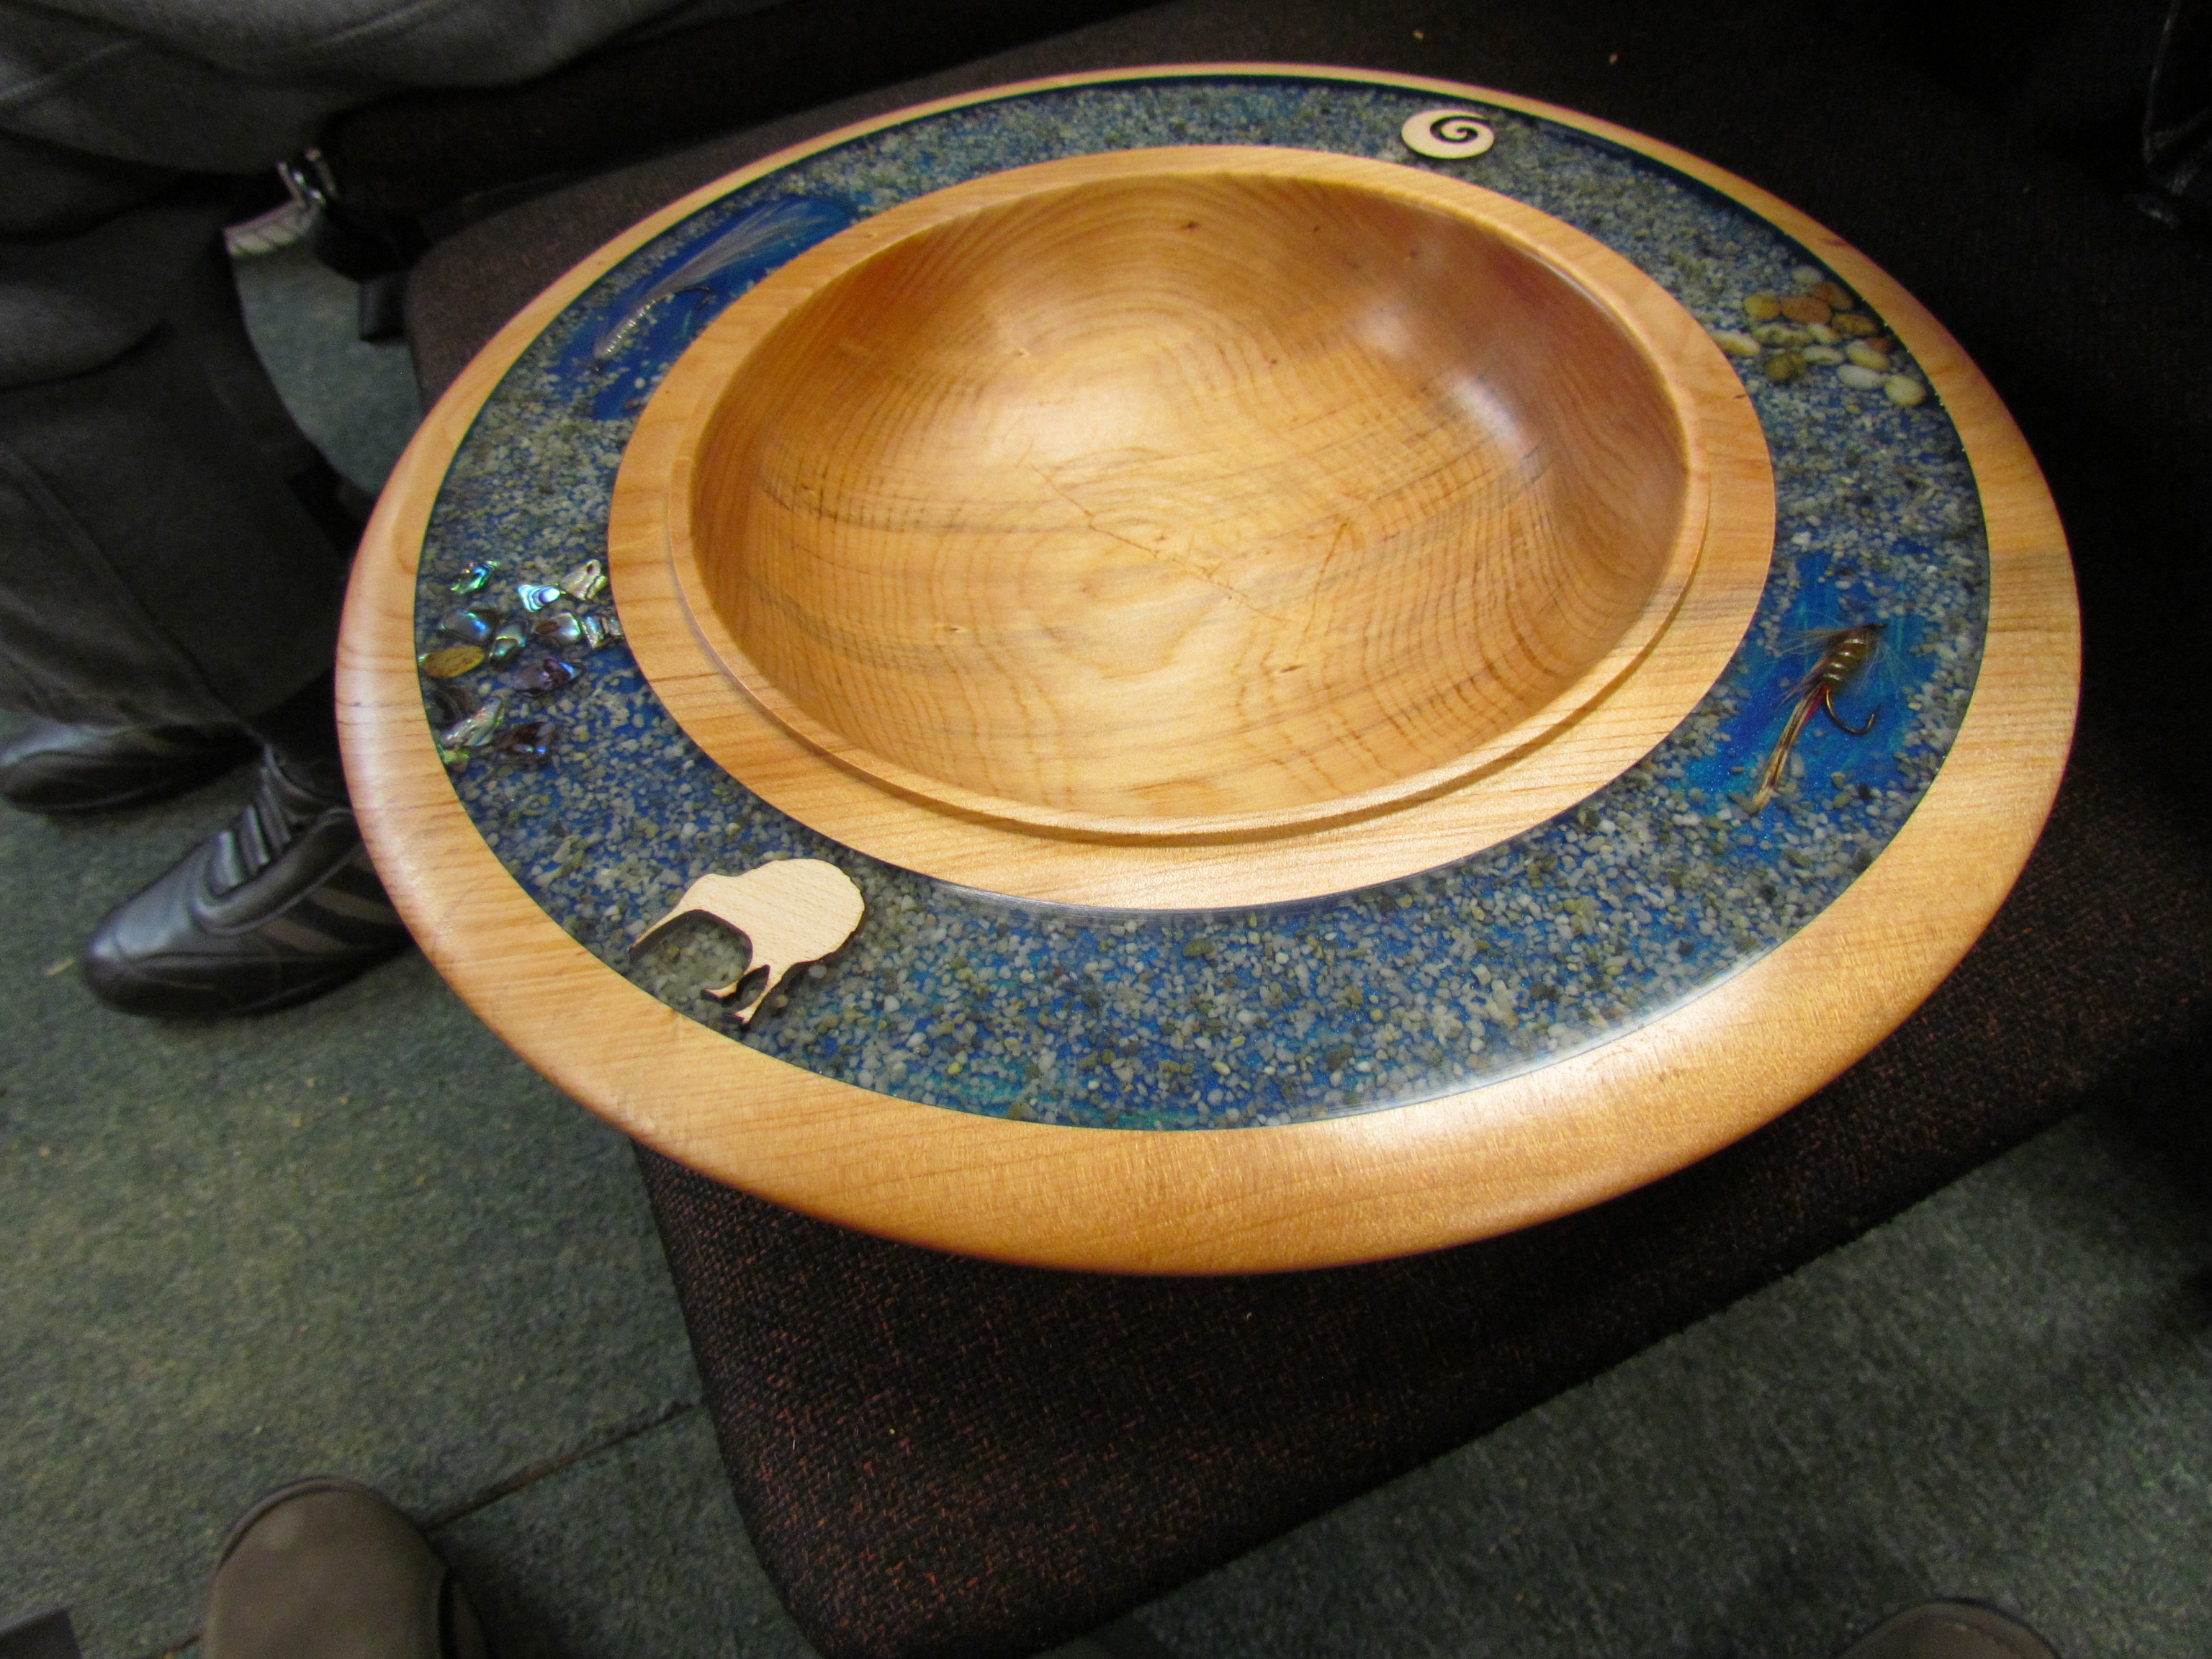
John opened his demonstration with his usual humour and banter and made it known that we were about to see ‘his way’ of inlaying resin, which would be quite contrary to other demonstrations. John was congratulated on his recent success at the Franklin Art Festival with a first place with his resin bowl. Naturally, we were about to see the master himself in action.
First off the spigot must be concave to keep the bowl level when pouring the resin.
A trench is cut around the rim of the bowl deep enough to accommodate the decorative items – these can be a wide variety of stones, shells, pebbles, tumbled puau, or handmade items. Normally the trench would not be more than 10mm deep to minimise the amount of resin needed for one pour. The trench is sealed with PVA glue by painting this directly into the trench. Slip, slap, slop, and make sure to seal the edges so that any paint won’t go into the wood.
Then paint with acrylic paint – John uses a water based metallic paint obtained from a car painter in Whangarei, but Resene’s acrylic test pots are a good source of paint. This seals the trench which reduces air bubbles getting into the resin. John does not find it necessary to sand prior to putting the PVA on.
Place decorative pieces in the trench – using PVA glue to stick any down that may tend to float.
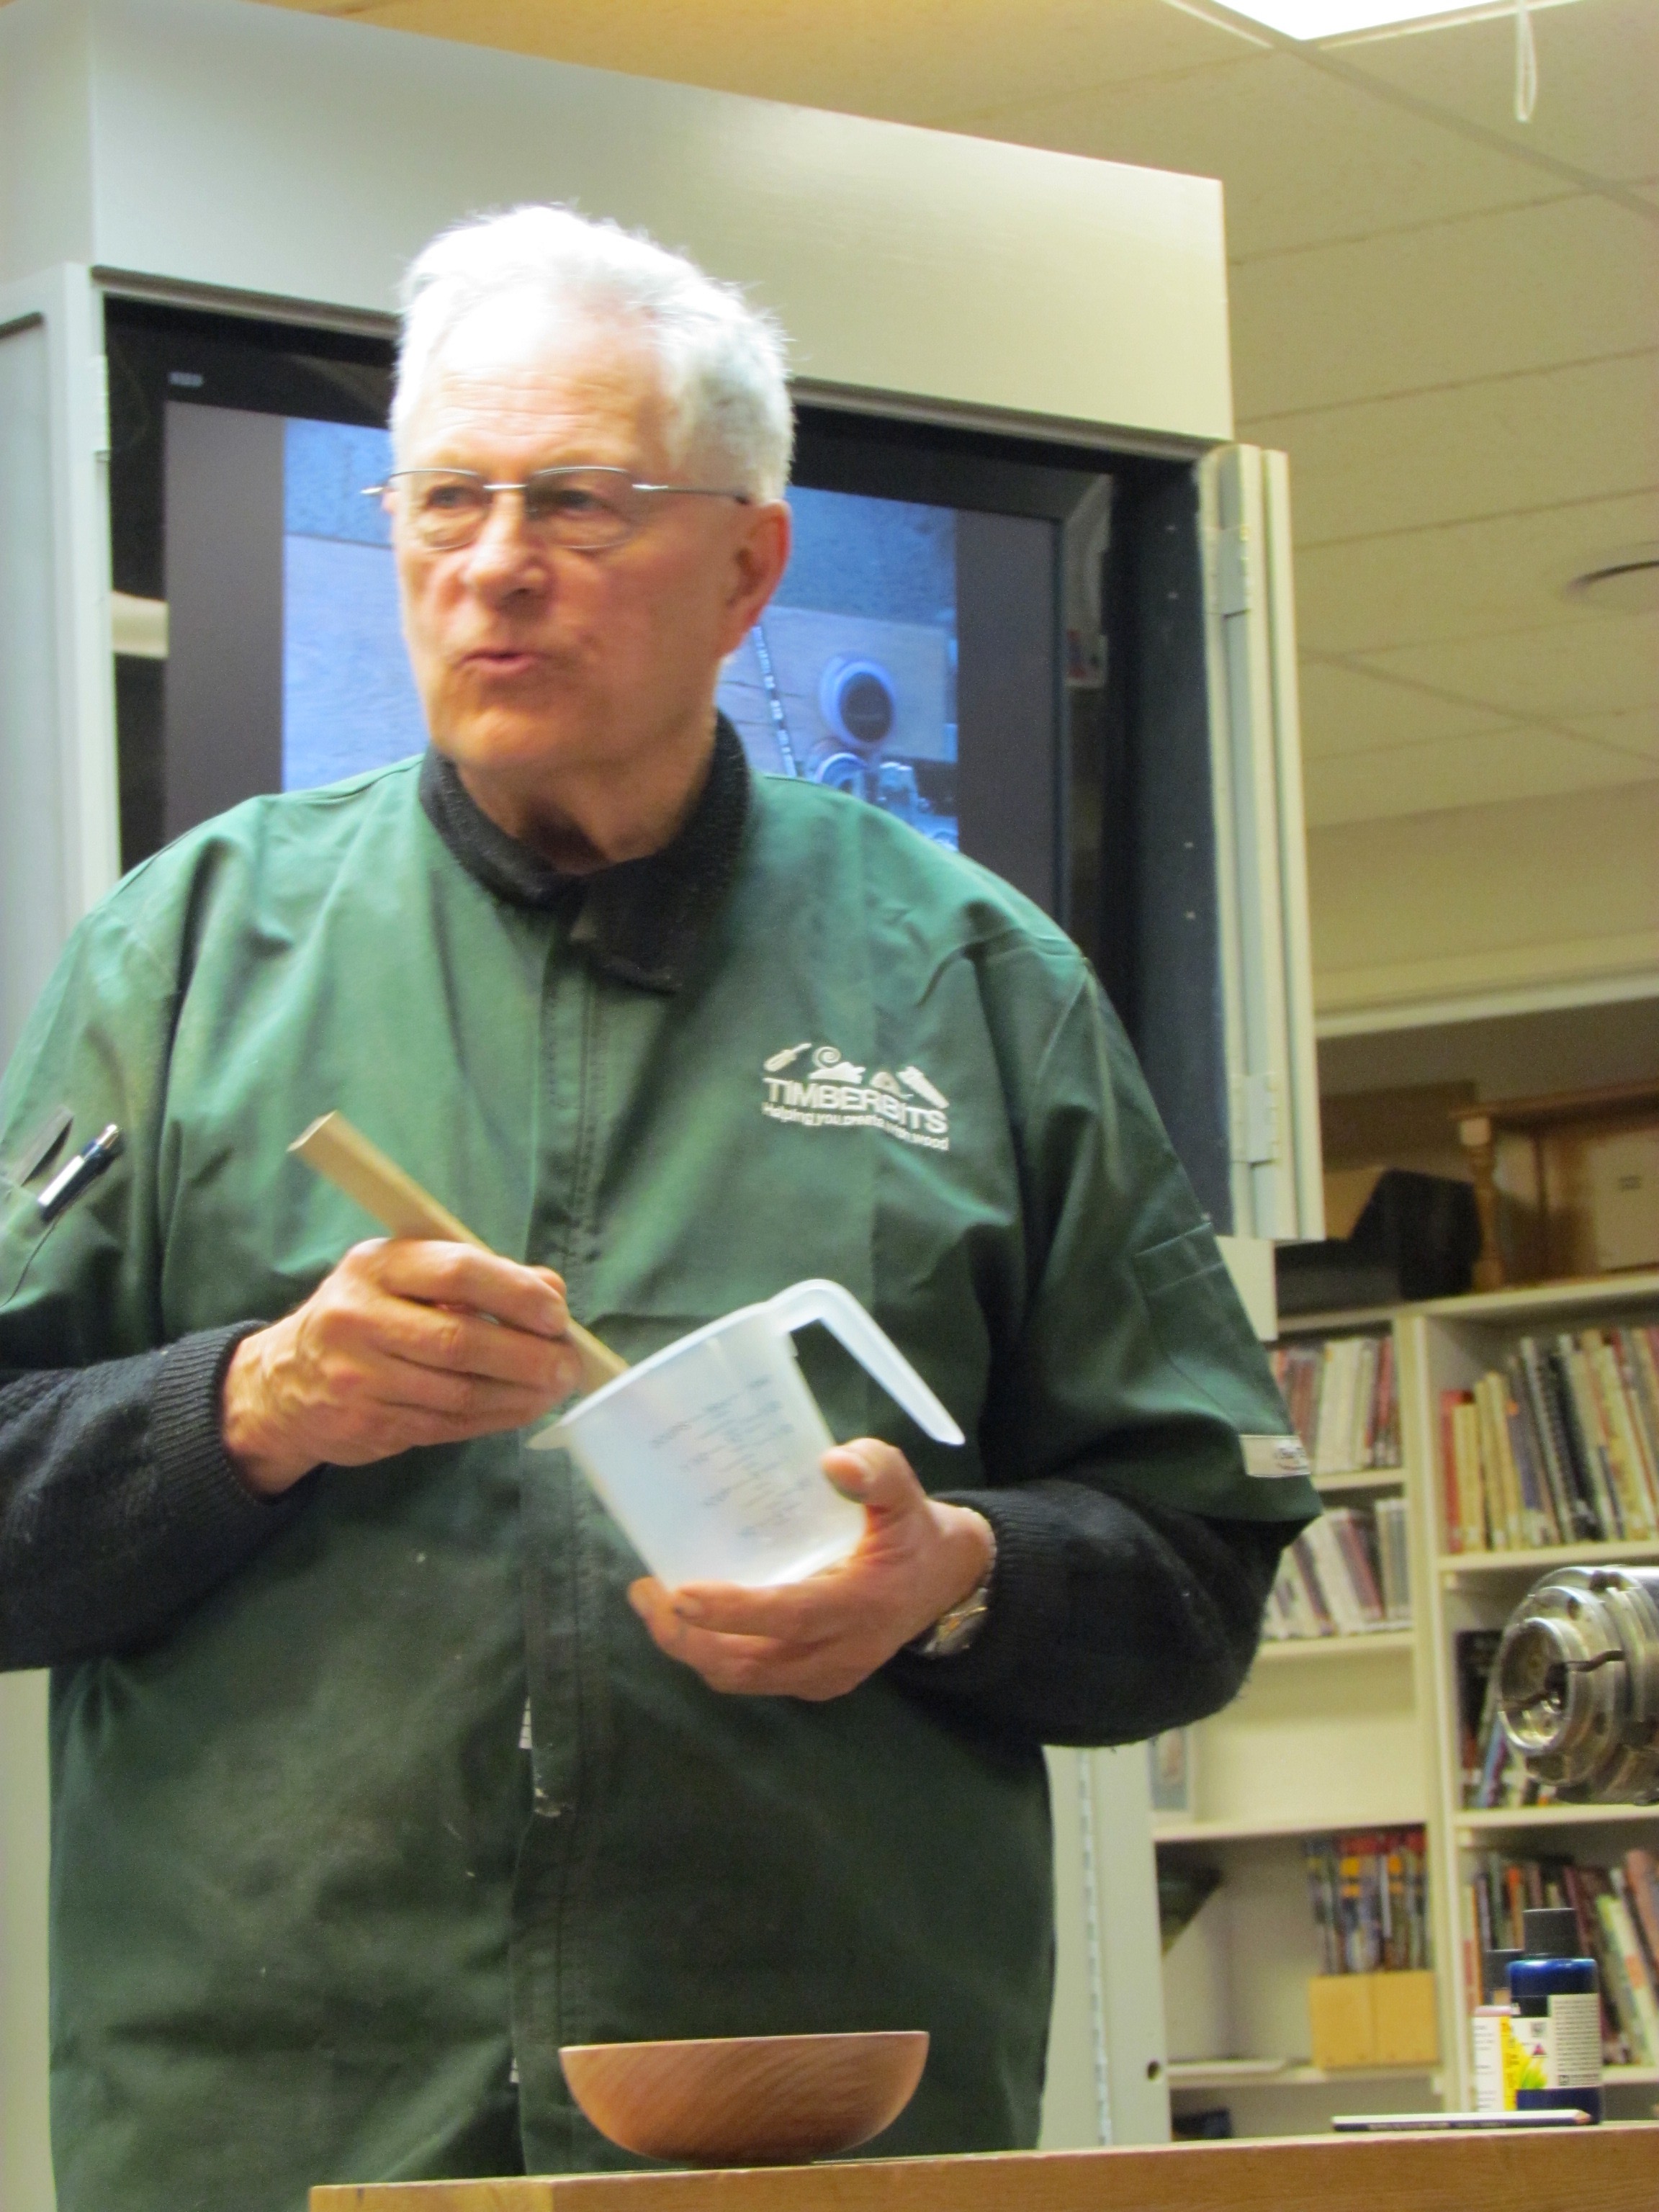
Mix resin: 2 parts Knot hole resin 1 part hardener. Liquid Glass are out West Auckland and are very helpful and knowledgeable. Mix by weight only. (Polymer Resins by volume).
Electronic scales capable of measuring grams are essential – place plastic pouring container on scales and reset to zero. Measure out required Knot Hole Resin (say 40 grams) WRITE down the weighed amount. Measure 20 grams of hardener. Mix together using a slow mixing technique – do not beat or stir fast as this will create bubbles). Keep up the mixing 1 minute in each direction for 5/6 minutes. John as our chief stirrer was in his element!!
Colour may be added/mixed into the resin but included in the weight and then the hardener weight adjusted. Ubeaut colours, Indian ink, and the likes, all work well. Just a few drops is sufficient.
John poured resin into his prepared trench – and explained that several layers of resin can be added without any detrimental effect. Sometimes it is difficult to judge the exact amount required. Resin is warmed slightly before measuring out. (containers placed in a bucket of warm water for a few minutes).
Leave for 48 hours to cure (minimum) chisel off, hand sand (John used a Vicmark sander). Astra Dot 320>400>600>800 then 3M pad. Follow with Autosol or 0000 steel wool and/or Diamond Art Polish.
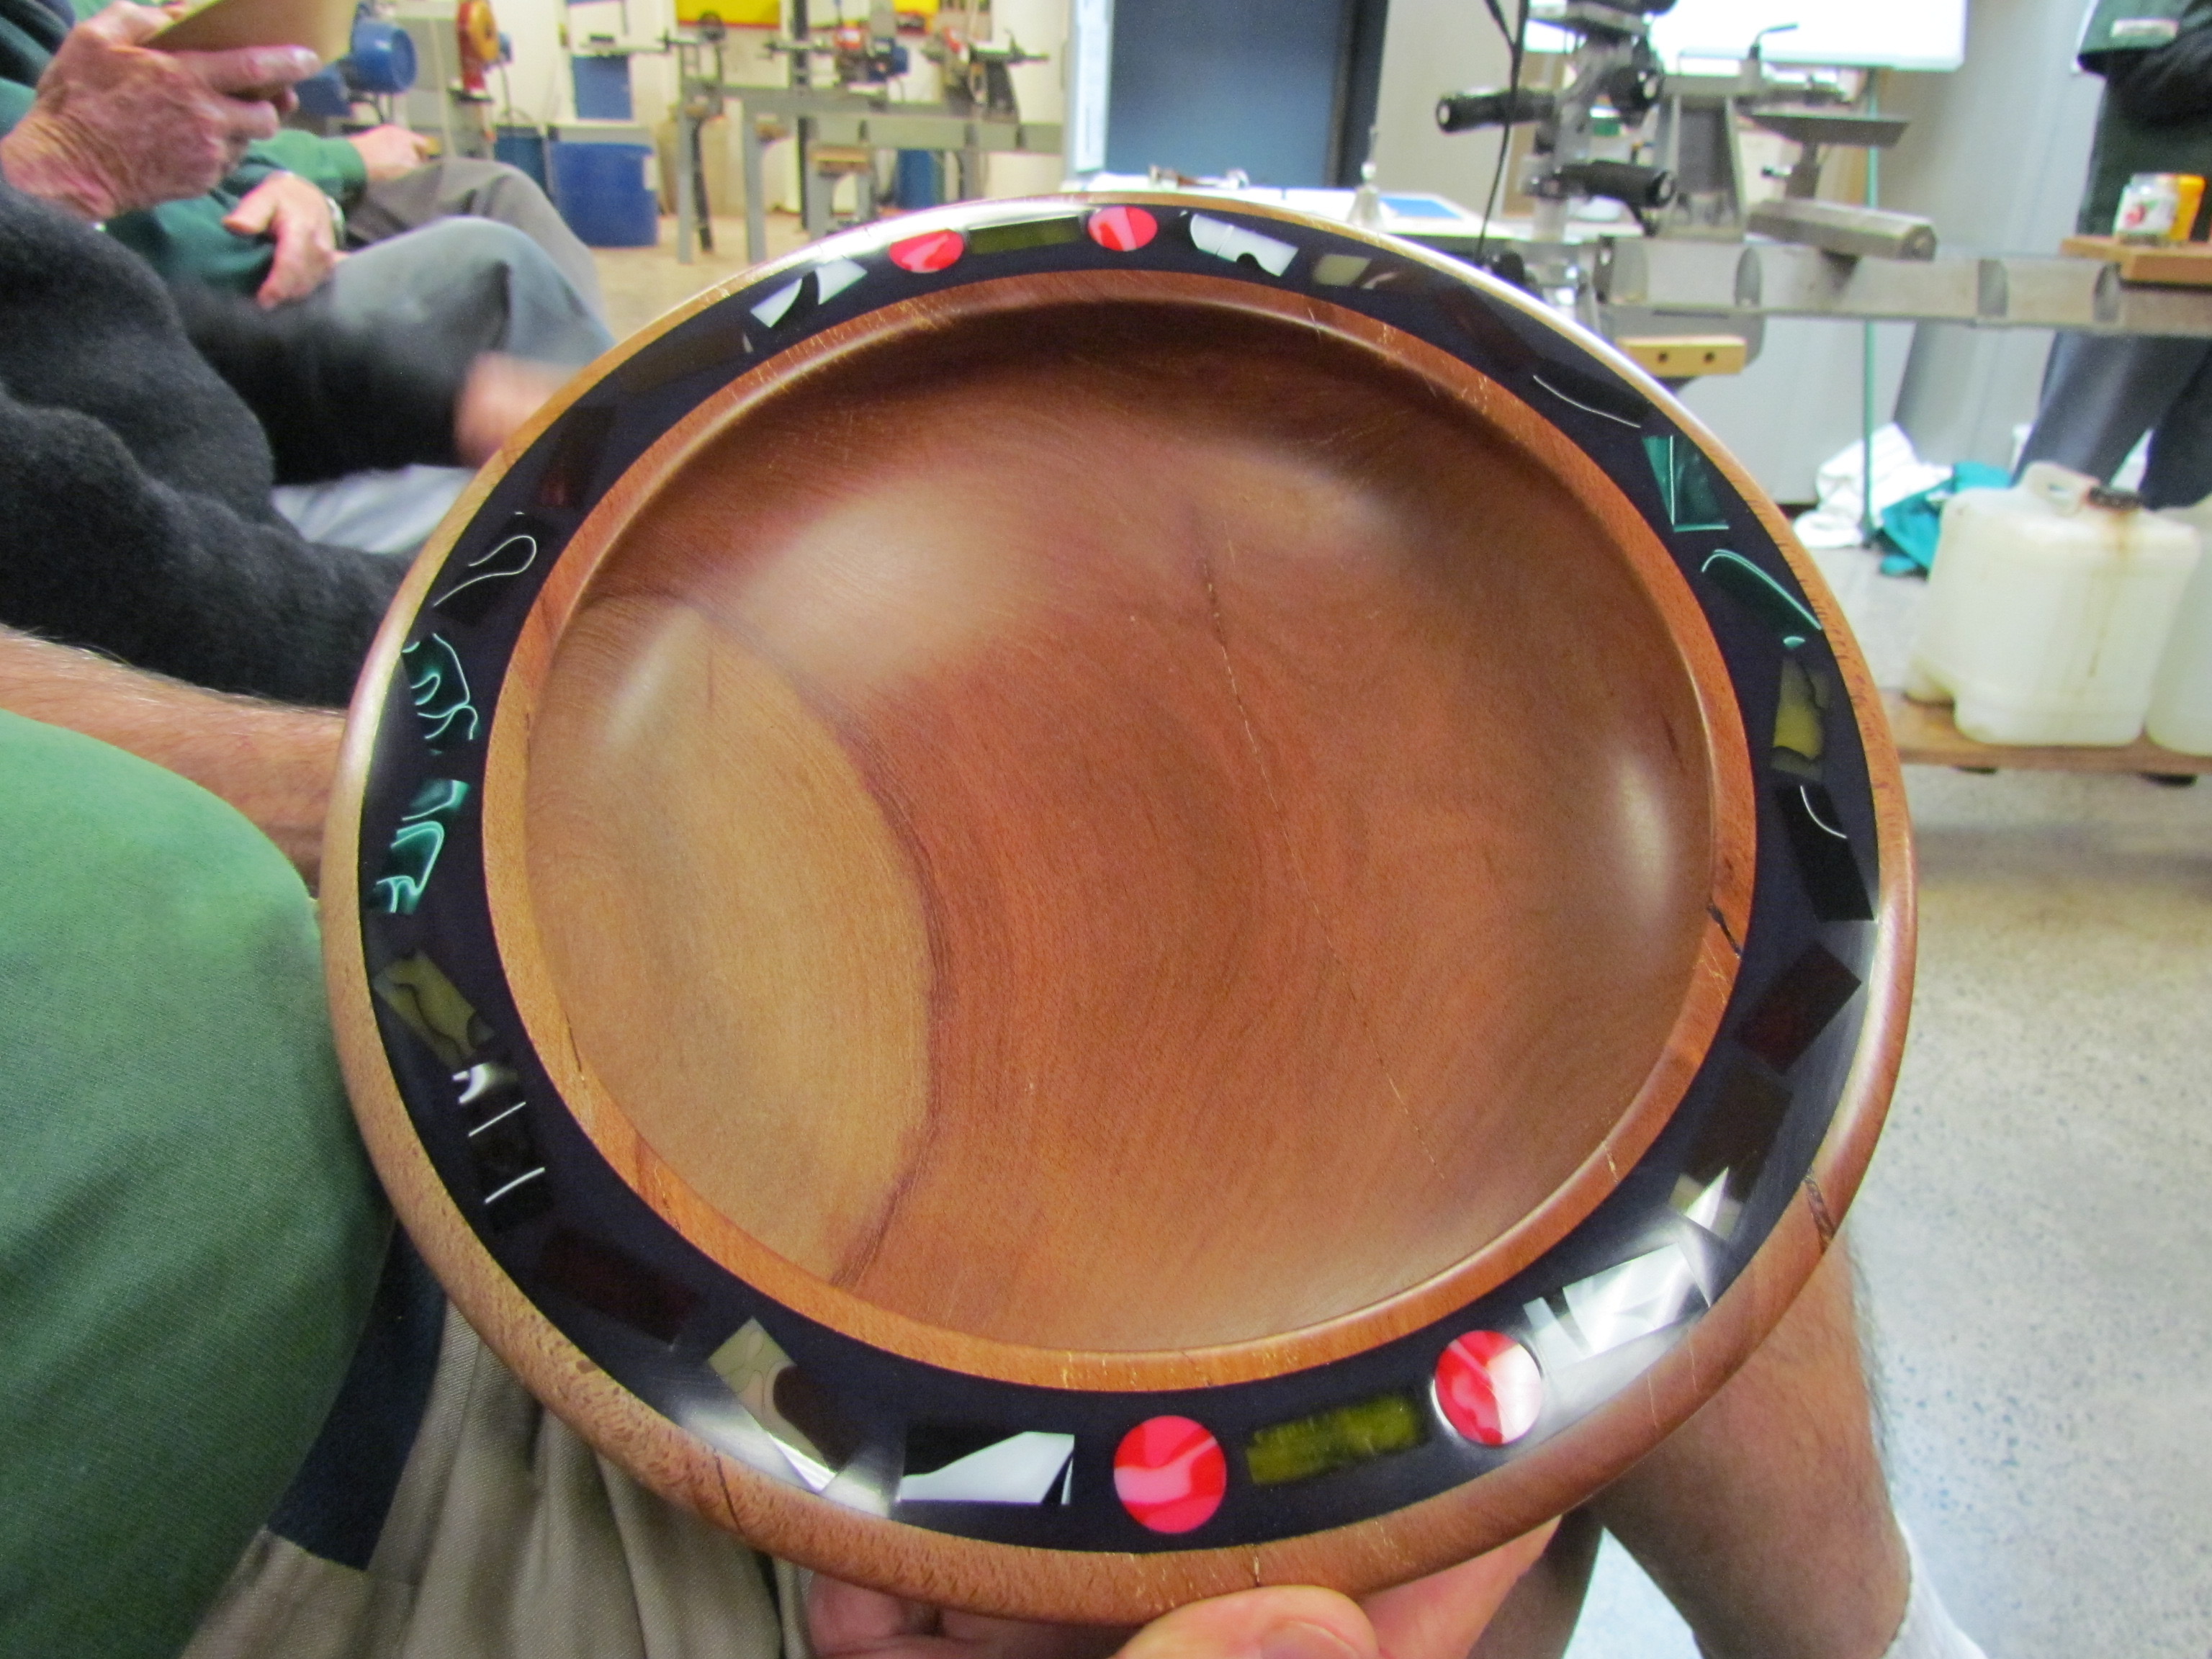
The Beal Buffing system as demonstrated by John is an excellent way of polishing the work.
This was a very interesting demonstration and kept everyone fully engaged. Thank you John.