Date: 18 March 2015
Article by: Cathy Langley
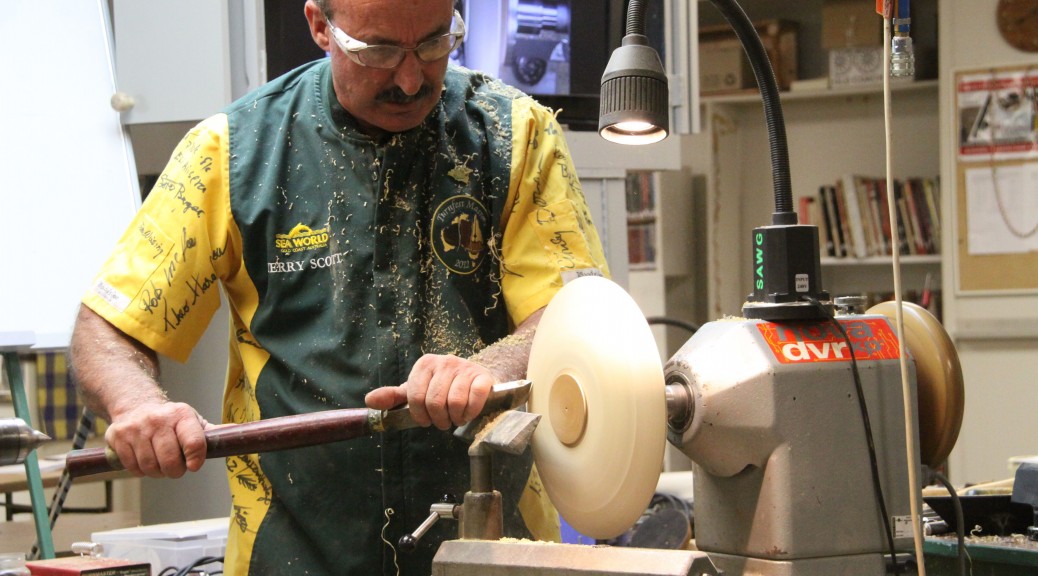
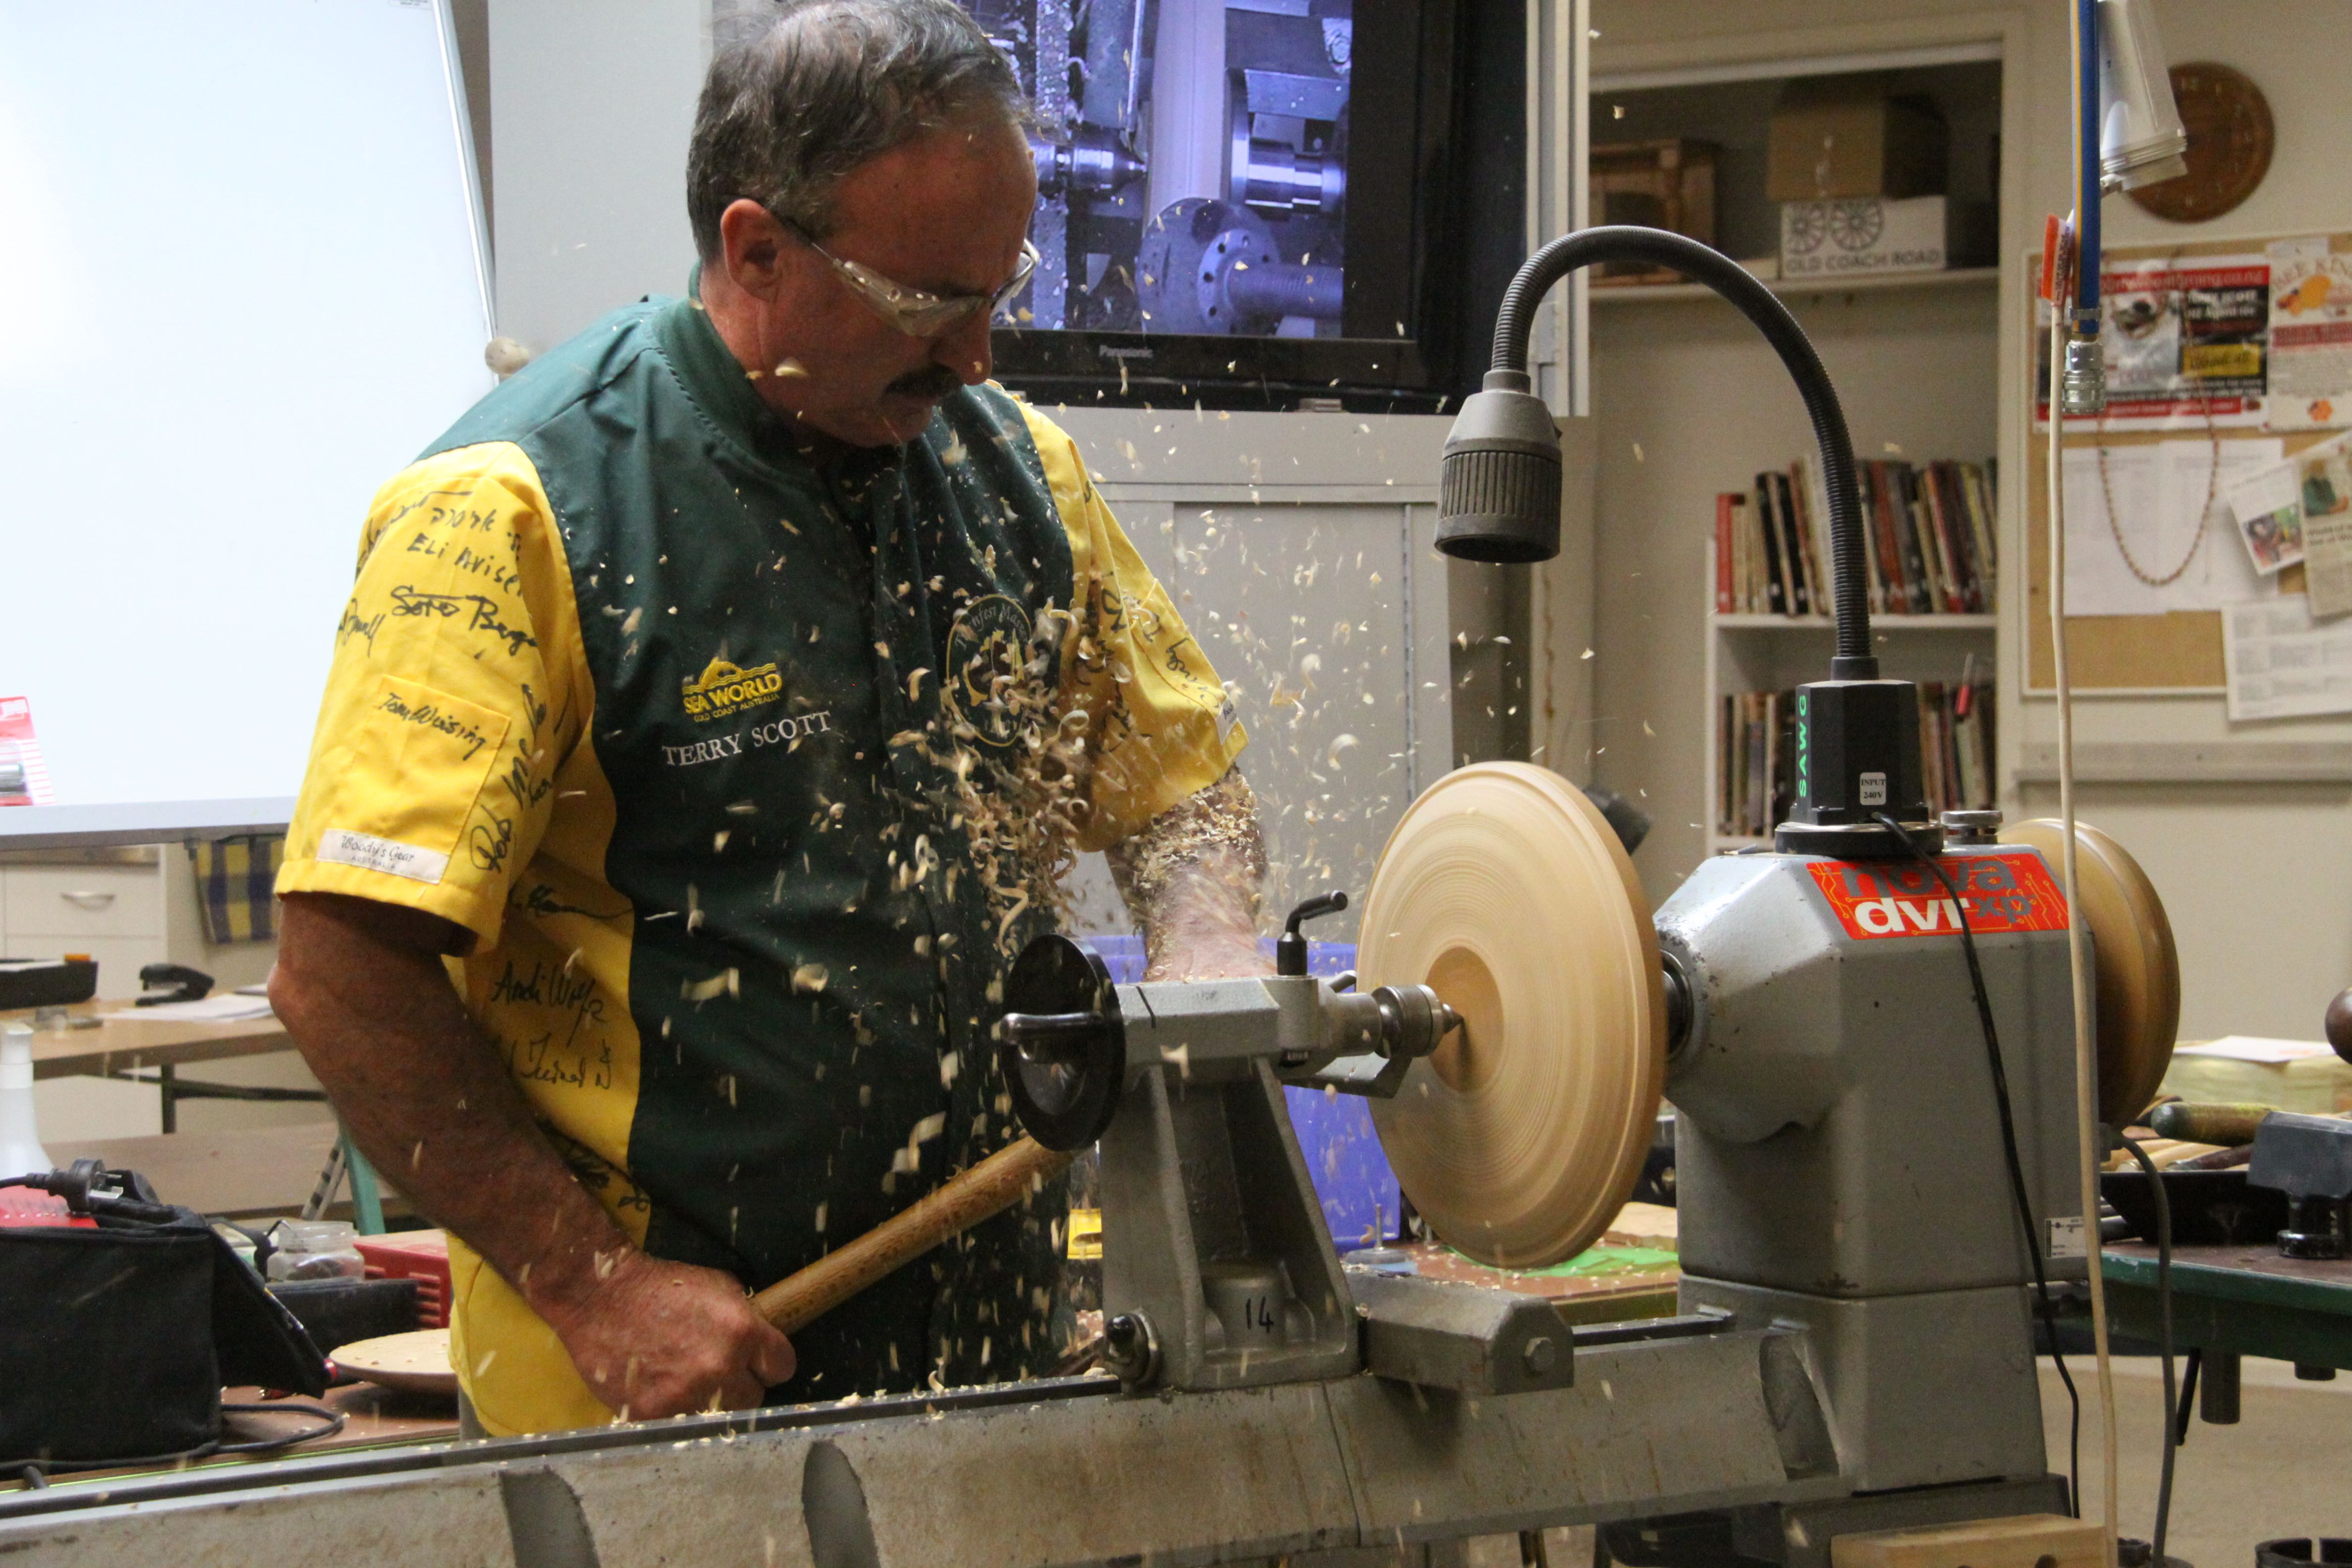
Terry had been asked to demonstrate embellishment of platters. But true to form, he wondered what else we might like to know, and he demonstrated the turning process as well.
A platter, he explained, is a “shallow vessel to hold food” which (according to Easter Show rules) has a height (including feet) no more than 20% of the diameter.
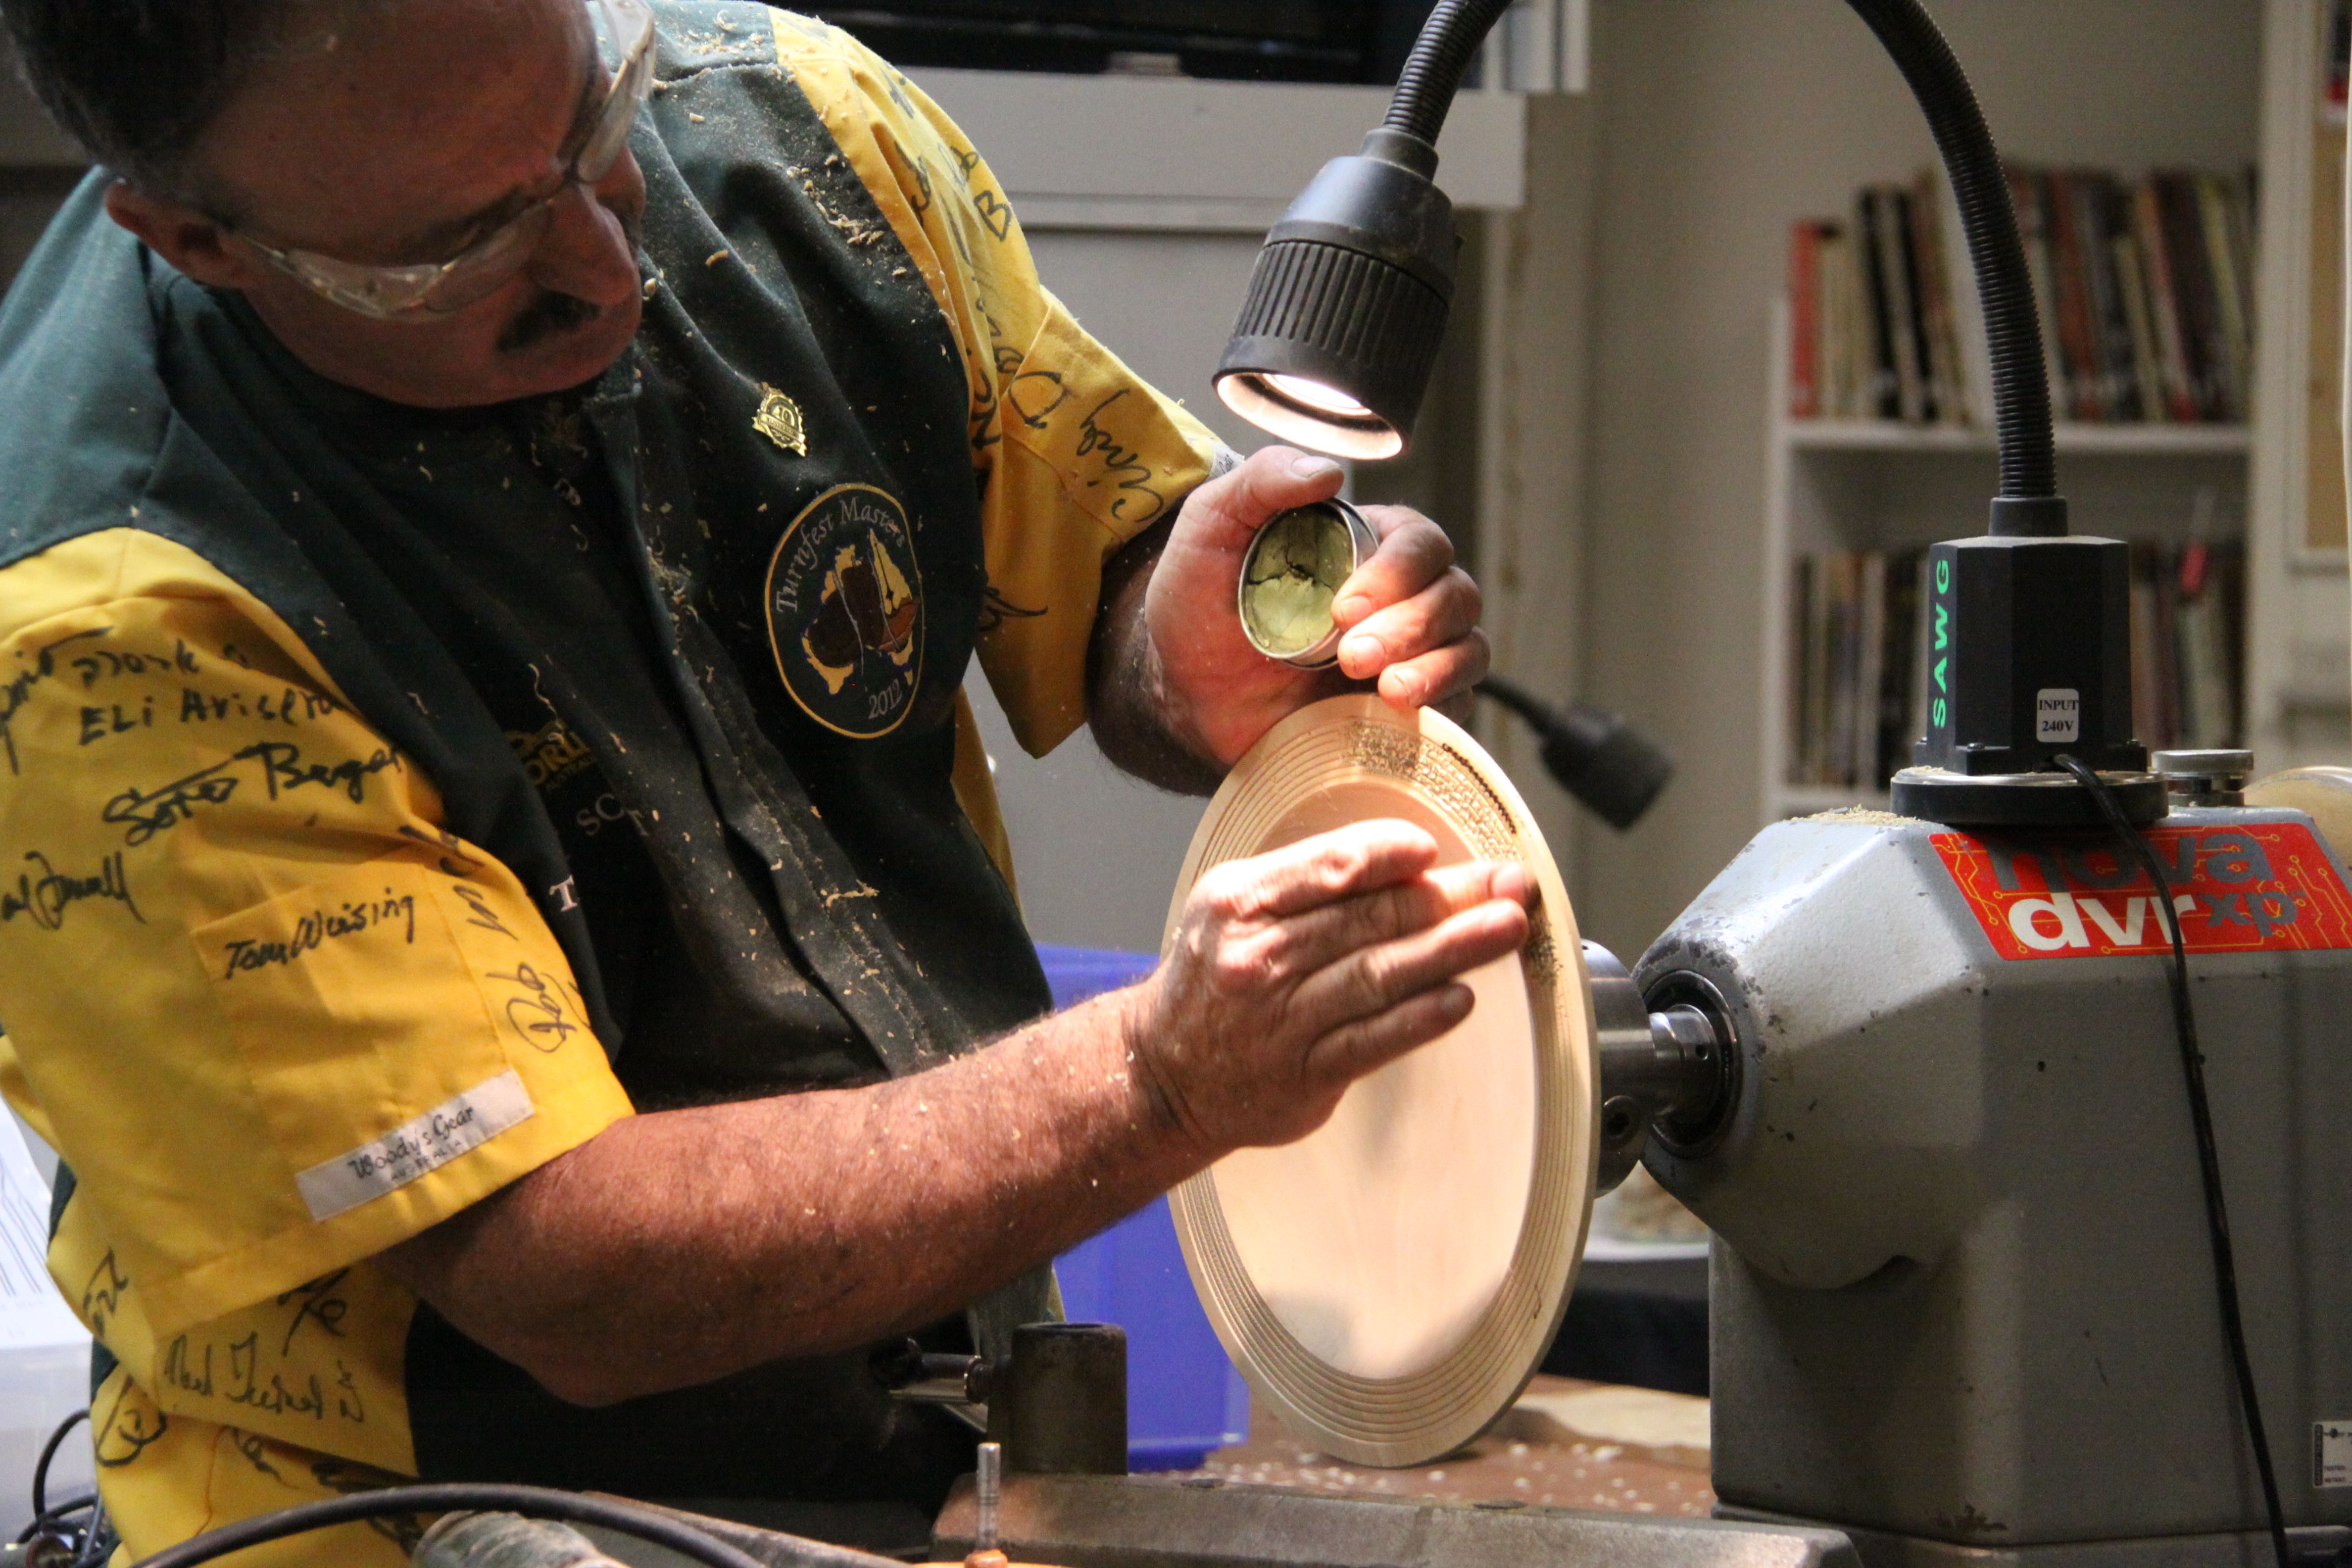
Terry mounted a 300-mm disk onto a screw chuck dedicated to platters, with a wide plate for the blank to rest against, a long screw, and a disk used as a spacer for smaller platters.
He calls this size a “wedding platter”, large enough to make a statement and small enough for tourists to put in their luggage. His tools were a 35-degree fingernail gouge, a 55-degree bowl gouge, a spindle gouge, and a heavy round-nosed scraper for the final finishing cuts on the inside.
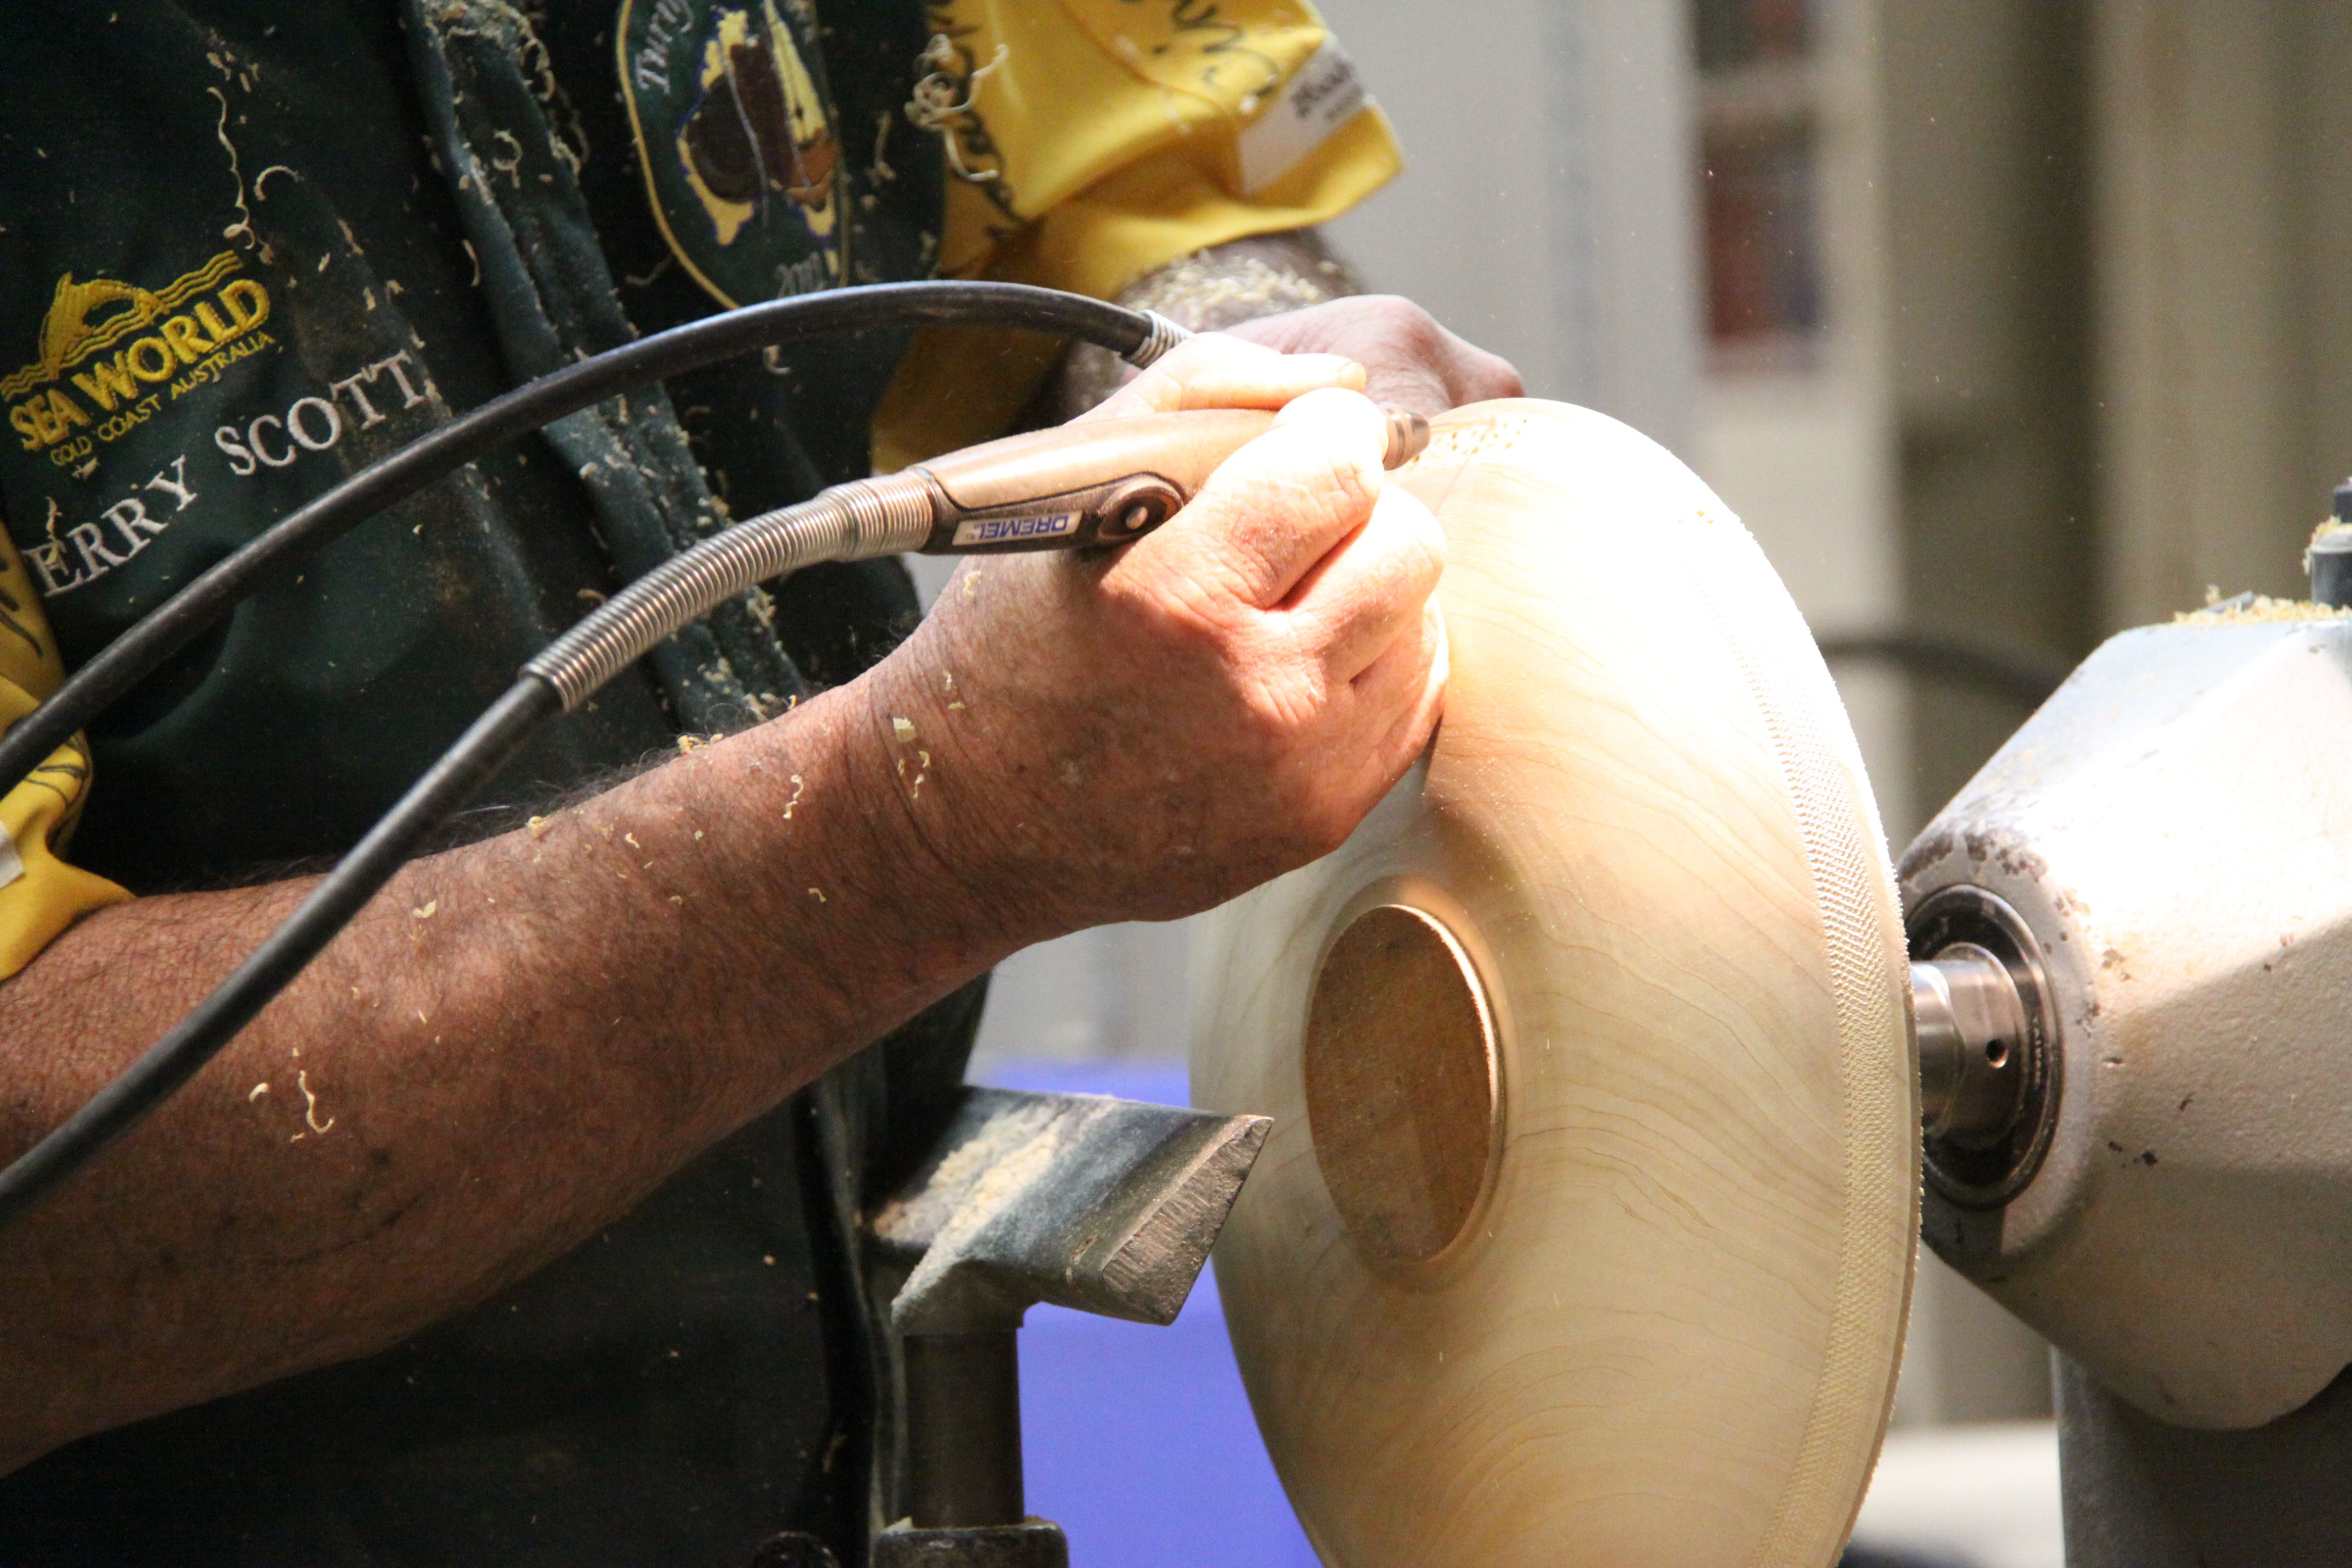
Terry advised against turning a platter with a rim that is flat on both top and bottom, as this is too fragile. Instead, his outside shape was a curve extending from the 75mm foot to the edge of the rim.

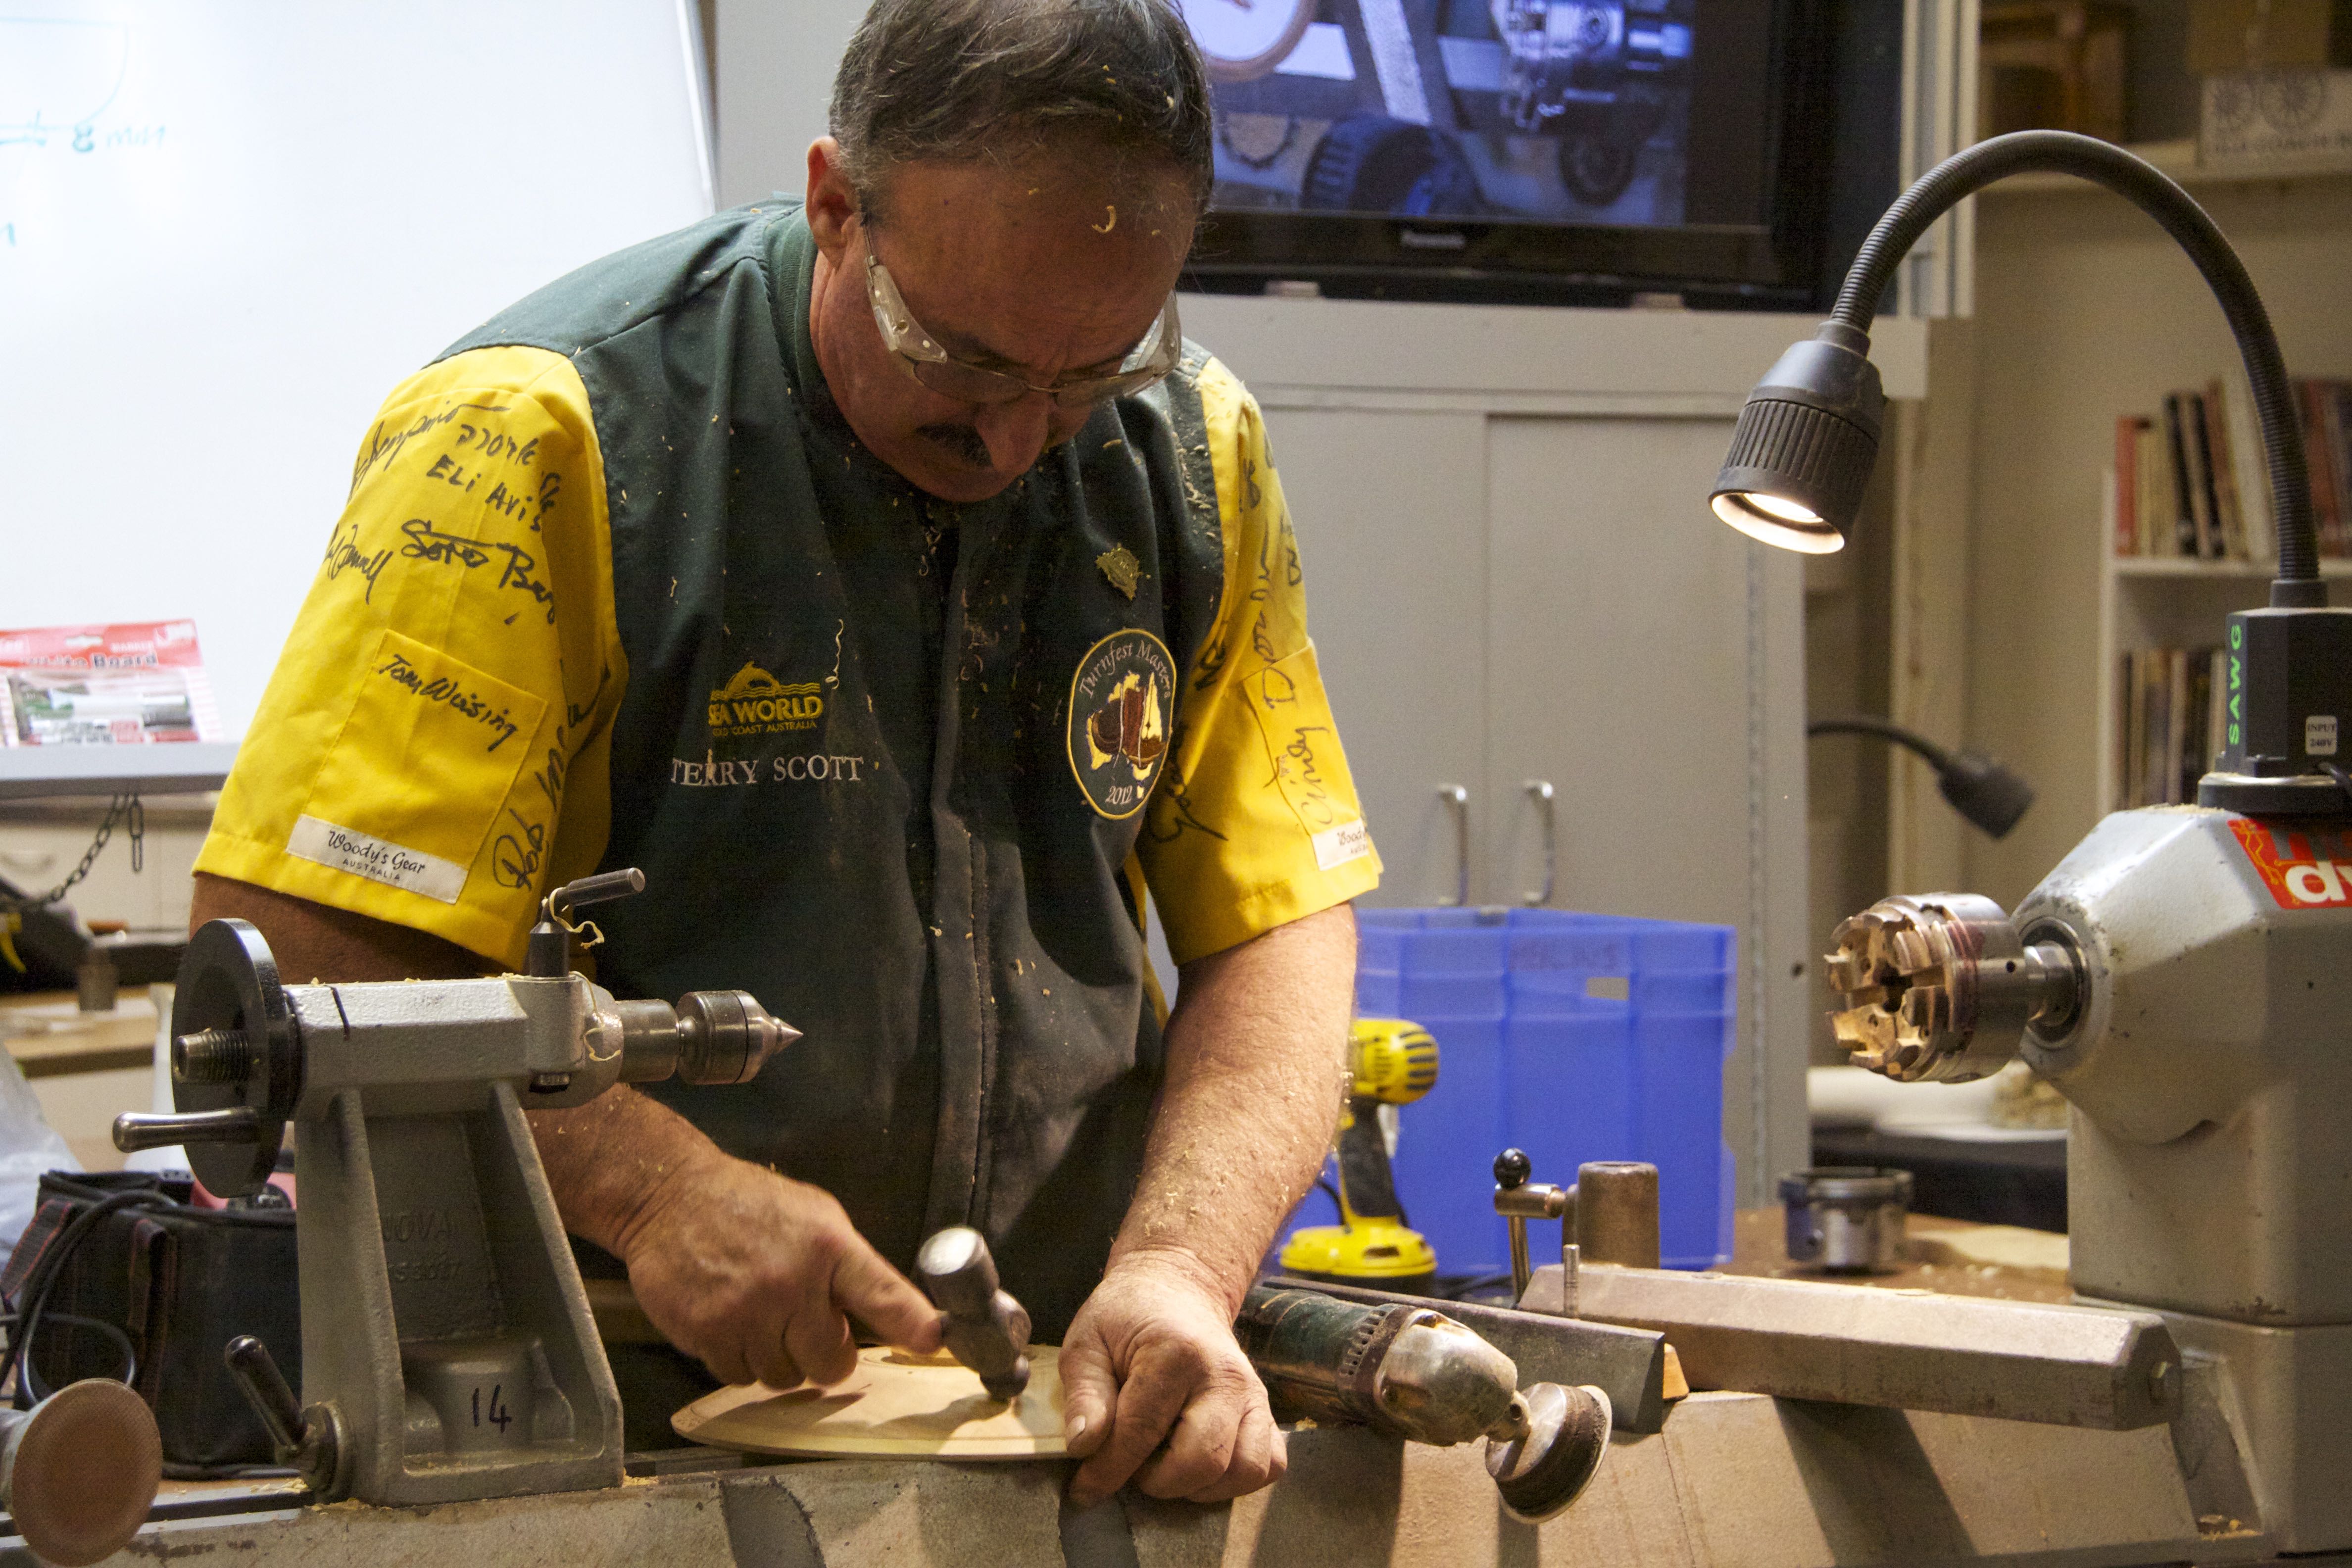
That foot was used to mount the platter for turning the interior, intending to turn the foot off later. After leveling the surface, Terry emphasised that most texturing of the rim should be done before hollowing. (An exception: don’t use a leather punch when the platter is still on the chuck!) From a point 1/3 in from the rim and moving toward the outside, he used a rocking motion with his 35-degree gouge to turn a series of beads. He then used a variety of tools and products to demonstrate a range of embellishment options, including random holes (to link the rim to the interior which was naturally embellished with borer holes), his own texturing tool to create a rope-like effect on the beads; leather-working punches; gilder’s paste which can be partially sanded off and re-applied using different colours; and other techniques.

Tips included:
- Make sure you remove the sharp edge on the rim
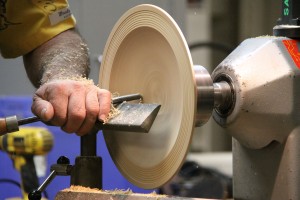
- Use the skew to shear-scrape the exterior, held at at a 30-degree tilt to the toolrest, with a light touch
- Slow your tool progress to minimise chatter
- Use a glue stick to check for flat spots
- Hollow after rim texturing is complete, beginning at the centre
- Use a 150mm (not 50 or 75mm) sanding pad on the inside to avoid an uneven surface
- Use your imagination; texturing can be created with anything and can go under epoxy. Use indian ink stamps, and carving tools or pyrography tools to highlight the design
- If making radial cuts across the rim (for example with an angle grinder or carving tool) apply sanding sealer first. Use your indexing plate to mark the rim and make cuts one section at a time, to keep the pattern at a consistent angle around the rim
- Avoid the need for false teeth as a result of jaw-clenching associated with too tight a grip on your tools!

Thanks, Terry, for a comprehensive demo and an easy style that kept us all engaged and offered something to both beginners and experienced turners.
Visit Terry’s Website www.timberly.co.nz to see some of his platters and other work.